Appearance
Campaign Summary & Actions
After running an Email Campaign in FluentCRM, you can access a comprehensive suite of statistics and post-campaign actions from the Campaign Details screen. This section allows you to monitor exactly how your audience is interacting with your content in real time.
Accessing the Email Campaigns Dashboard
To view your campaign data properties, navigate to the central analytics hub:
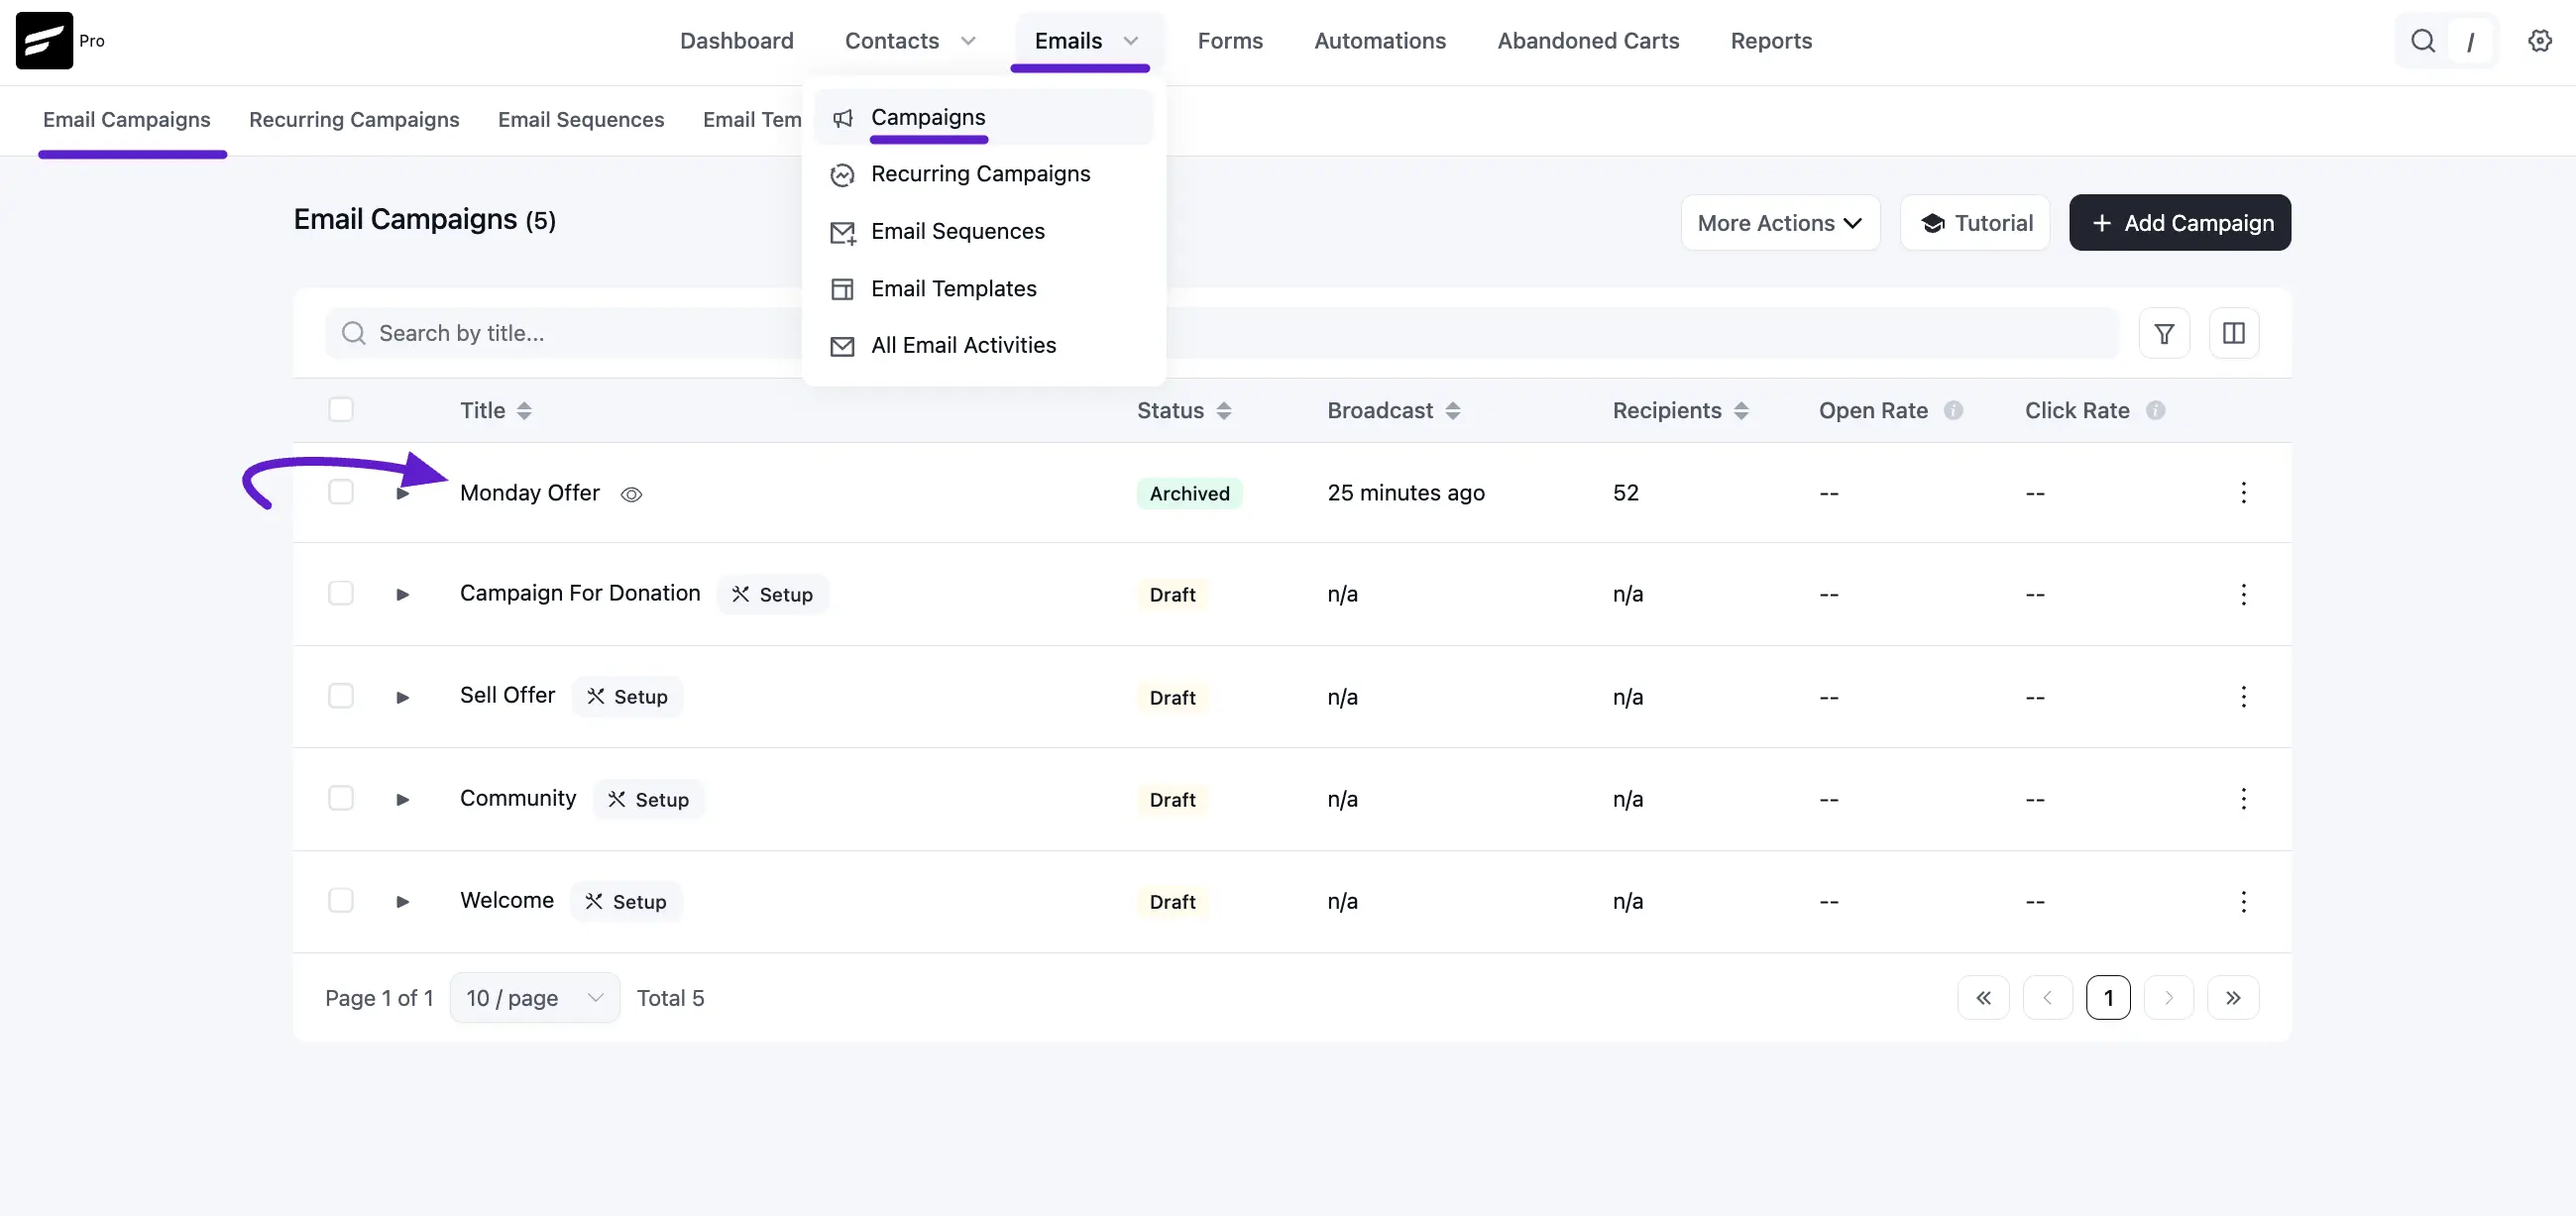
- Navigate to Emails: From the main FluentCRM sidebar, click Emails in the top navigation bar.
- Select Campaigns: Choose Campaigns from the dropdown menu to load the list of all marketing broadcasts.
Campaign Performance & Stats Overview
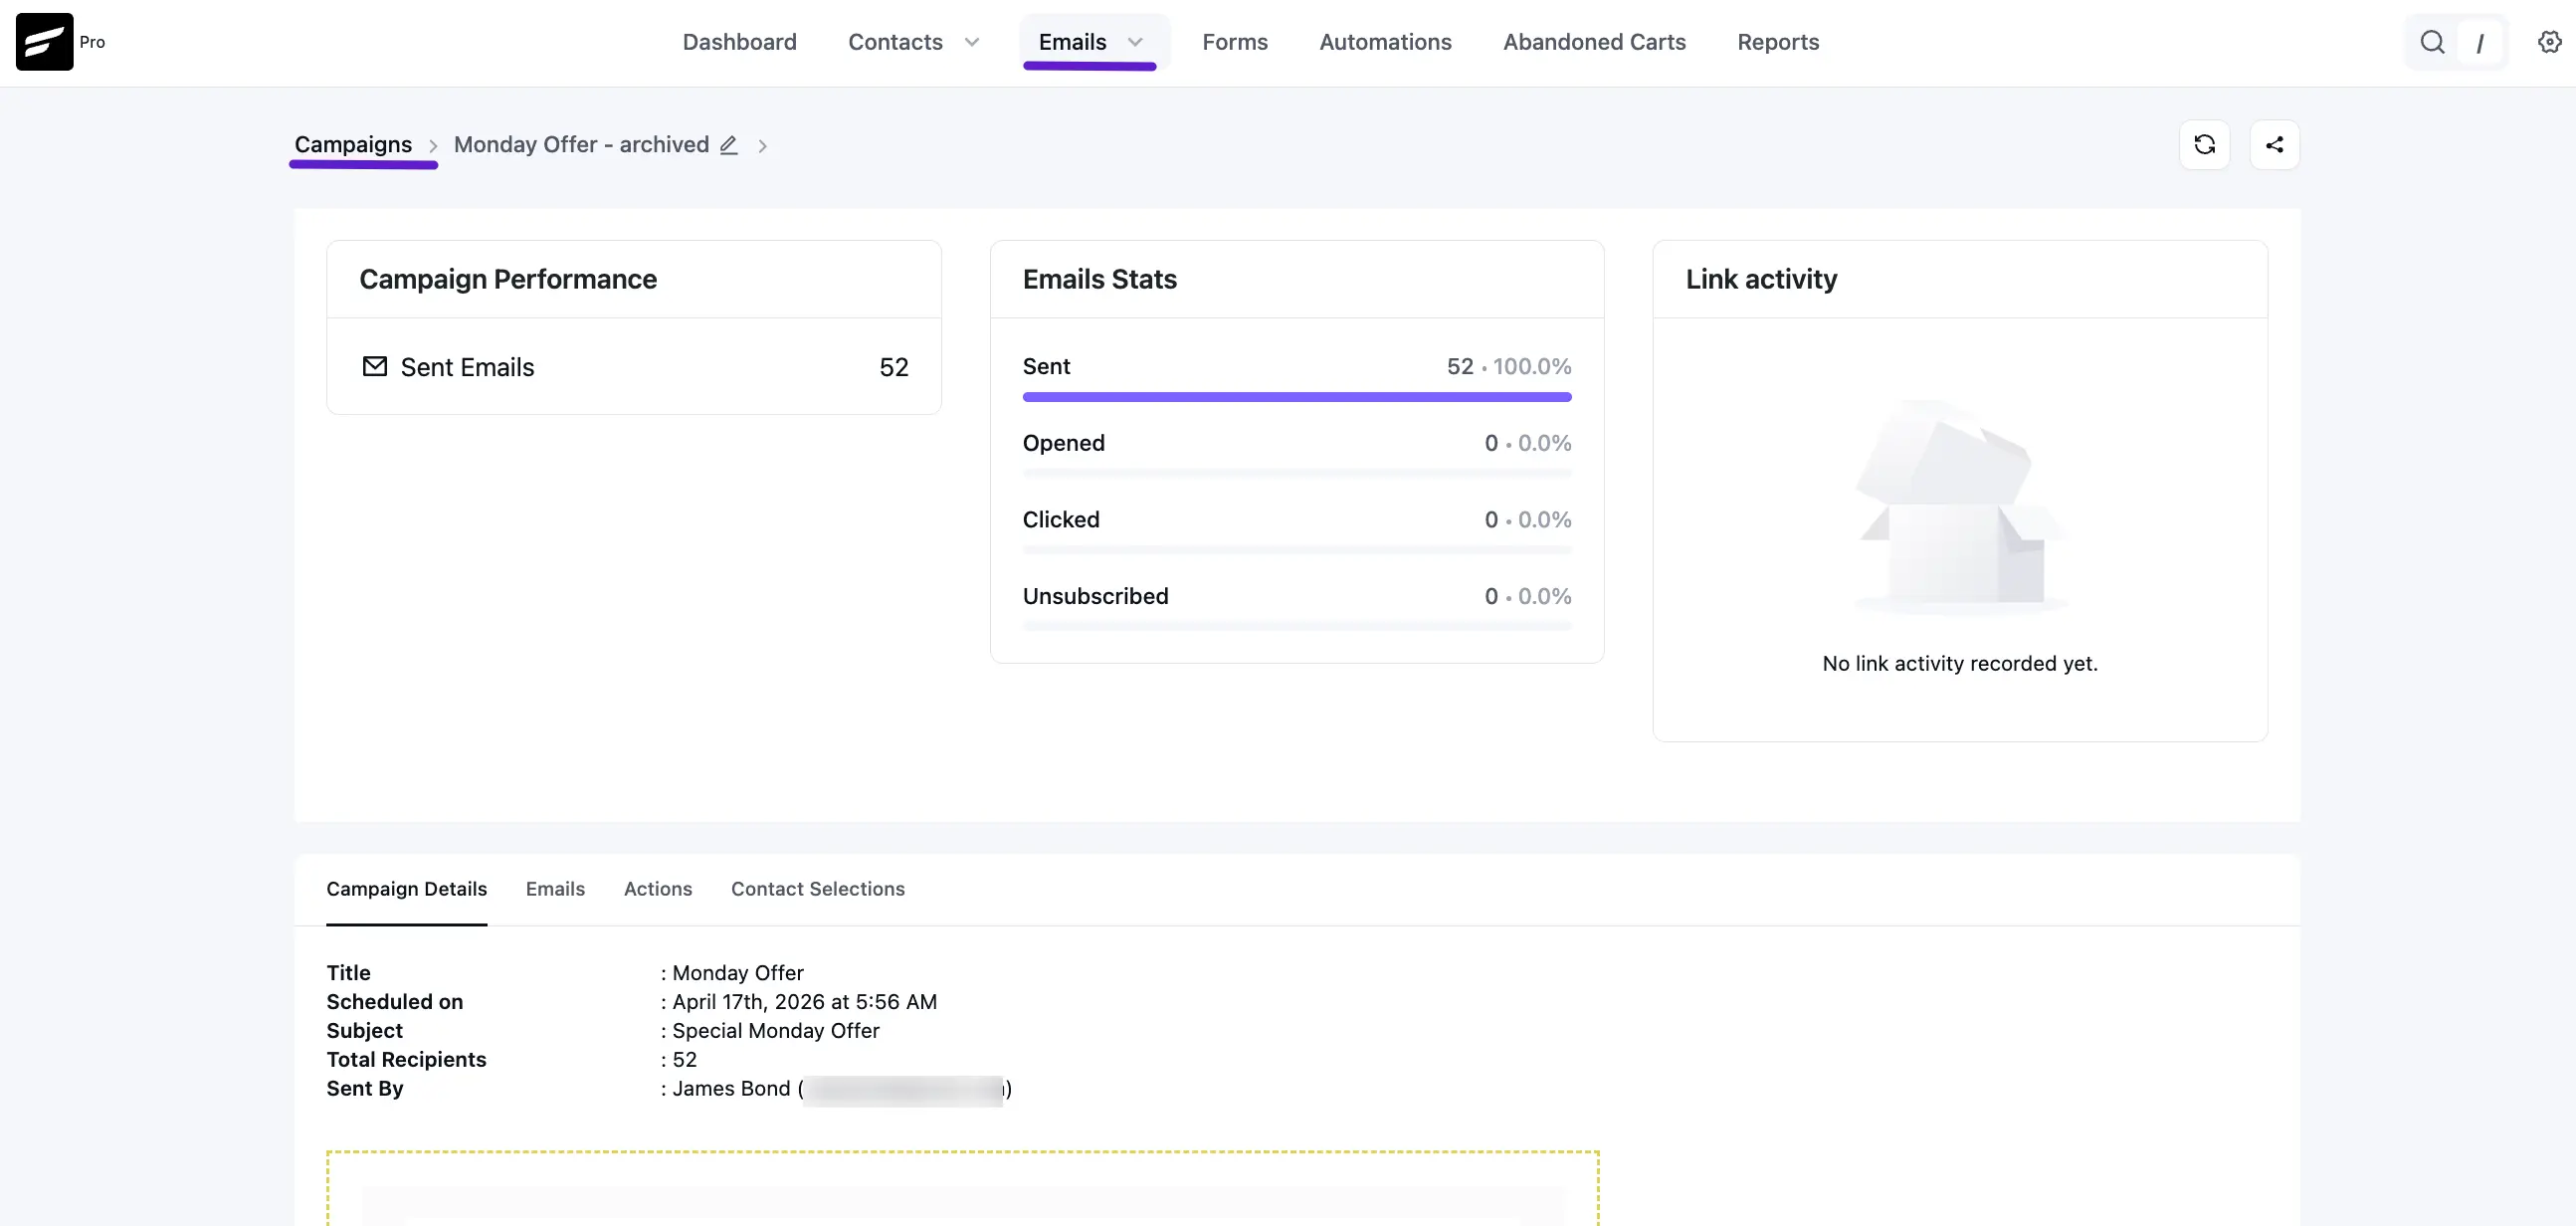
Clicking on a specific campaign opens a detailed report divided into visual summaries and deep-dive tabs.
- Campaign Performance: Displays the total count of Sent Emails.
- Emails Stats: A progress-bar style breakdown showing the percentage of emails Sent, Opened, Clicked, and Unsubscribed.
- Link Activity: Logs unique clicks for every URL included in the email body to identify your most engaging content.
Detailed Report Tabs
The bottom section of the analytics page provides granular data across four primary tabs:
1. Campaign Details
This tab provides a summary of the campaign's configuration:
- Title: The campaign name.
- Scheduled on: The specific date and time the campaign was delivered.
- Subject: The email subject line used.
- Total Recipients: The final count of contacts reached.
- Sent By: Identifies the WordPress user who initiated the broadcast.
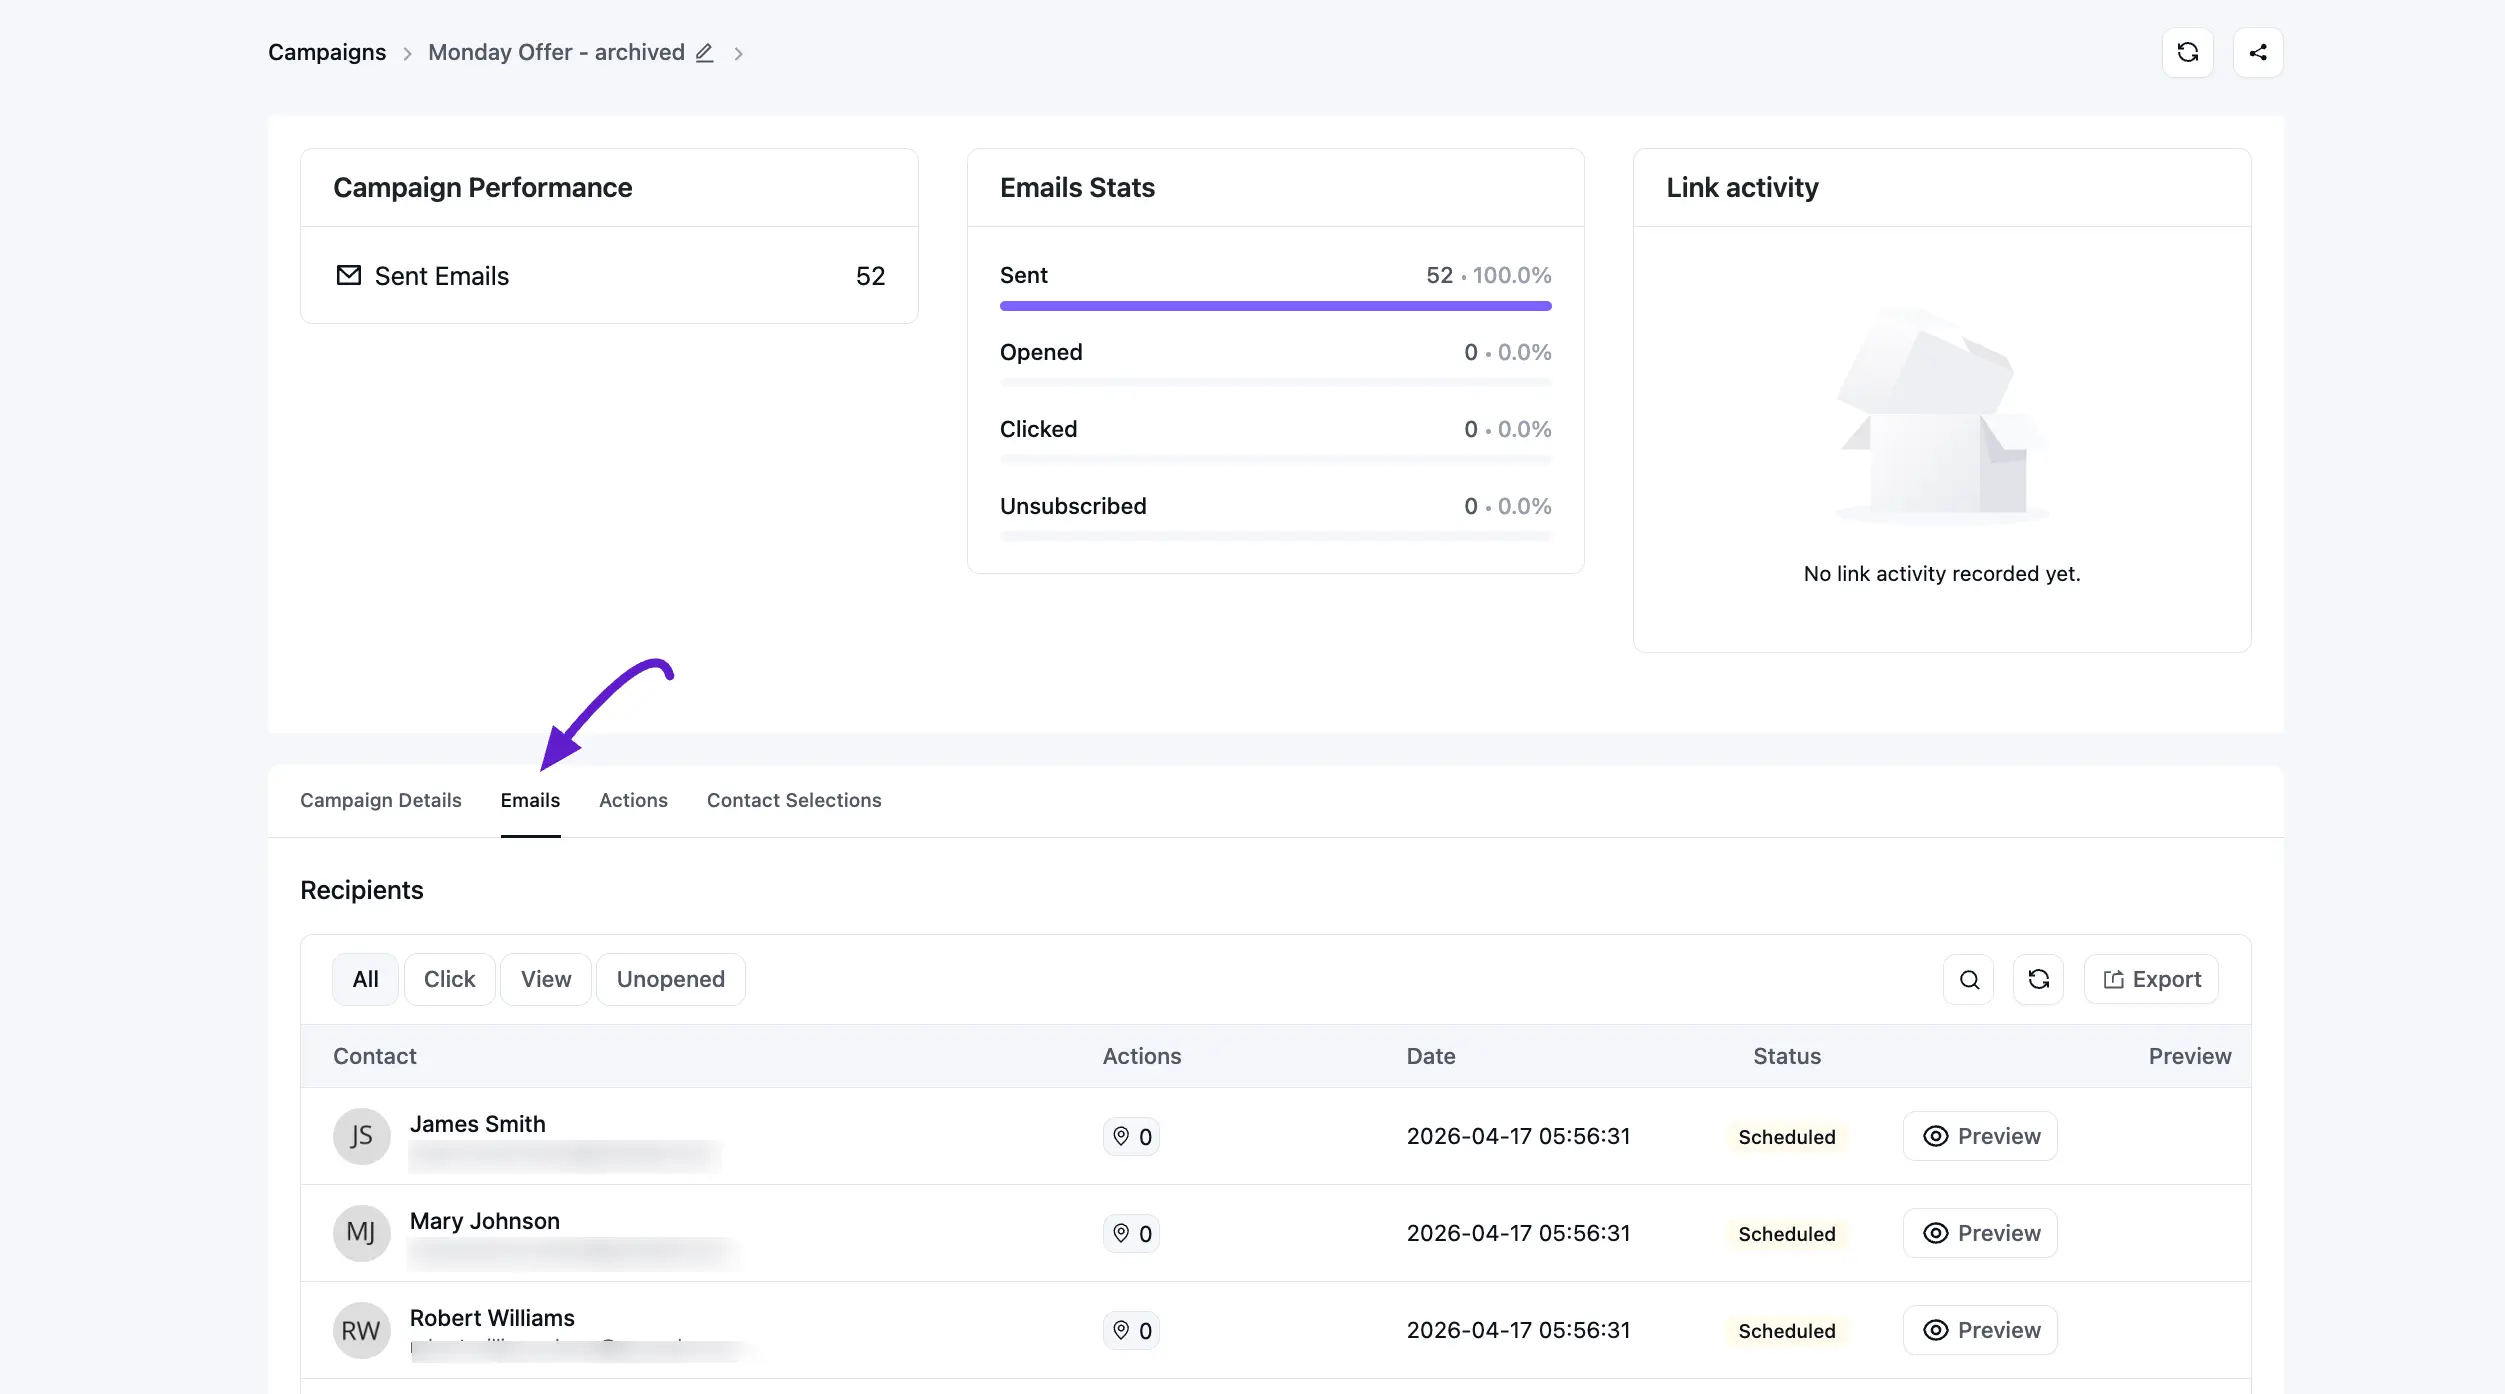
2. Emails (Recipients List)
View every individual recipient and their specific interactions:
- Filter Options: Refine the list to see only those who have Clicked, Viewed, or remained Unopened.
- Data Fields: See the contact's Name, Email, number of Actions (clicks), and the delivery Status.
- Export: Use the Export button to download the recipient data as a CSV file.
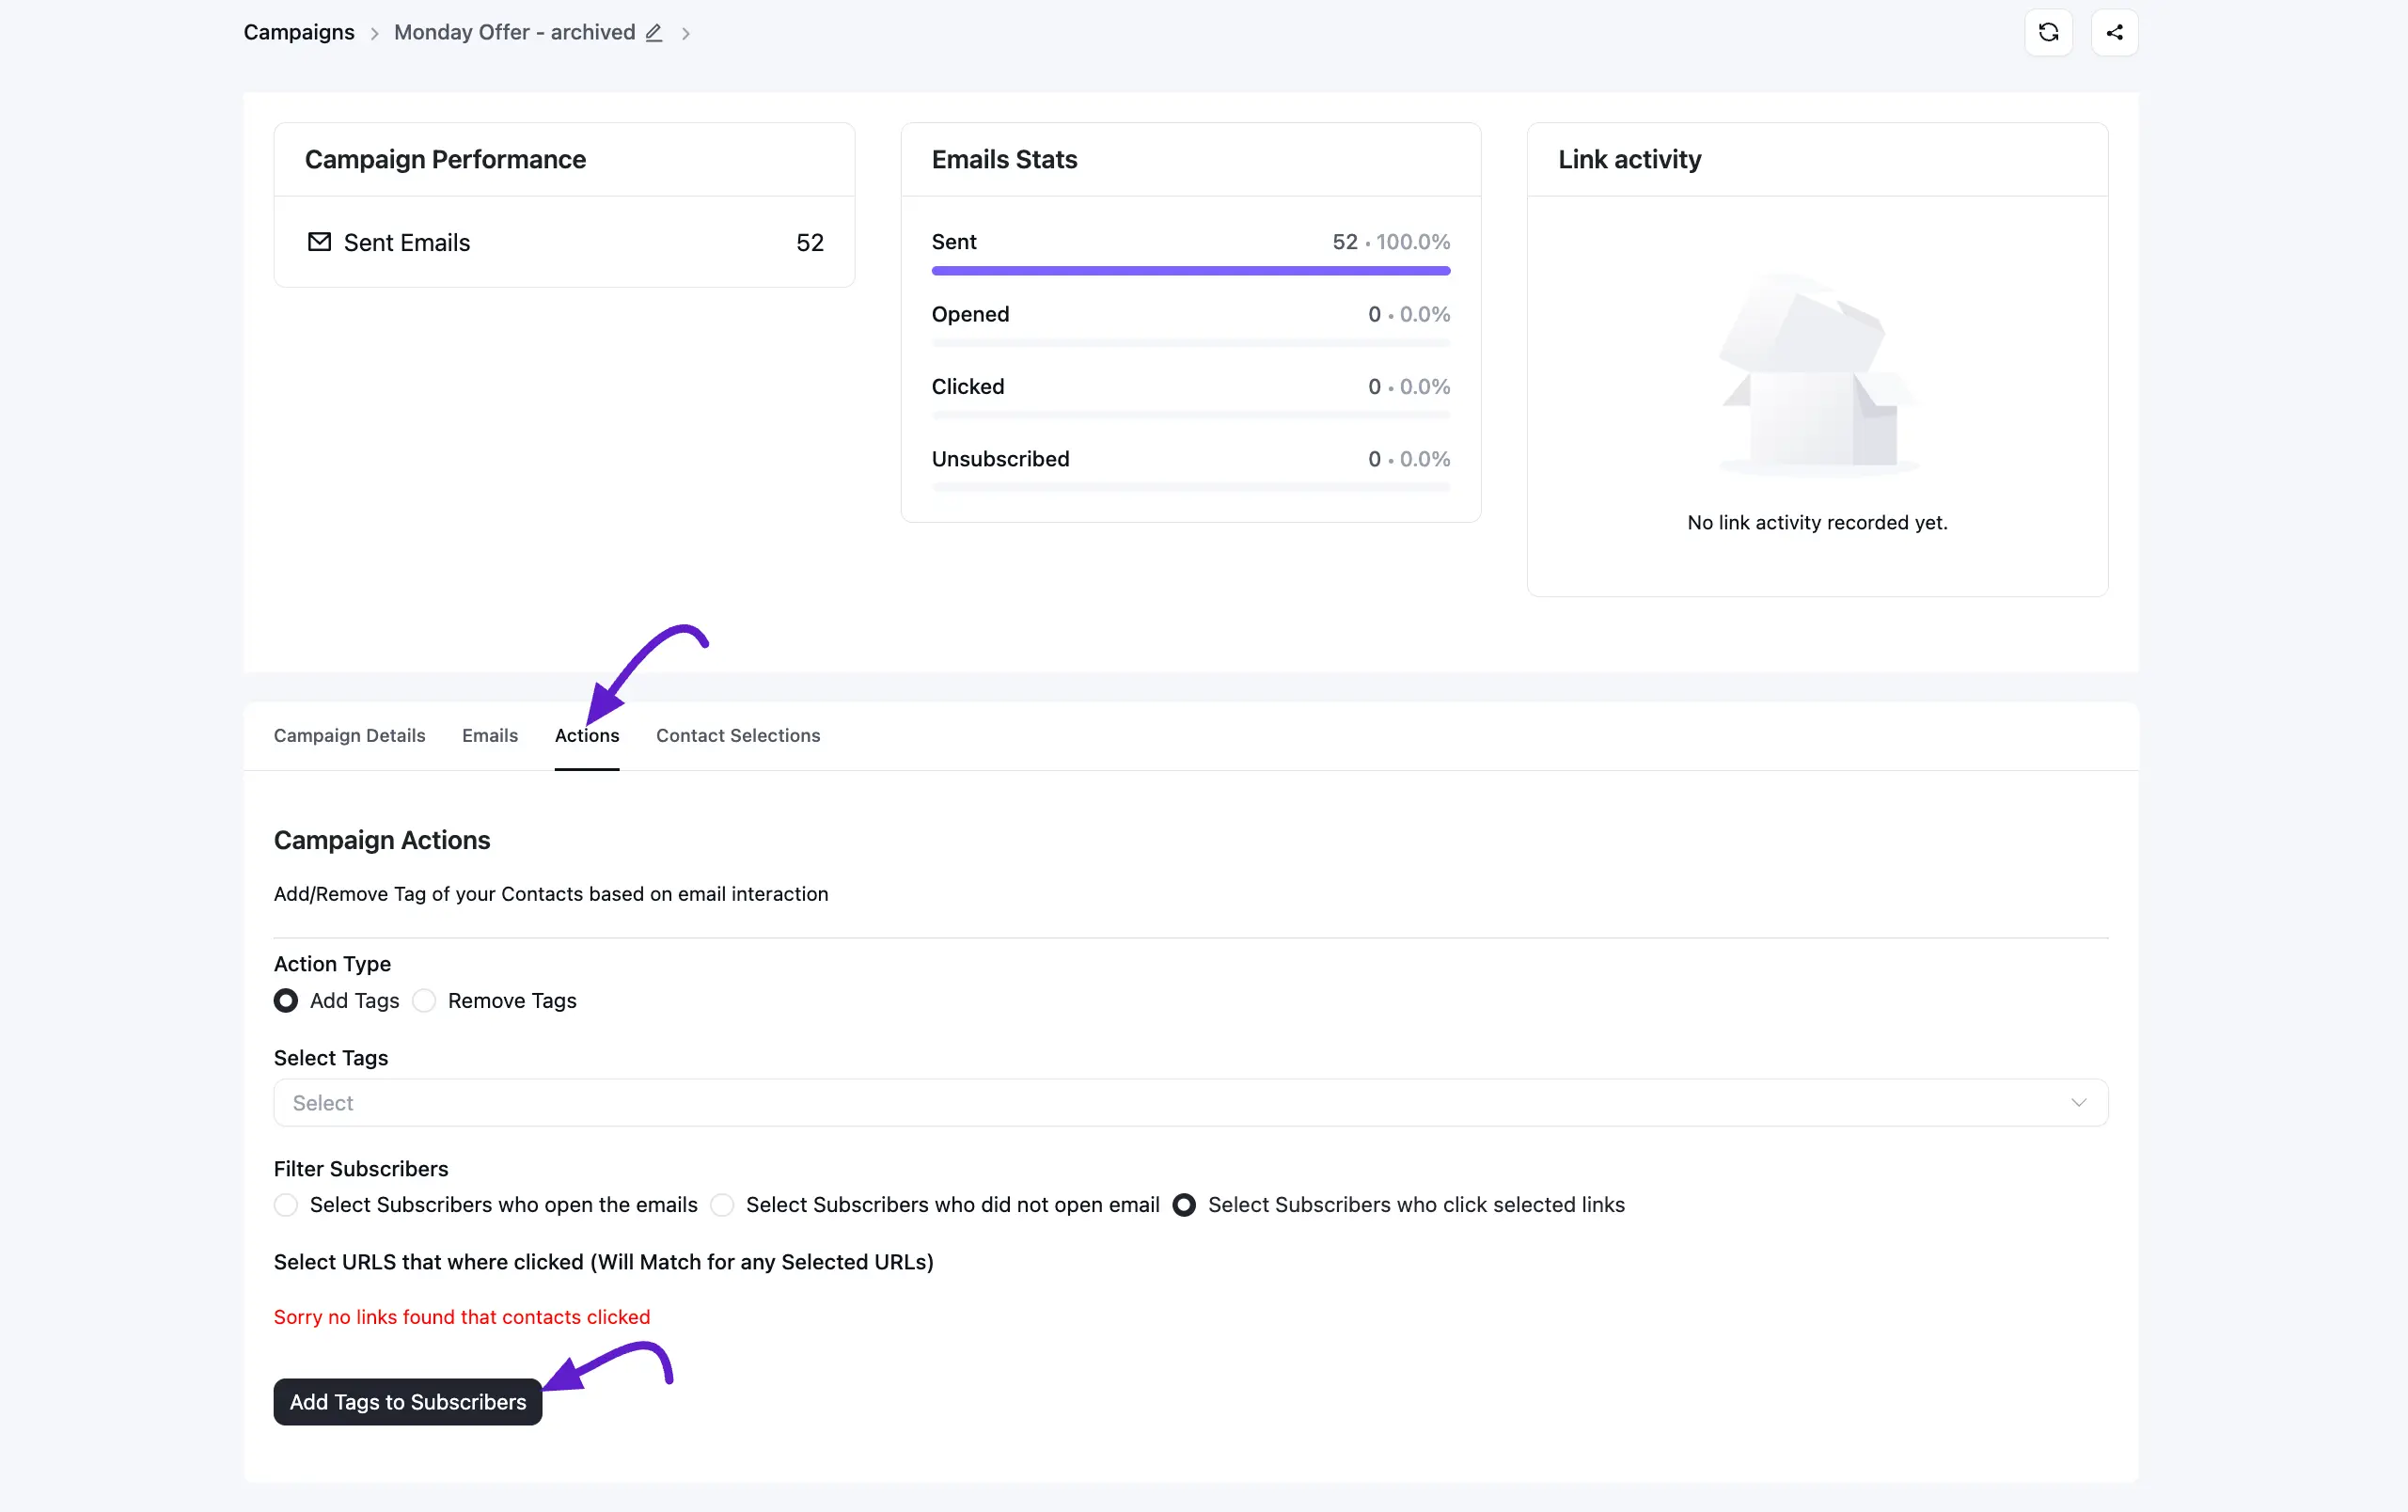
3. Actions
This feature allows for post-campaign automation based on how users interacted with the email:
- Action Type: Choose to Add Tags or Remove Tags for specific contacts.
- Filtering: Apply these tags to specific segments: subscribers who opened, subscribers who did not open, or subscribers who clicked selected links.
4. Contact Selections
Review the original logic used to target this campaign. This tab displays the specific Lists and Tags that were applied to filter the audience before the email was sent.
UTM Parameters in Campaign Details (new in v3)
If you applied UTM parameters during campaign setup (Email Campaigns → Subject & Settings), they are now visible directly inside the campaign's report:
- The Campaign Details tab shows the exact
utm_source,utm_medium,utm_campaign,utm_term, andutm_contentvalues that were appended. - The Link Activity widget displays the tagged URL alongside the click count, so you can match a click in your analytics tool back to the specific link in the email.
This is the easiest way to confirm – after the campaign has been sent – exactly how the campaign appears in Google Analytics, Plausible, or your reporting tool of choice.