Appearance
Email Templates
Creating a reusable design is the best way to maintain a consistent brand voice while saving time. From Emails ➜ Email Templates, you can build a library of designs to use across Campaigns, Sequences, and Automations.
Creating a New Email Template
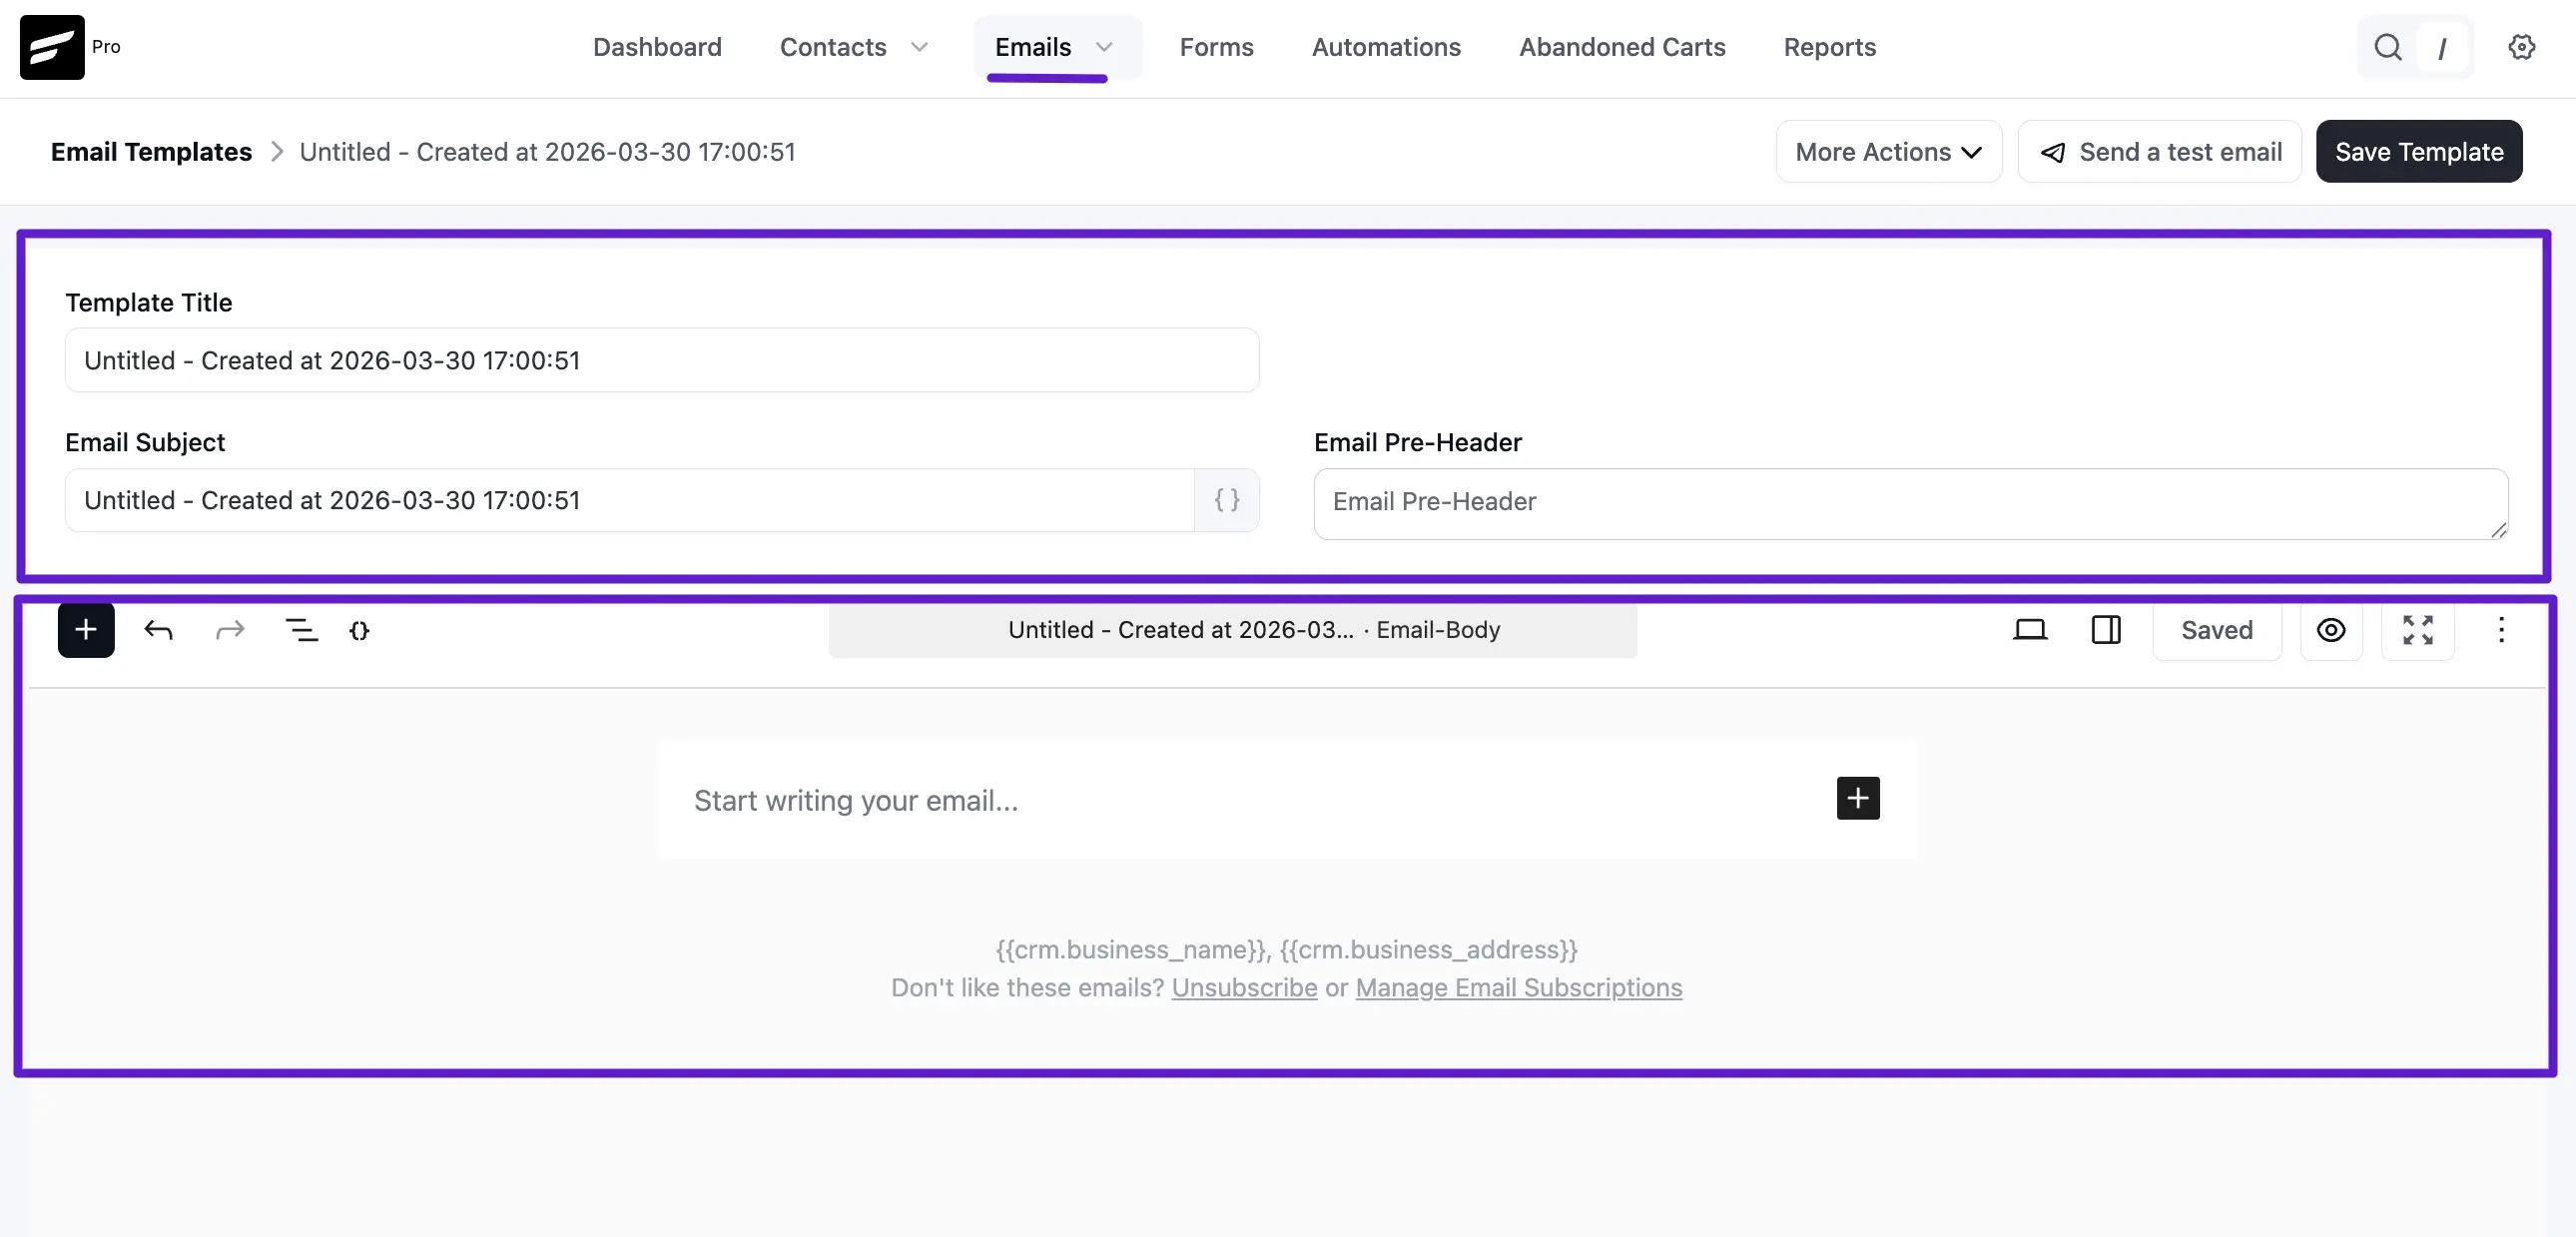
When you start a new template, you will see several key fields to help organize and design your message:
- Template Title: This is an internal name used as an identifier so you can easily find the template later.
- Email Subject: The primary line your recipients will see in their inbox. You can use the SmartCode icon {} to personalize this for each contact.
- Email Pre-Header: A short summary that appears next to the subject line in most email apps. It’s a great way to provide extra context and boost open rates.
- Email Body: Use the block editor or visual builder to compose your content. You can add text, images, and buttons to create a professional look.
Sending a Test Email
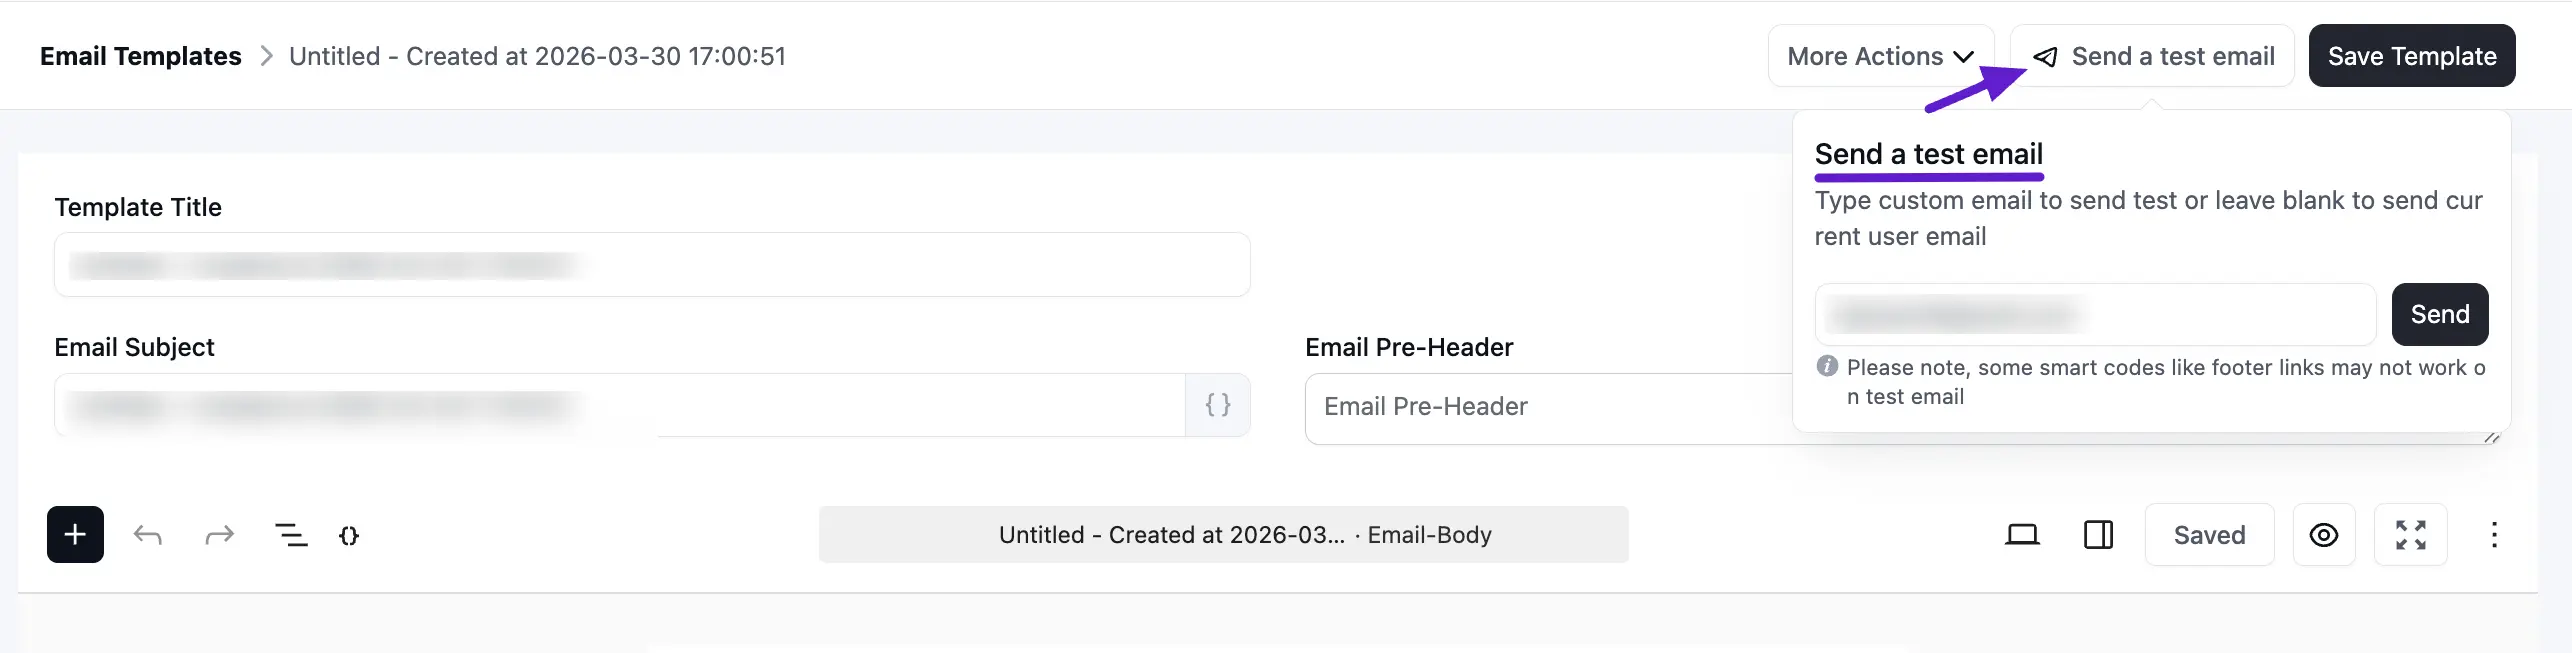
Before using a template in a live campaign, it is important to see how it looks in a real inbox.
Click the Send a test email button at the top right of the editor. A popup will appear. Type the custom email address where you want to receive the test. If you leave it blank, it will default to your current user email. After that, click Send.
Once the email is sent successfully you will see a Success Message saying the Test email is sent successfully. on the top right corner.
Importing External HTML Templates
If you have a pre-designed email template from another source, you can import it into FluentCRM:
- Go to Emails ➜ Email Templates and create a new template using the RAW HTML type.
- Upload your images to your WordPress Media Library and copy their URLs.
- Open your HTML file in a text editor and replace the old image paths with your new WordPress media URLs.
- Copy the updated code and paste it into the FluentCRM source box.
WARNING
Do not switch the template type after pasting your code, or you may lose your custom formatting.
Now, Click the Eye icon to preview the design, then Save and send a test email to verify the layout.
That’s it! Your template is now ready to be selected from the "Template" dropdown whenever you compose a new campaign or automation email.