Appearance
Elementor Integration with FluentCRM
FluentCRM is a Self Hosted Email Marketing Automation Plugin for WordPress. This plugin provides easy solutions to make your email marketing & customer relationship smooth. Now you can integrate the Elementor page builder native forms with FluentCRM.
Just follow this simple guide to learn how to integrate Elementor with FluentCRM.
Step 1: Create or Edit Your Page
Start by navigating to your WordPress dashboard and selecting Pages. You can either click Add New to create a fresh page or select an existing one. For this guide, we will use a page titled "Sample Page." Click the Edit with Elementor button to launch the editor.
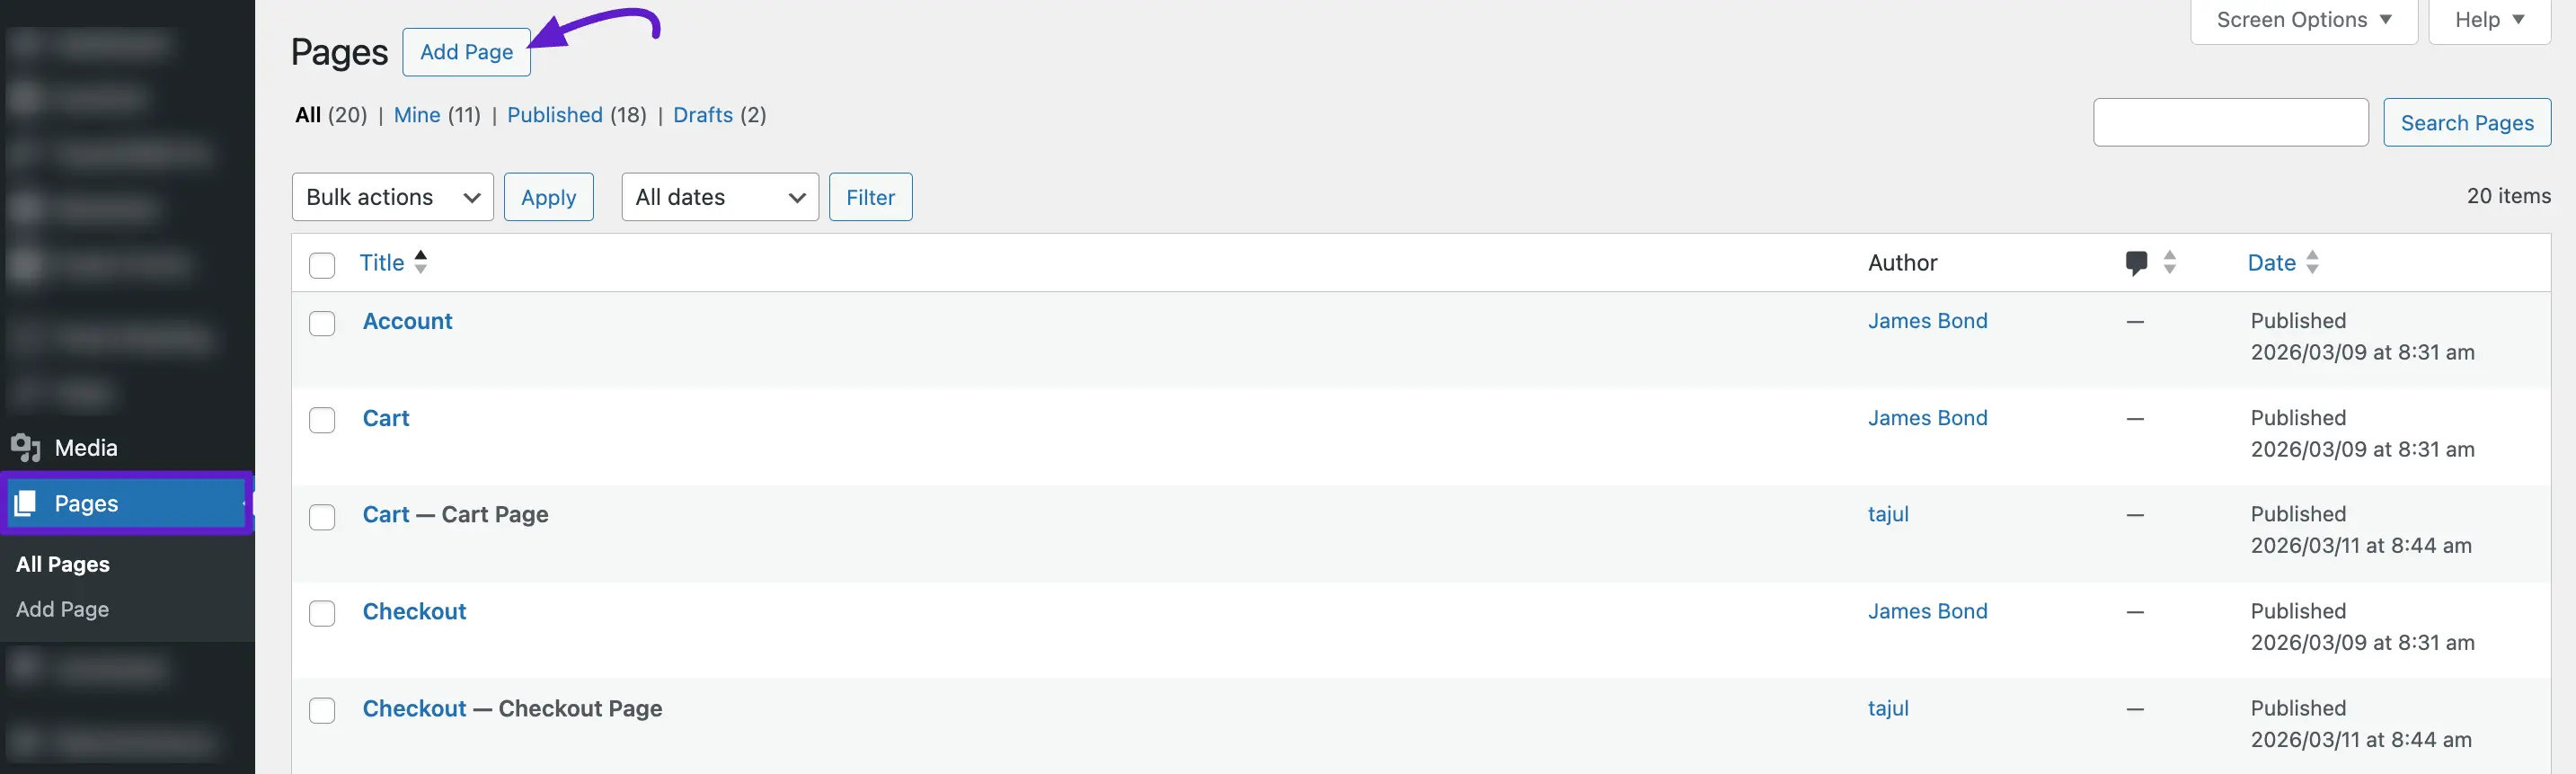
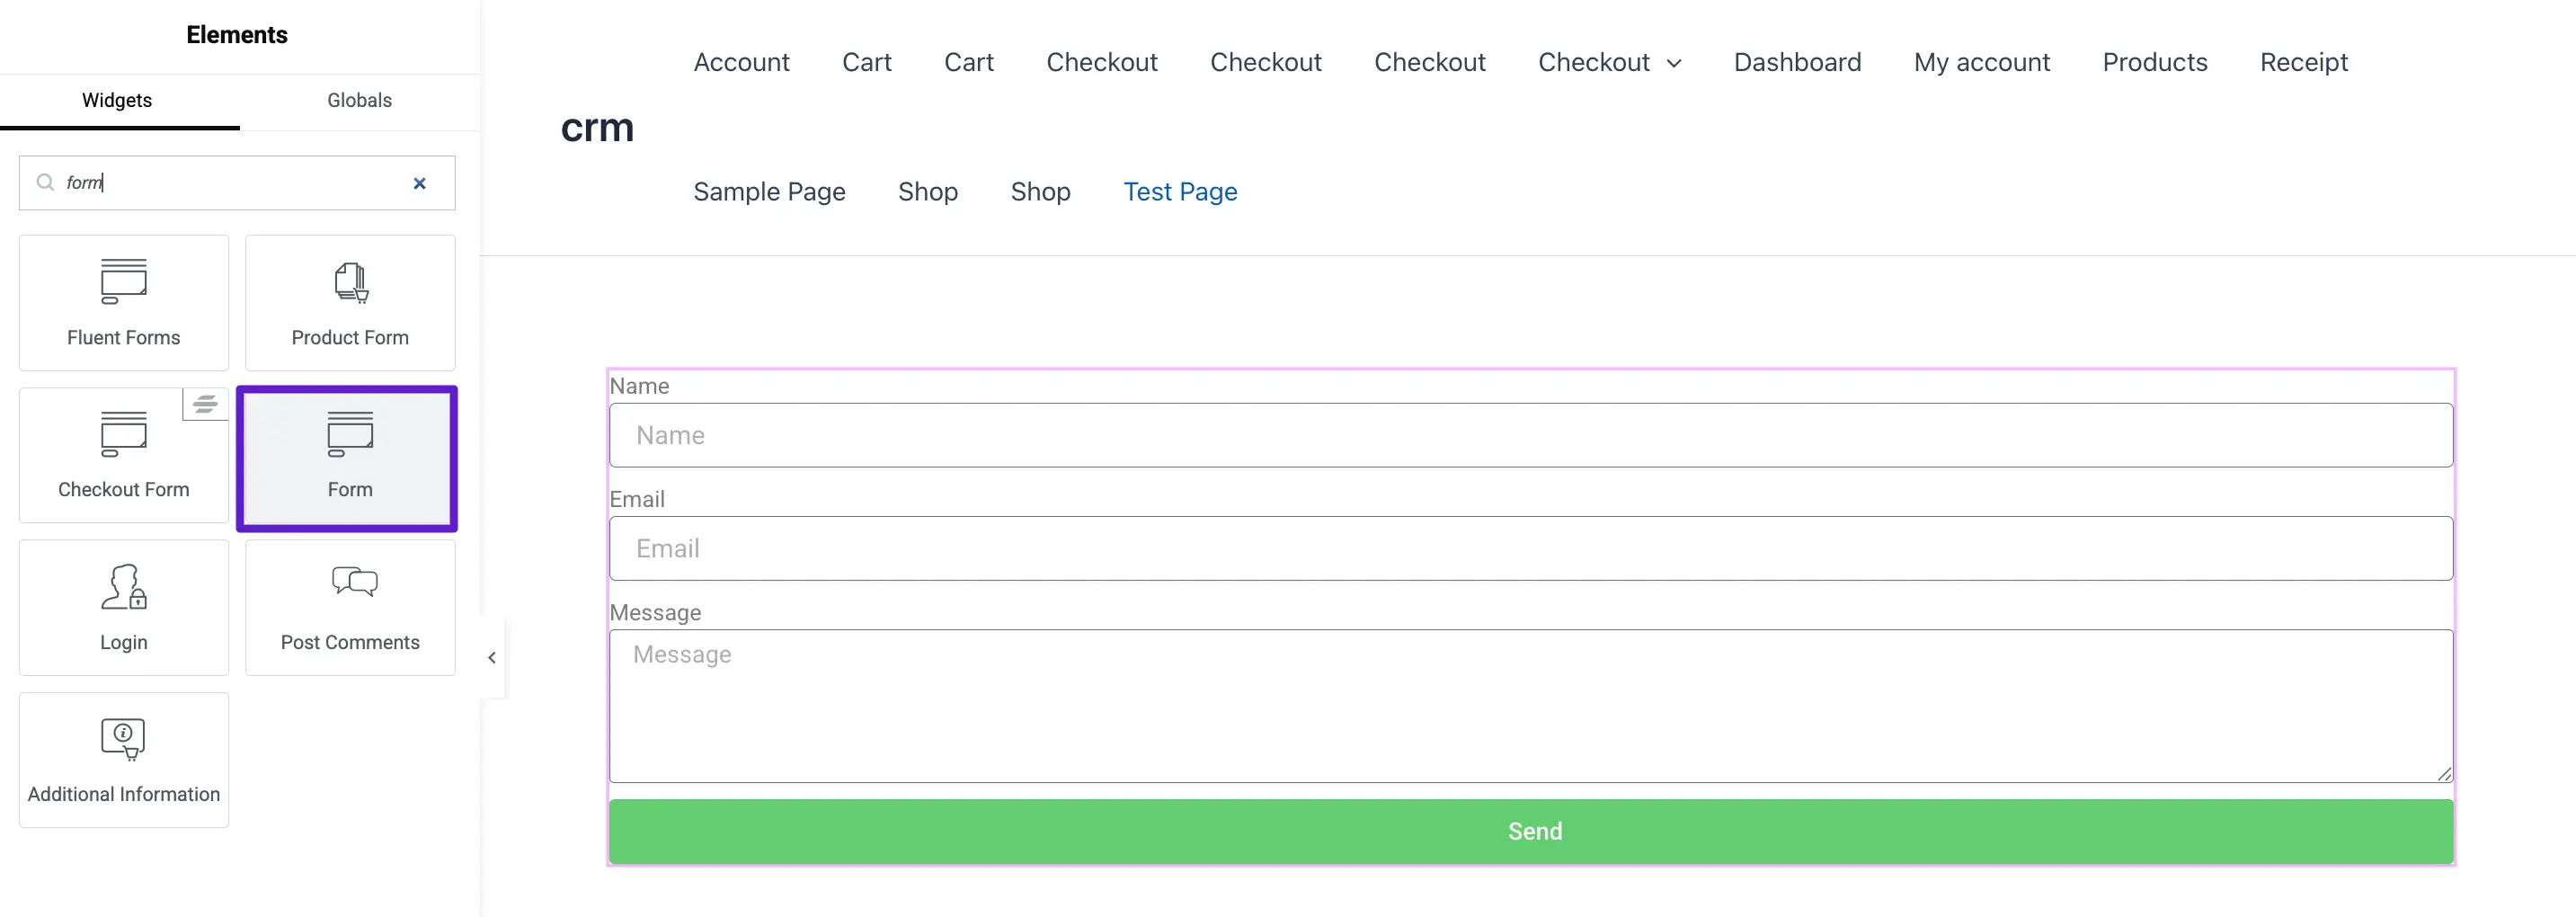
Step 2: Add the Form Widget:
In this example, the post is named as ‘Sample Page’. Then you have to click the Edit with Elementor button. Which will take you to the Elementor page editor.
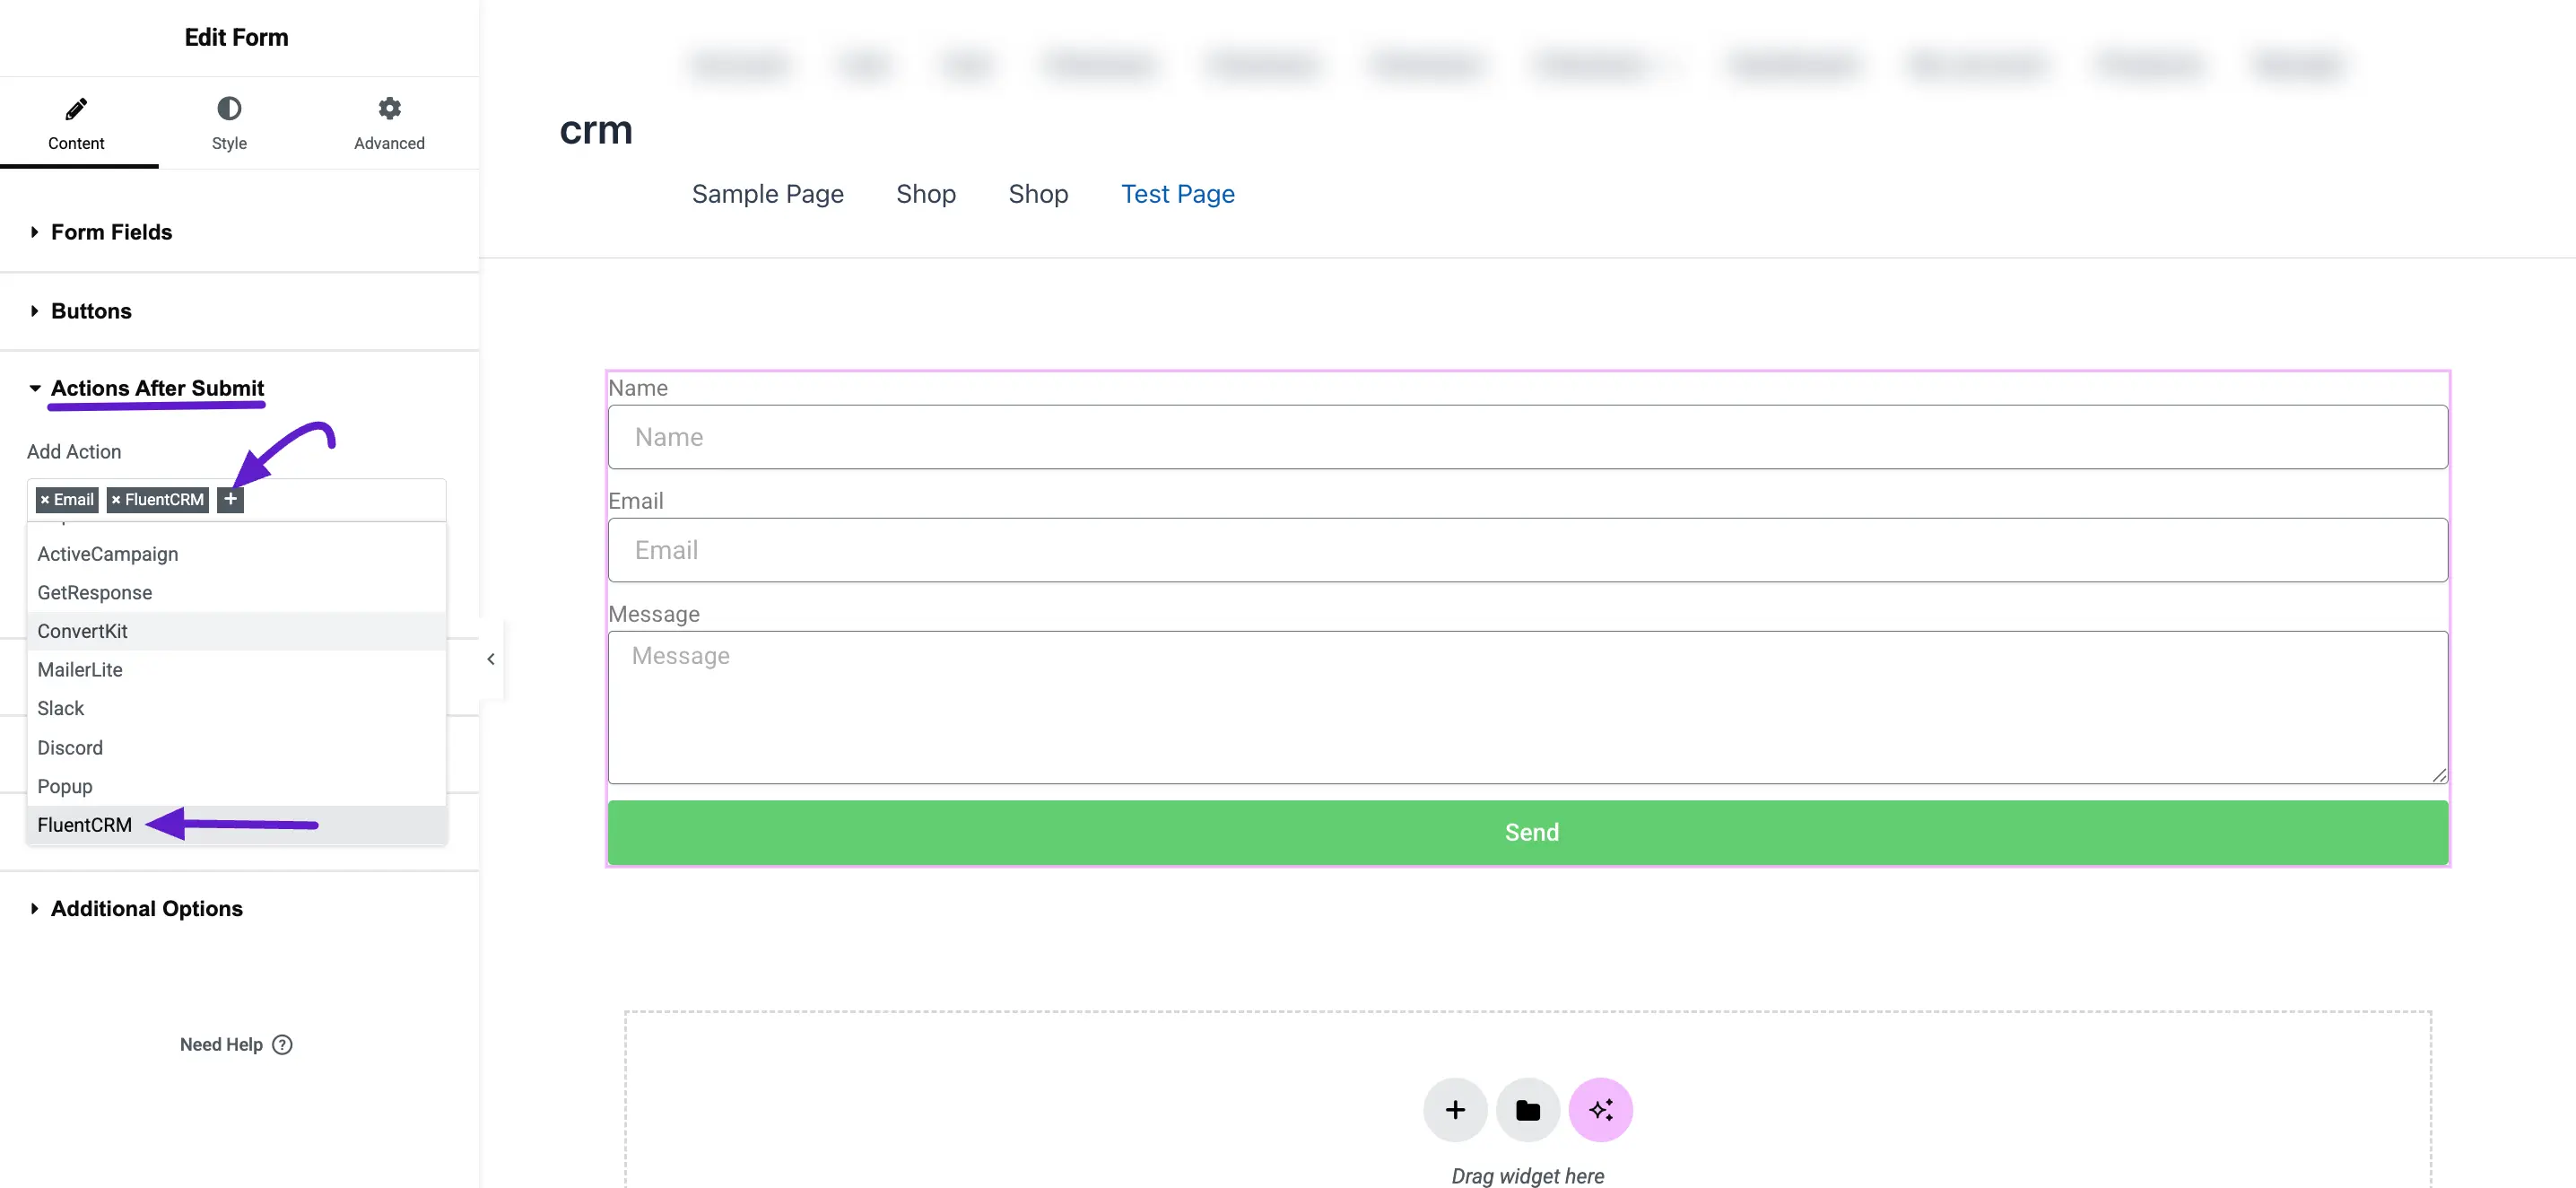
Step 3: Configure Actions After Submit:
Once your form is designed, look at the settings panel on the left.
Locate the Actions After Submit section. Click on the Add Action field (the '+' icon). Select FluentCRM from the dropdown menu. This tells Elementor to send the form data to your CRM.
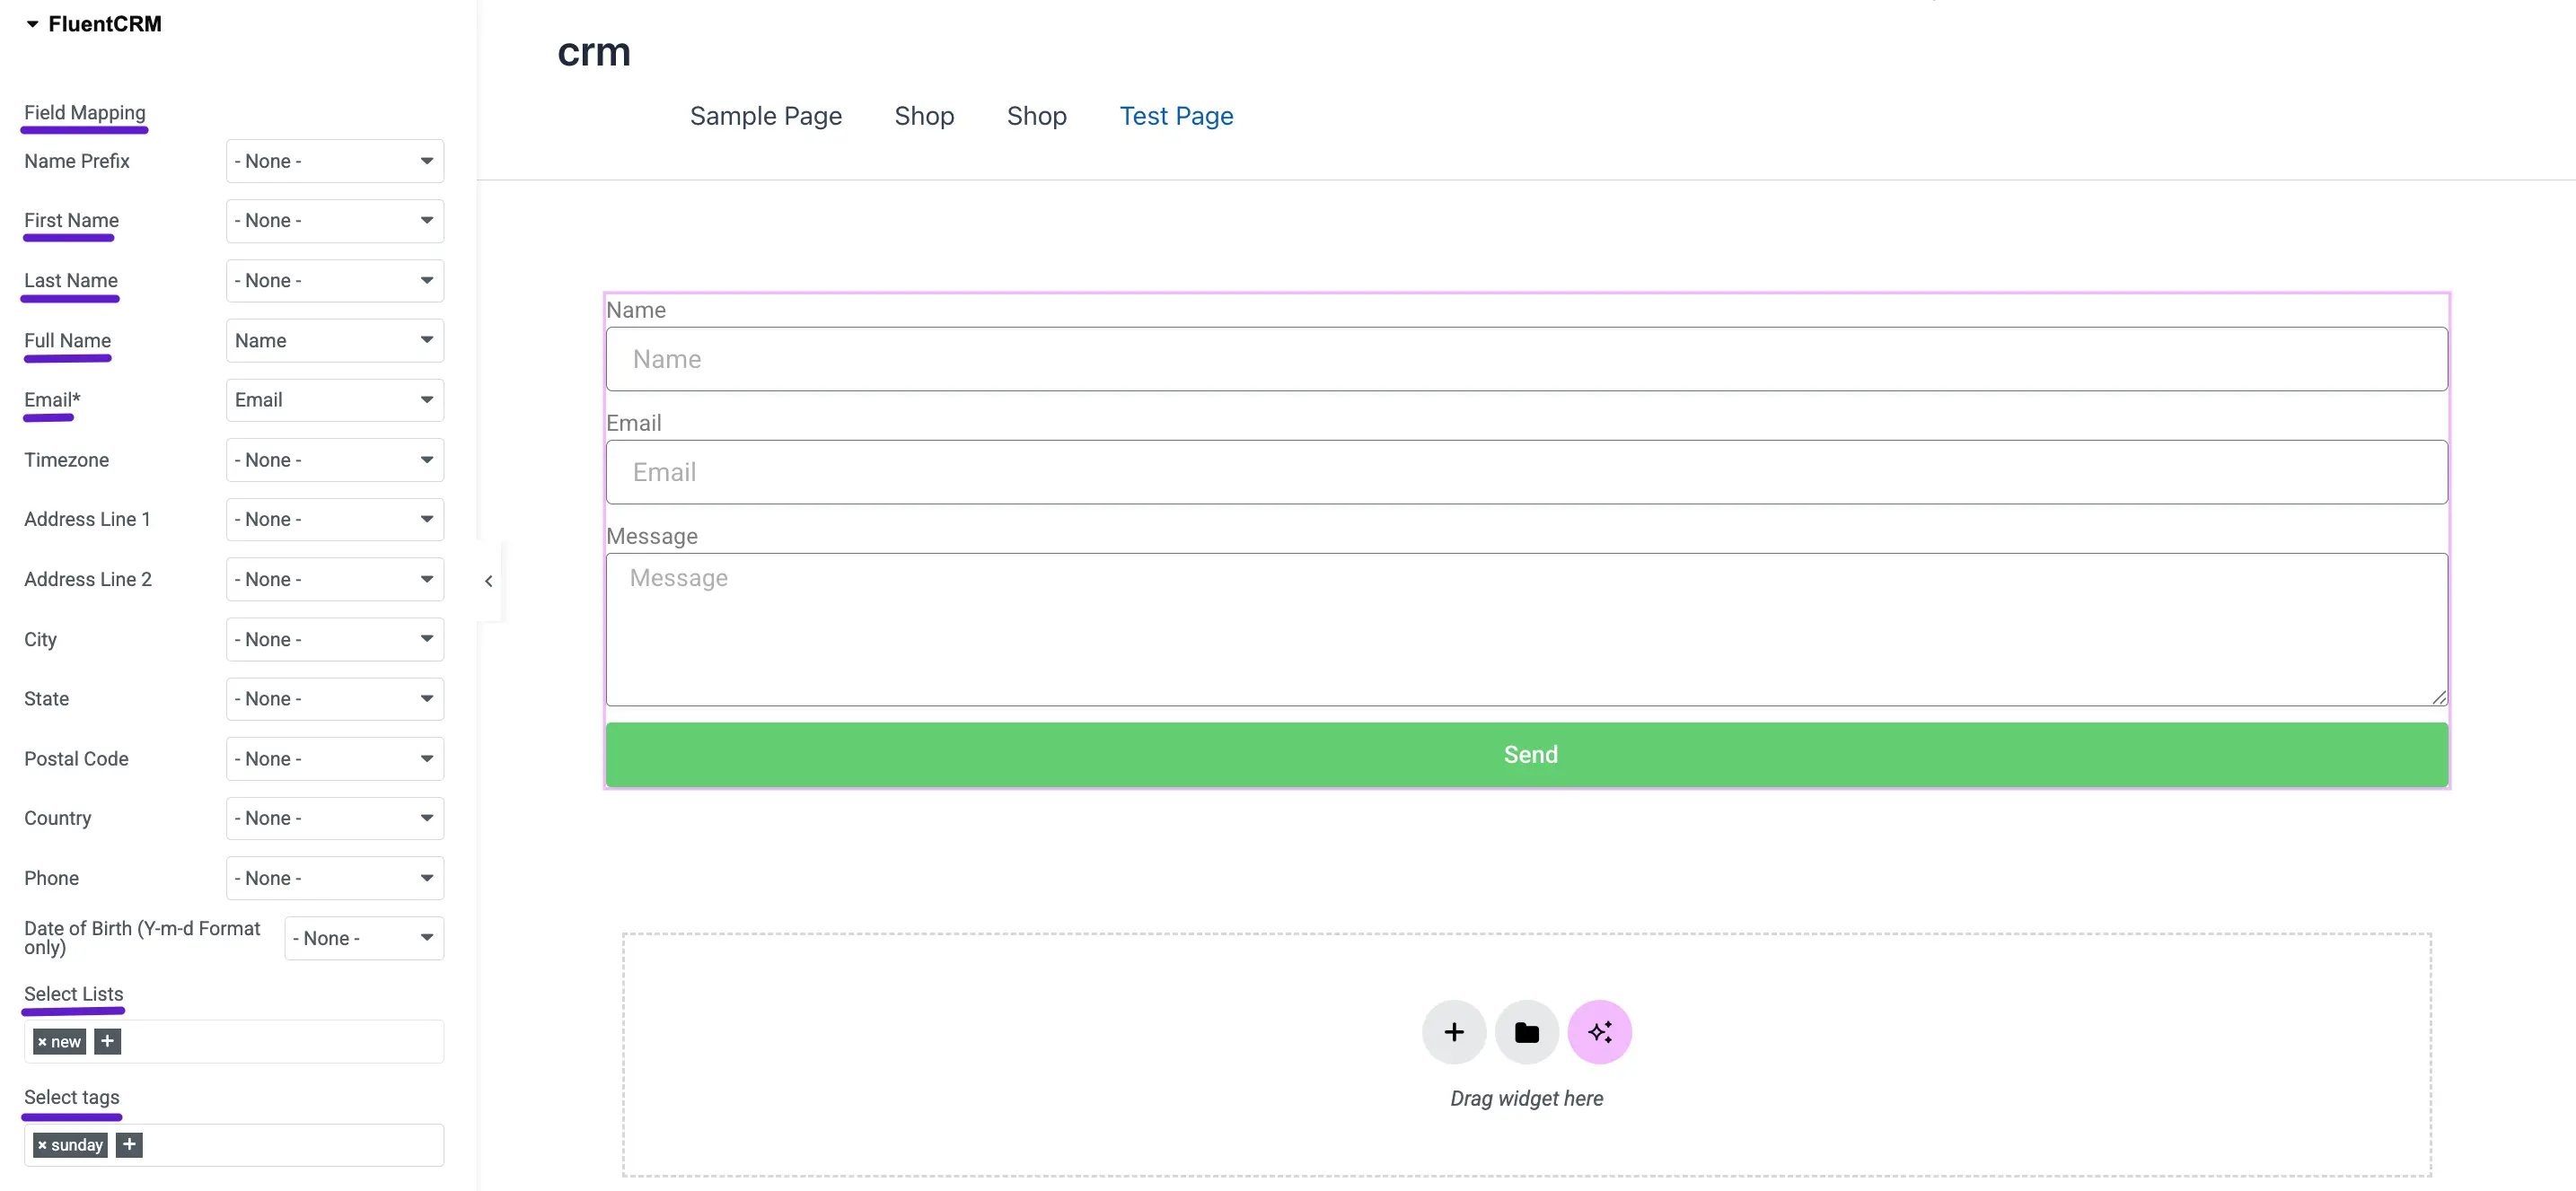
Step 4: Map Your CRM Fields:
After adding the action, a new section titled FluentCRM will appear below "Actions After Submit." Click it to configure the data mapping:
- Fields Mapping: Match your Elementor form fields to your FluentCRM fields (e.g., map the 'Email' form field to the 'Email' CRM field).
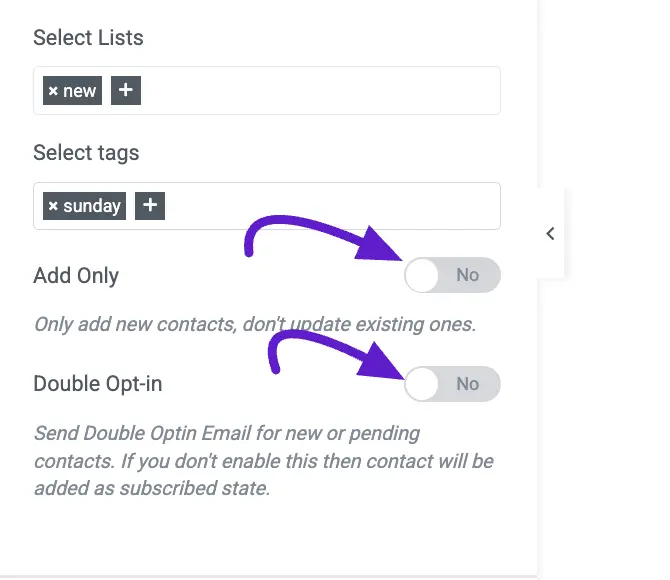
- Select List/Tags: You can also choose which specific Lists or Tags the contact should be assigned to upon submission.
Step 5: Configure Advanced Options (Optional):
FluentCRM provides additional controls to manage your contact data:
- Add Only: Enable this toggle if you only want to create new contacts and prevent the form from updating existing contact information.
- Double Opt-in: Turn this on if you want to send a confirmation email to new or pending contacts. If disabled, new contacts will be added directly with a "Subscribed" status.
Once you have mapped the fields and configured your preferences, click the Update (or Publish) button at the bottom of the Elementor panel to save your settings.
*Tutorial:* How to Connect Any WordPress Forms with FluentCRM