Appearance
General Settings
The General Settings section in FluentCRM allows you to bridge the gap between your WordPress site and your CRM. It ensures that your user data is synchronized, new signups are captured, and specific actions (like commenting or purchasing) trigger contact creation.
To access these settings, navigate to FluentCRM Dashboard ➜ Settings ➜ General Settings.
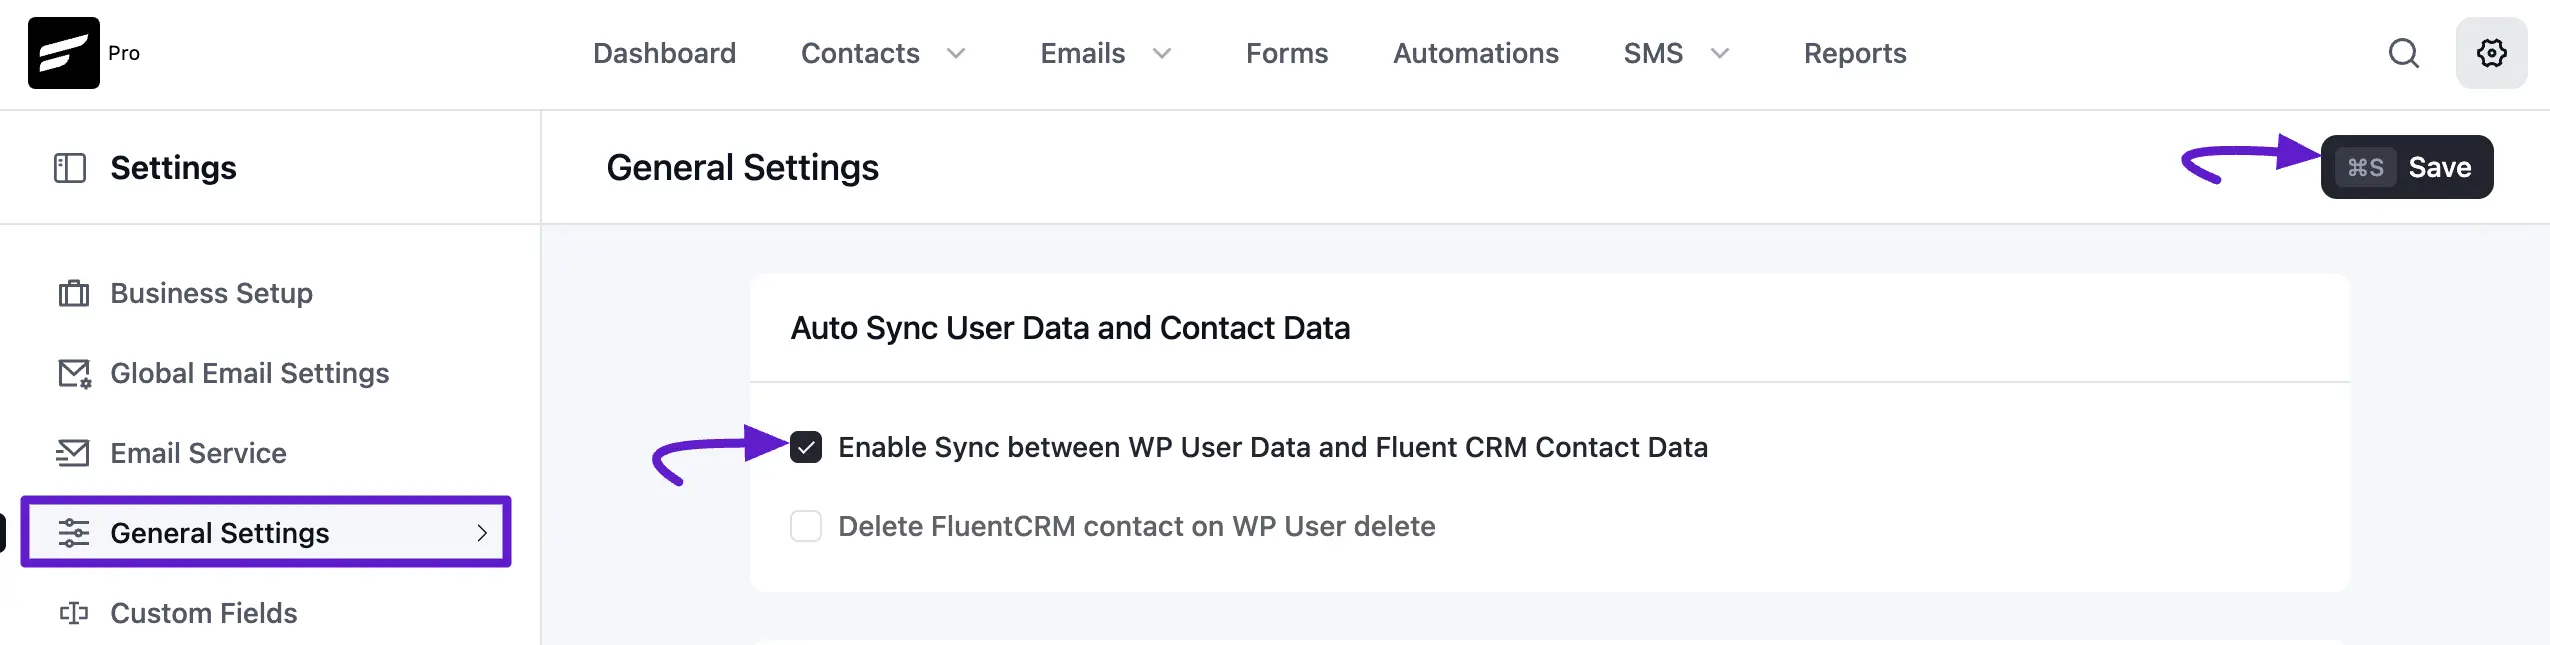
Auto Sync User Data and Contact Data
This feature keeps your WordPress user database and FluentCRM contact list in sync, so both stay updated with the same information.
- Enable Sync between WP User Data and FluentCRM Contact Data: By checking this, any changes made to a WordPress user's profile (like name or email) will automatically reflect in their FluentCRM contact profile and vice versa.
- Delete FluentCRM contact on WP User delete: If you want to keep your CRM clean, enable this to automatically remove a contact from FluentCRM when their corresponding WordPress user account is deleted.
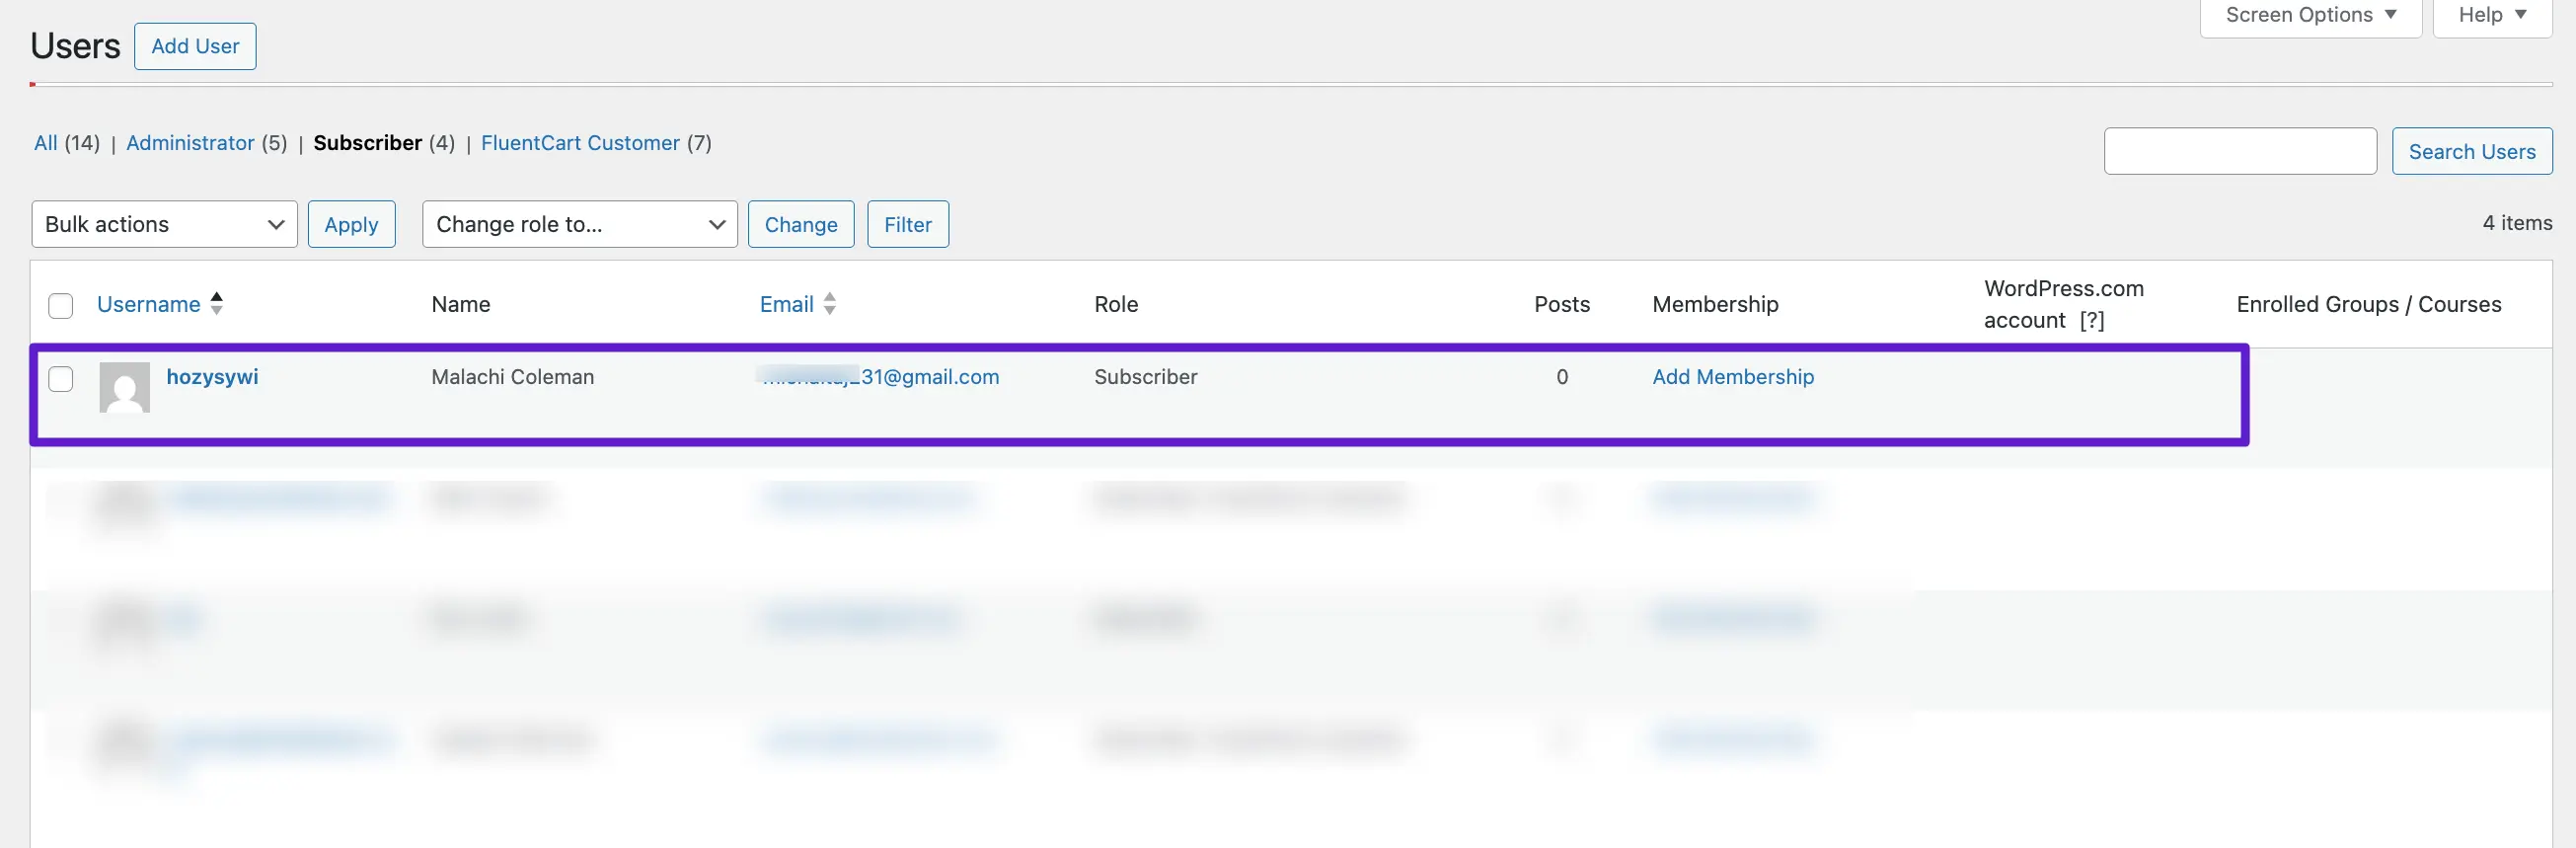
Below is an example screenshot of the WordPress users list that will be synced by this option.
User Signup Optin Settings
Capture every new member of your site automatically.
- Enable Create new contacts in FluentCRM when users register in WordPress: When this is active, any person who registers on your site is instantly added as a subscriber.
- List & Tag Mapping: You can assign specific Lists and Tags to these new signups. This is crucial for segmenting your audience for future automations or newsletters.
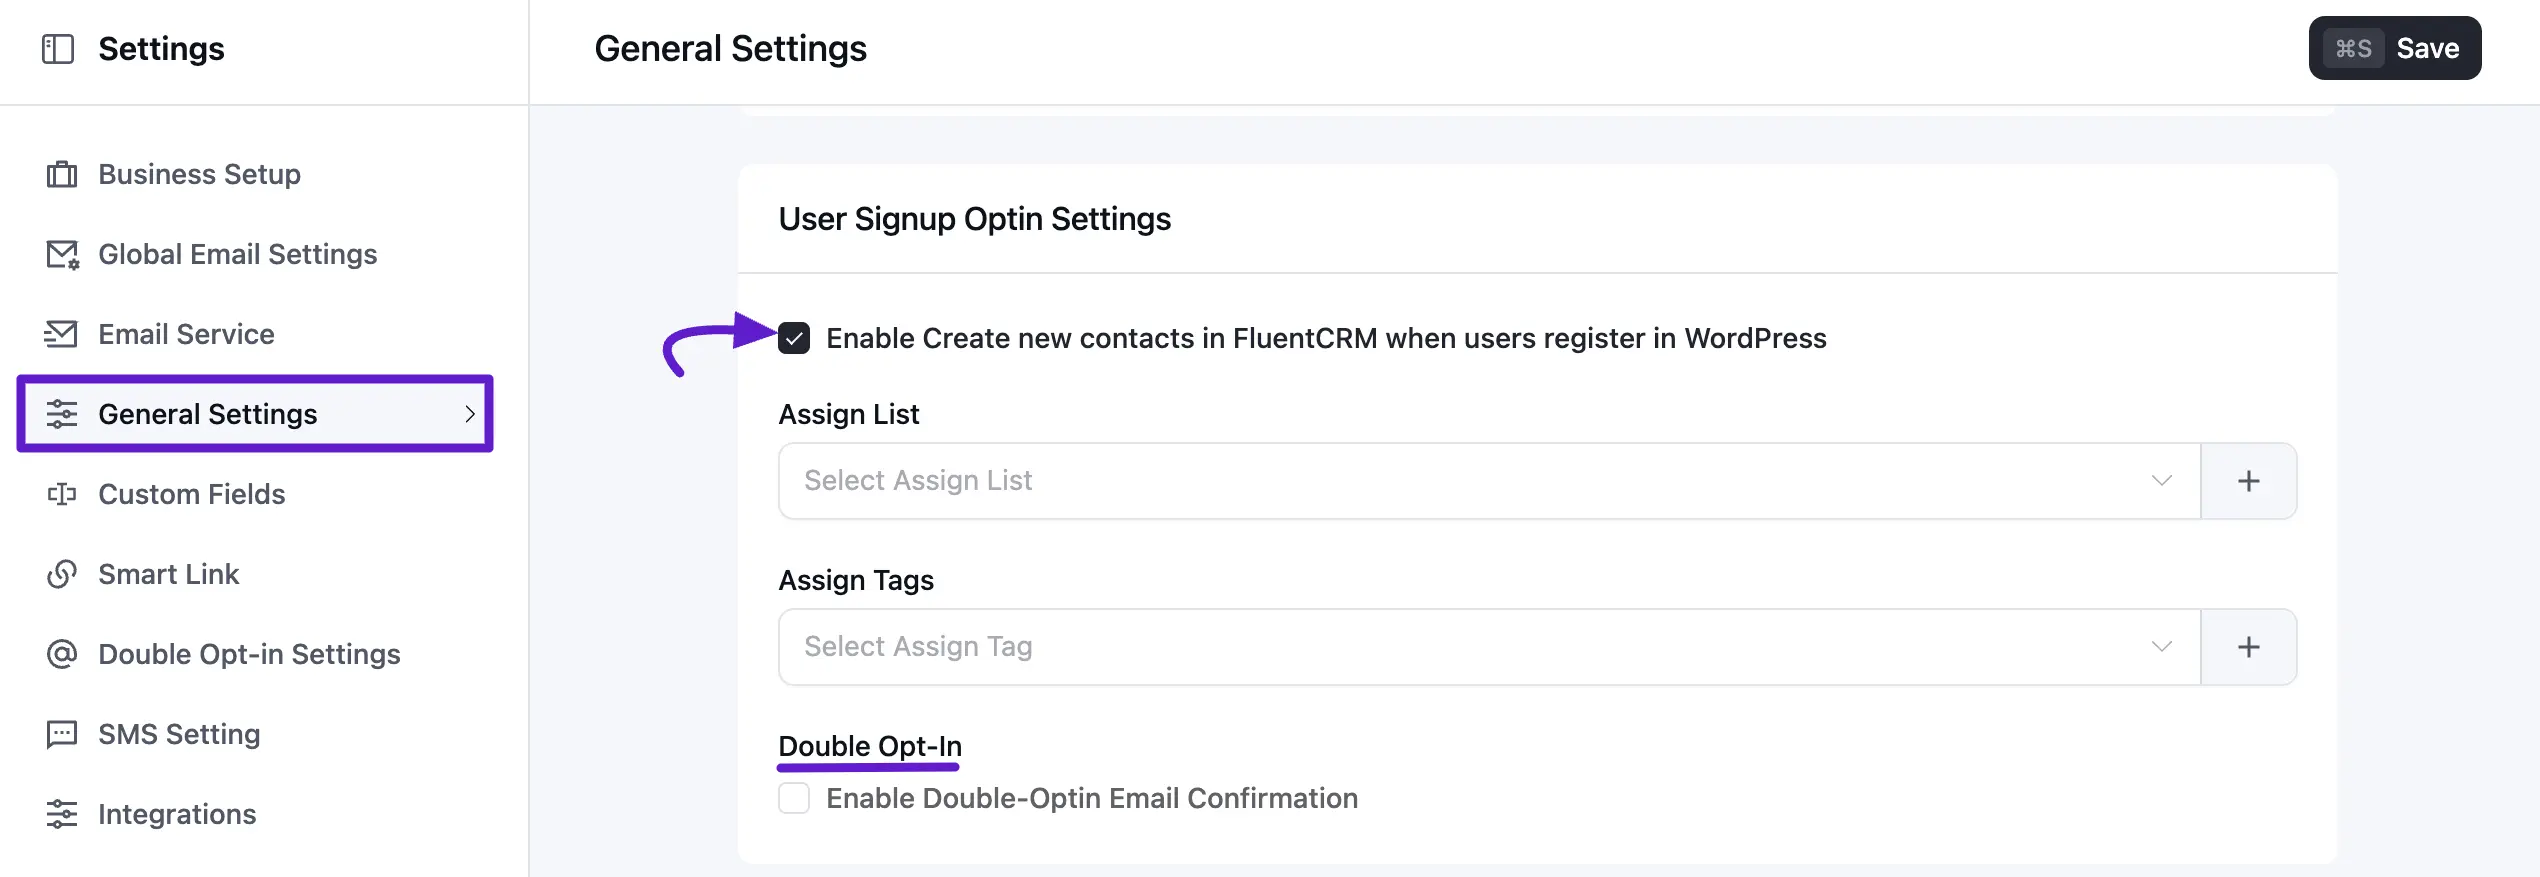
- Double Opt-in: To maintain GDPR compliance and ensure that contacts are real and valid, you can enable Double Opt-in Email Confirmation. When this is enabled, FluentCRM will automatically send a confirmation email to new contacts created from WordPress user signups. The user must confirm their subscription through this email before they are marked as Subscribed.
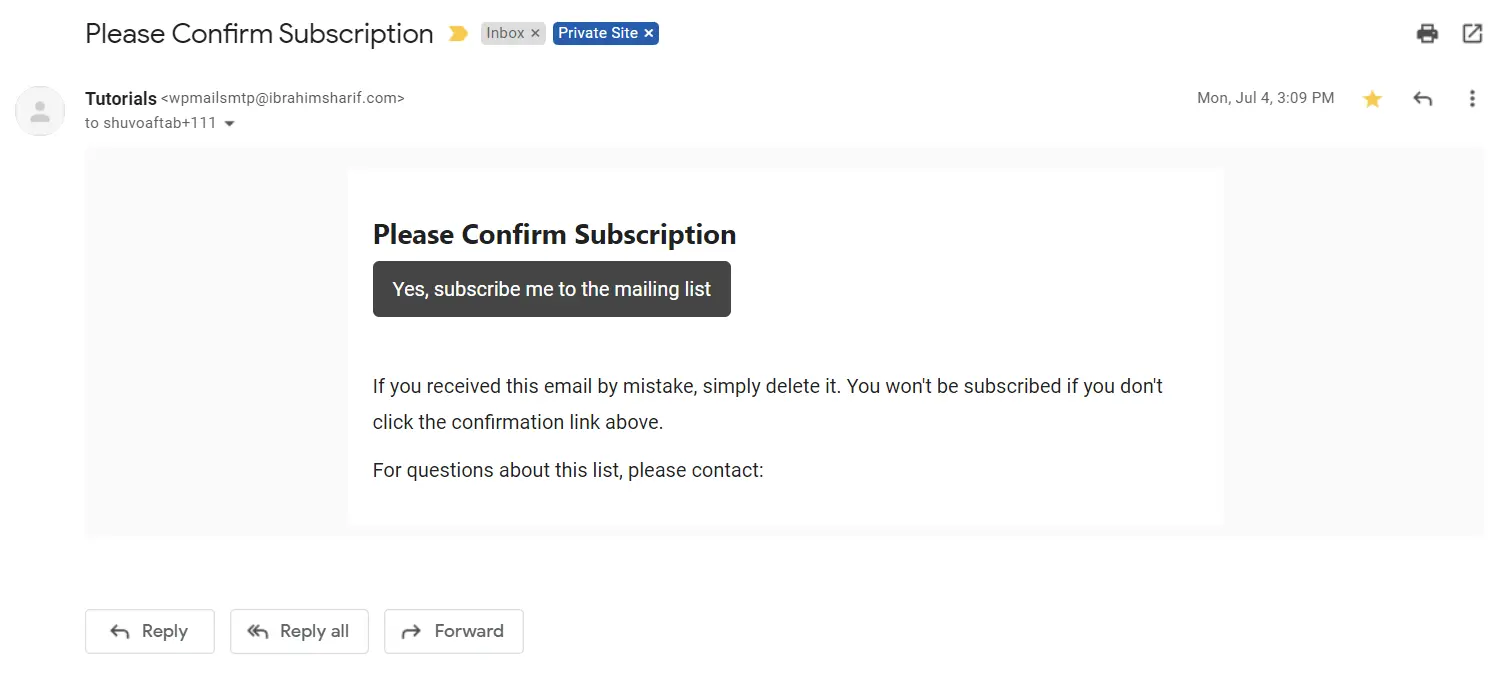
You can customize the content and email body from the Double Opt-in Settings. Below is an example of a typical opt-in confirmation email sent to users.
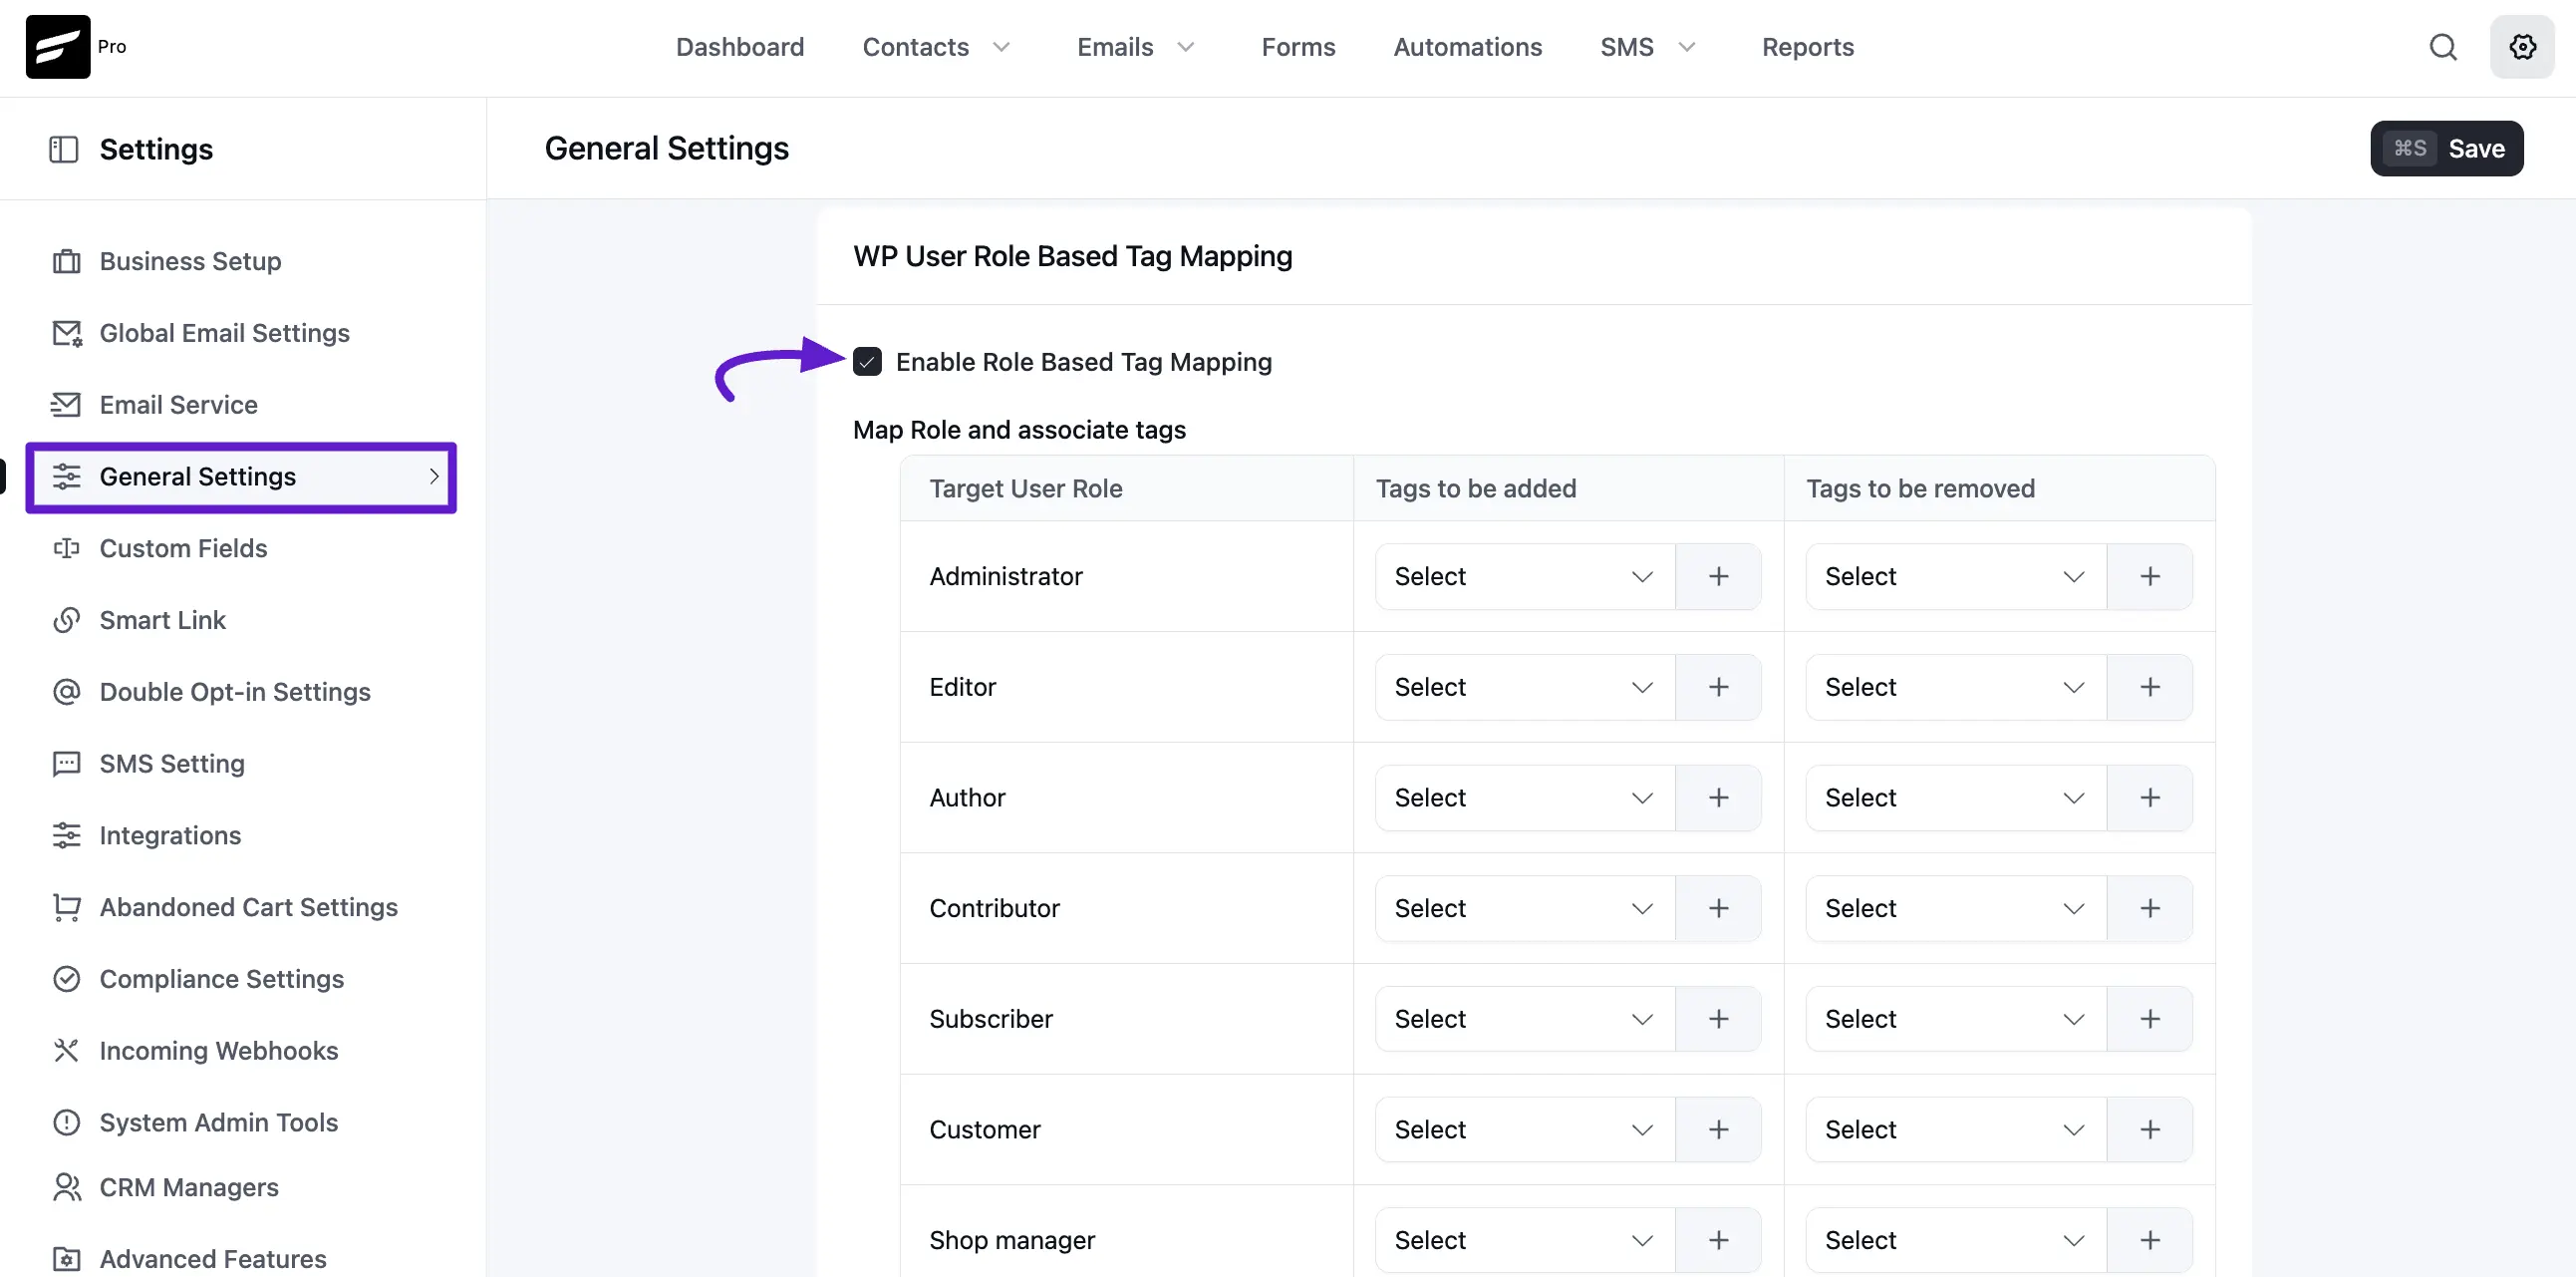
WP User Role Based Tag Mapping
This is a powerful way to segment contacts based on their level of access. You can automatically add or remove tags when a user’s WordPress role changes (e.g., from Subscriber to Author).
- How it works: For each role (Administrator, Editor, Customer, etc.), you can define which tags should be added and which should be removed.
- Example: If a user is promoted to "Shop Manager," you can add the "Team" tag and remove the "Customer" tag automatically.
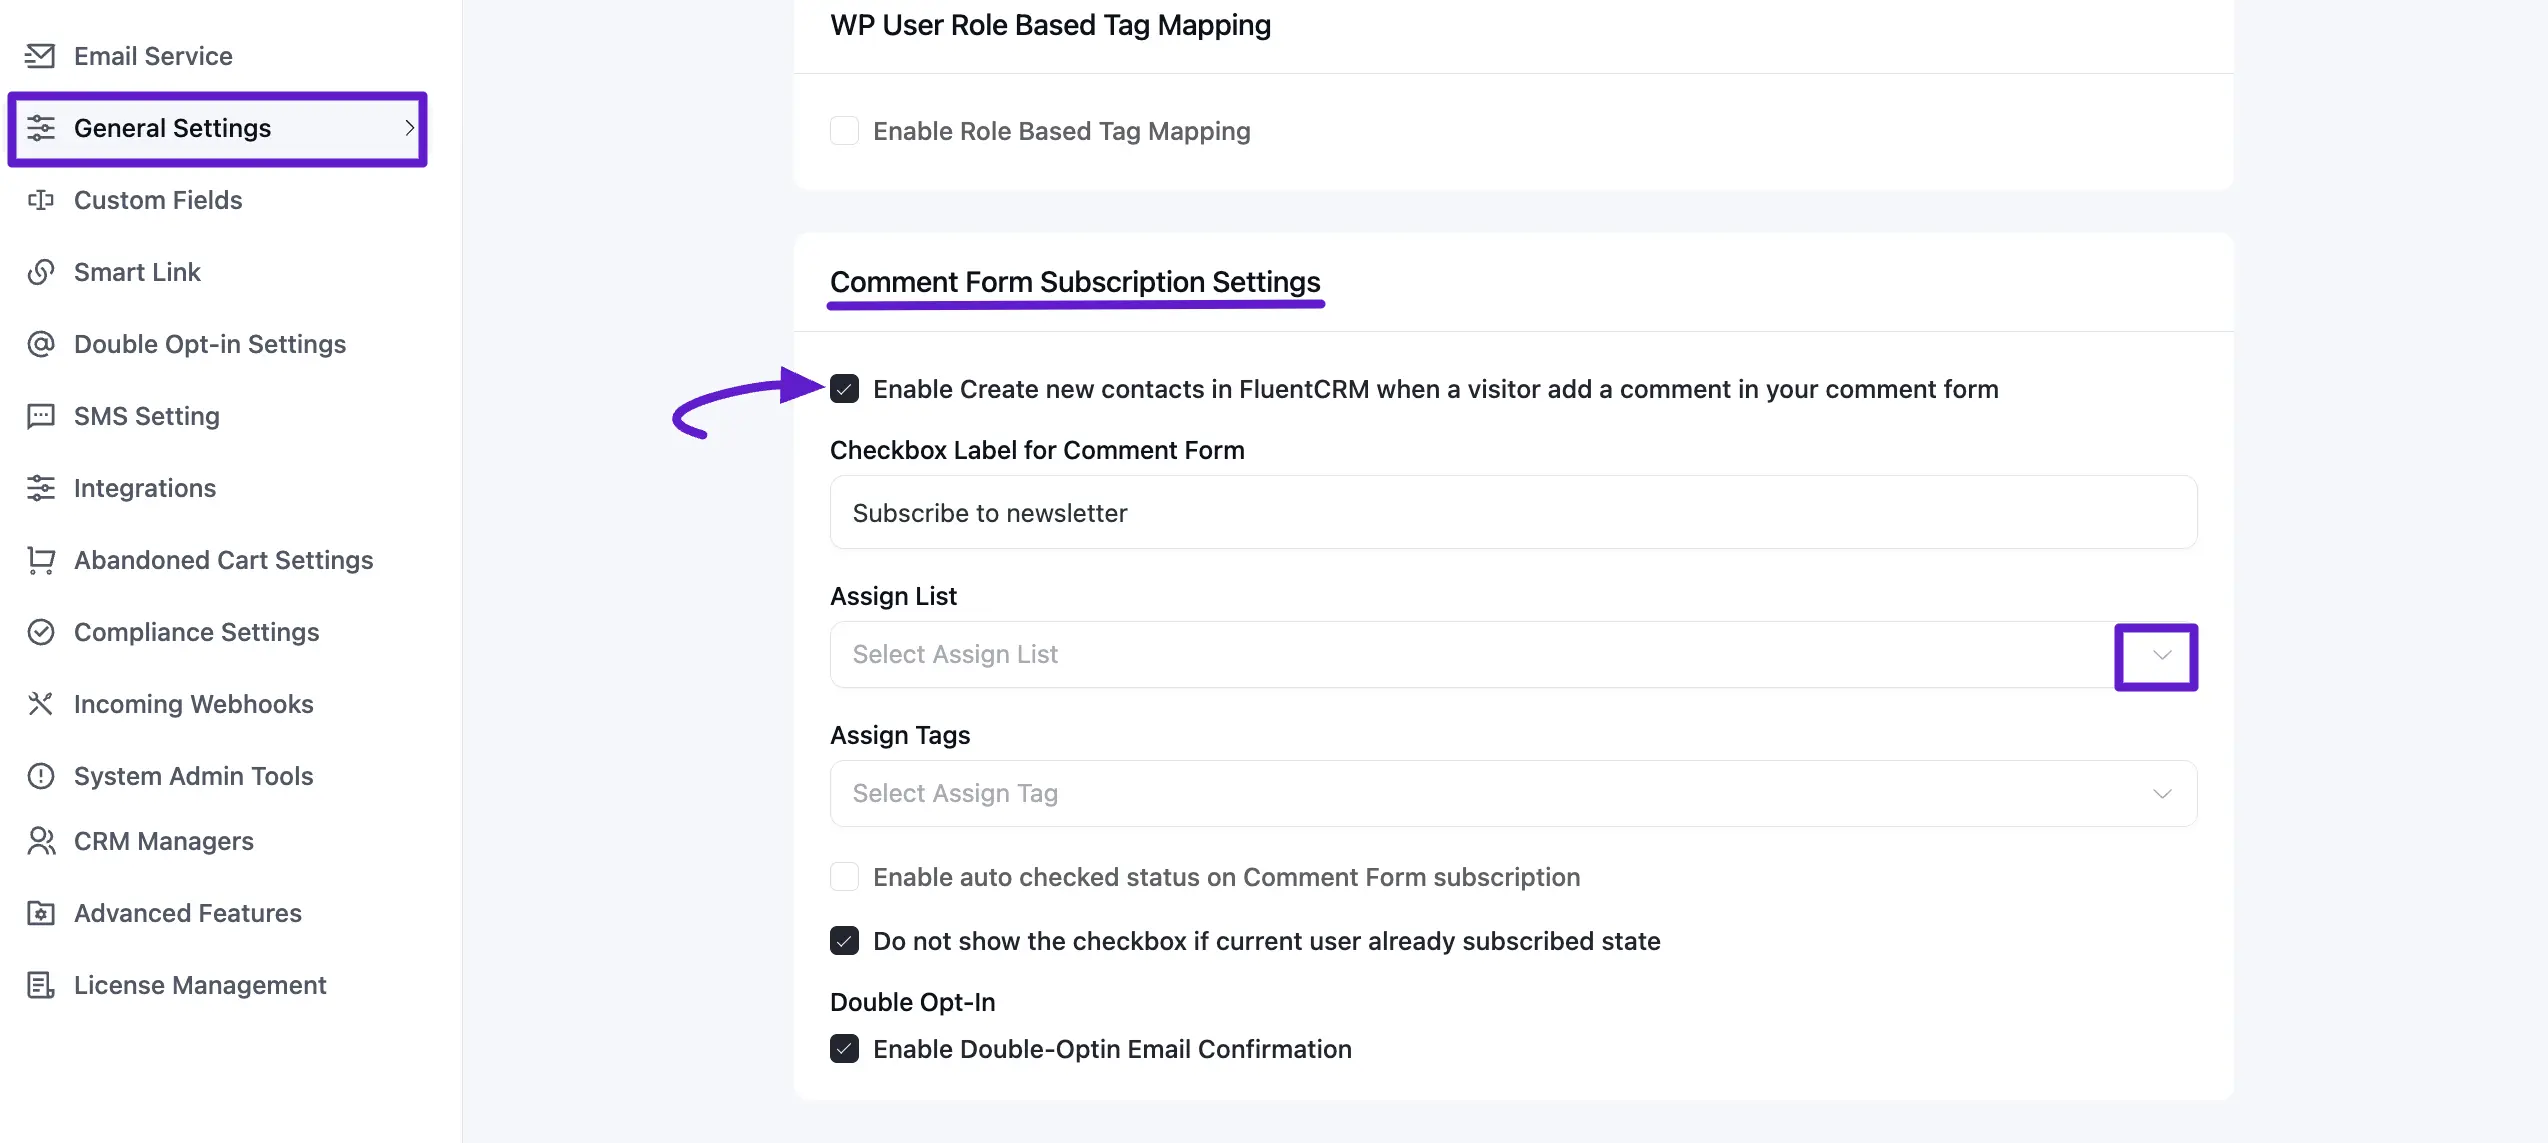
Comment Form Subscription Settings
Turn your blog commenters into email subscribers by adding a simple checkbox to your WordPress comment form.
Enable Comment Form Subscription: Check the box for Enable Create new contacts in FluentCRM when a visitor adds a comment in your comment form. This will display a subscription checkbox right below the comment box on your website.
Configure Your Settings: Once enabled, you can customize how the subscription works:
- Subscription Checkbox Label: Enter the text your visitors will see next to the checkbox. Example: "Join our newsletter for more tips and updates!"
- Assign Lists & Tags: Select which Lists the contact should join and apply specific Tags (like "Commenter") to help you identify their source later.
- Enable auto-checked status: Check this if you want the box to be ticked by default for every visitor.
- Do not show the checkbox if the current user already subscribed state: This is a "Smart Display" feature. If a visitor is already in your FluentCRM list, the checkbox will stay hidden to keep your form clutter-free.
- Enable Double Opt-in email Email Confirmation: Turn this on to send a verification email to the user before they are officially subscribed. This is highly recommended for GDPR compliance and list health.
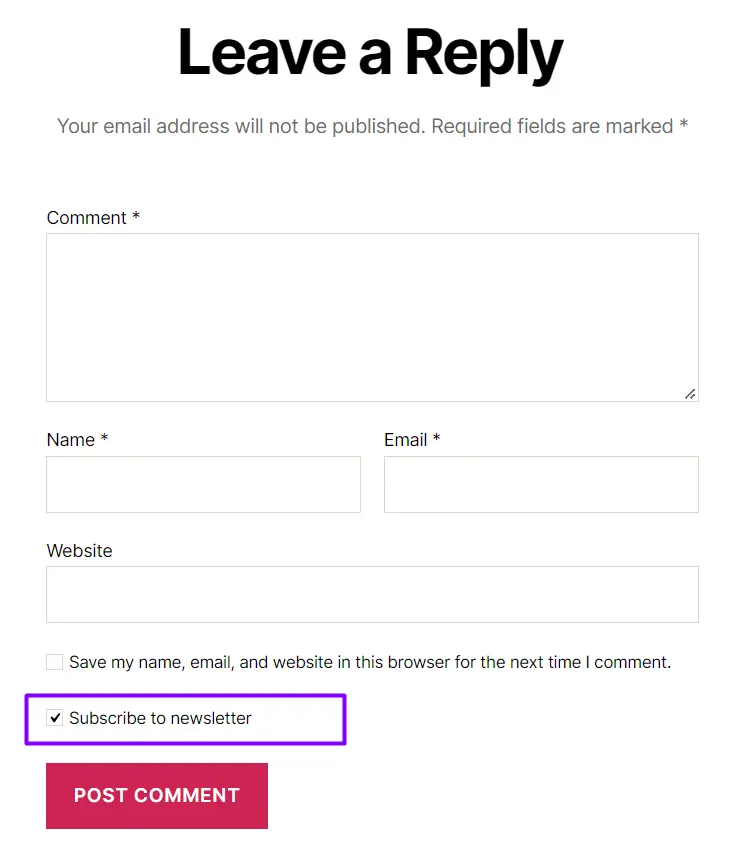
Below is an example of how the Checkbox is shown to the user.
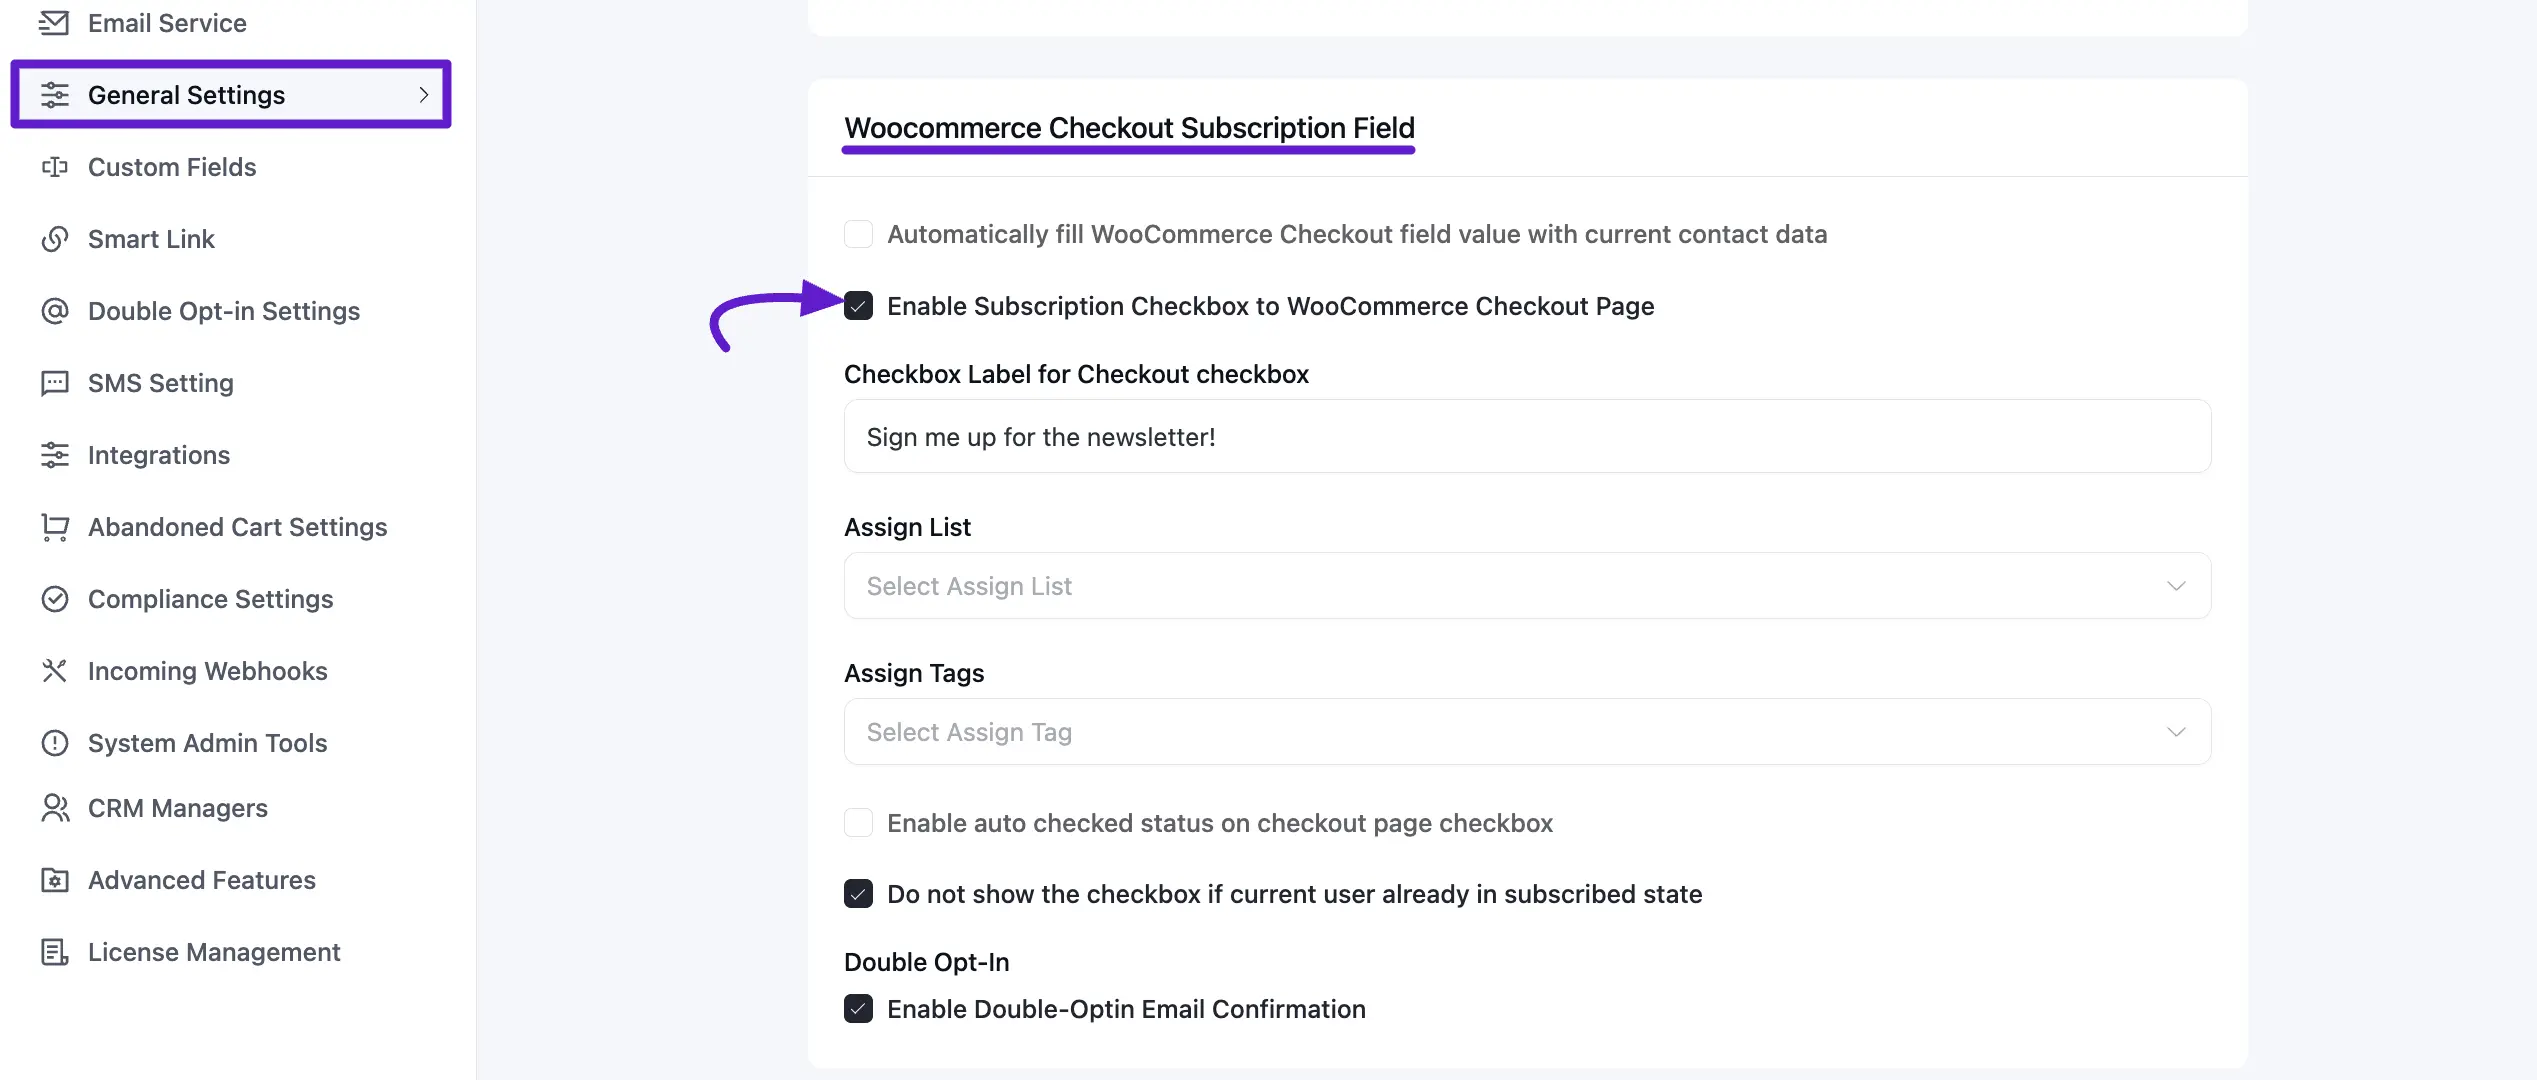
Woocommerce Checkout Subscription Field
Turn your customers into subscribers during the checkout process. This feature adds a subscription checkbox to your WooCommerce checkout page, allowing you to capture leads while they are making a purchase.
Enable Checkout Subscription: Check the box for Enable Subscription Checkbox to WooCommerce Checkout Page. This will place a signup option directly on your checkout form, making it easy for customers to join your list.
Configure Your Settings: You can fully customize how this field appears and functions:
- Subscription Checkbox Label: Customize the text that appears next to the checkbox on the checkout page. Example: "Yes, I'd like to receive exclusive offers and updates via email!"
- Assign Lists & Tags: Choose which Lists the customer should be added to and assign specific Tags (e.g., "Customer" or "Store Buyer") to track their purchase behavior.
- Enable auto-checked status: If enabled, the checkbox will be automatically ticked when the customer lands on the checkout page.
- Do not show the checkbox if the current user already subscribed state: This "Smart Display" feature hides the checkbox if the customer is already a contact in your FluentCRM list, ensuring a cleaner checkout experience.
- Enable Double Opt-in email Email Confirmation: If active, customers will receive a confirmation email to verify their subscription before being marked as "Subscribed" in your CRM.
Below is an example of how the Checkbox is shown to the user at checkout.

That's all! Enjoy FluentCRM in your Business automation and email marketing campaigns.