Appearance
Labels for Email Campaigns
Labels let you colour-code and group your Email Campaigns so you can find, filter, and act on related campaigns at a glance. Instead of scrolling through a long list, you can narrow it down to exactly the campaigns that belong to a project, team, or topic.
This article walks you through creating labels, applying them to campaigns, and keeping them tidy over time.
Opening the Label Manager
Go to FluentCRM → Emails → Email Campaigns. In the top-right area of the list, click More Actions and choose Manage Labels from the dropdown.
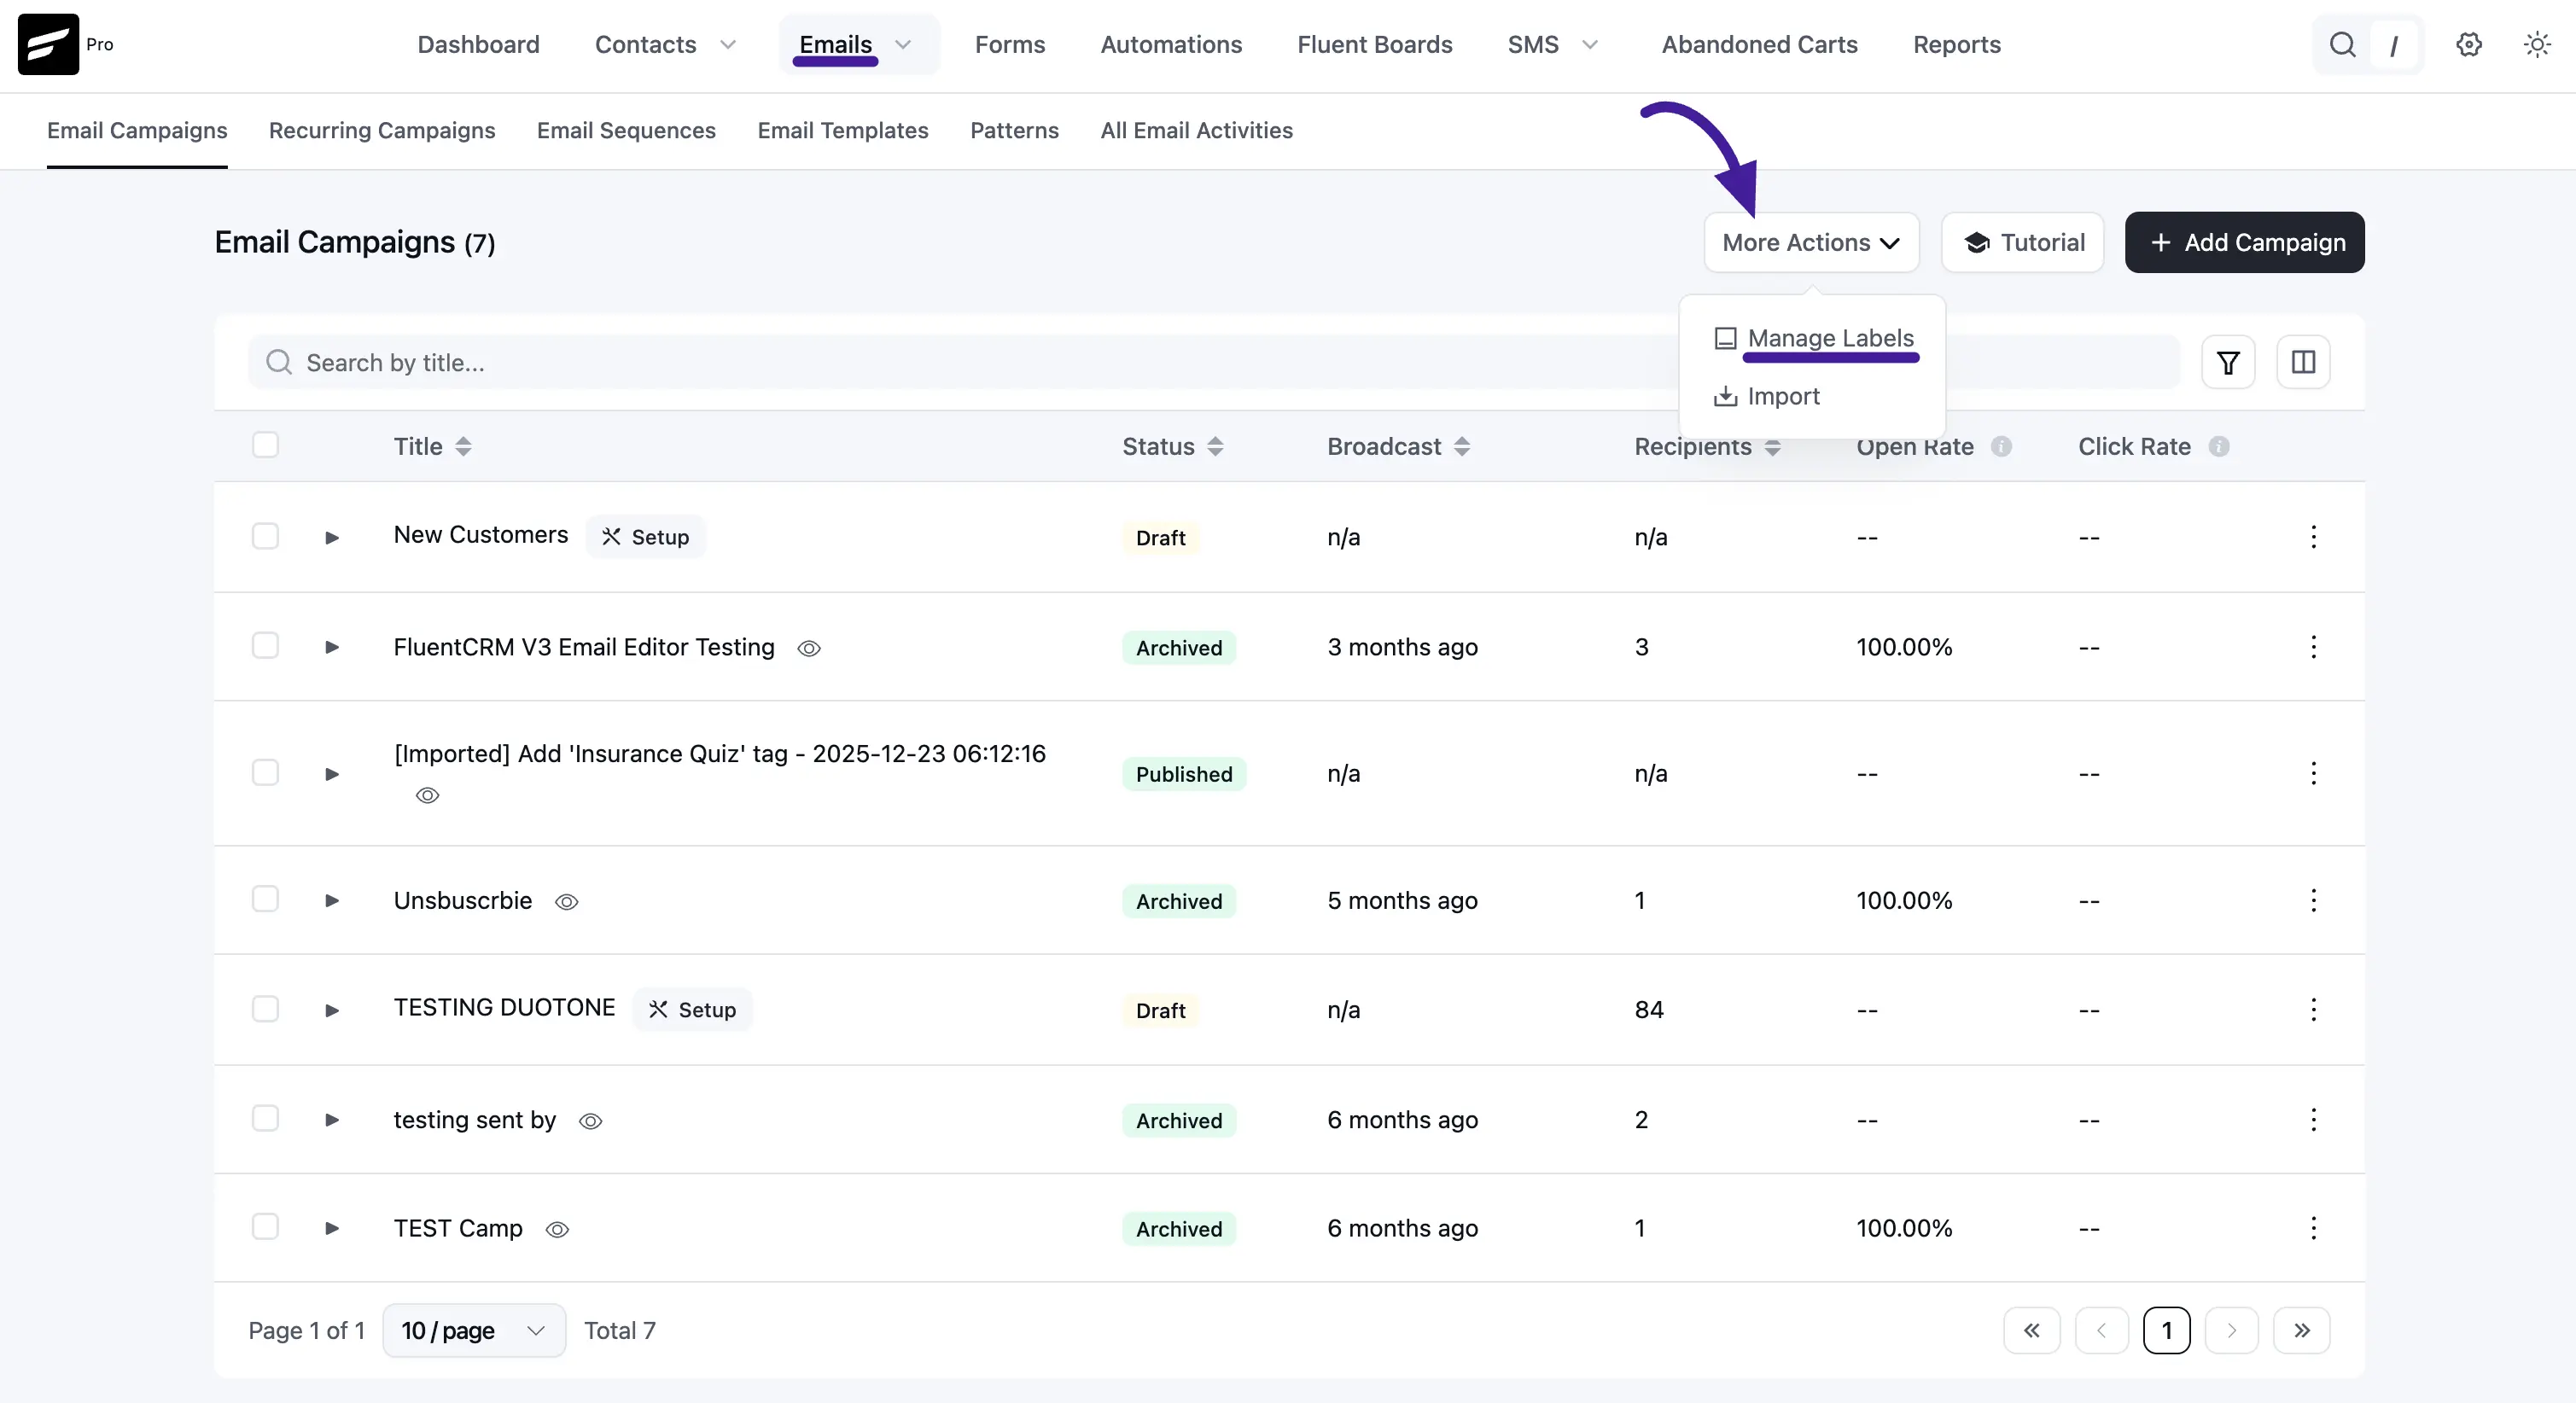
The Manage Labels panel slides in. It shows a table of your existing labels (with their Label name and Slug) and a search box at the top so you can find a specific label quickly when the list grows.
Creating a new label
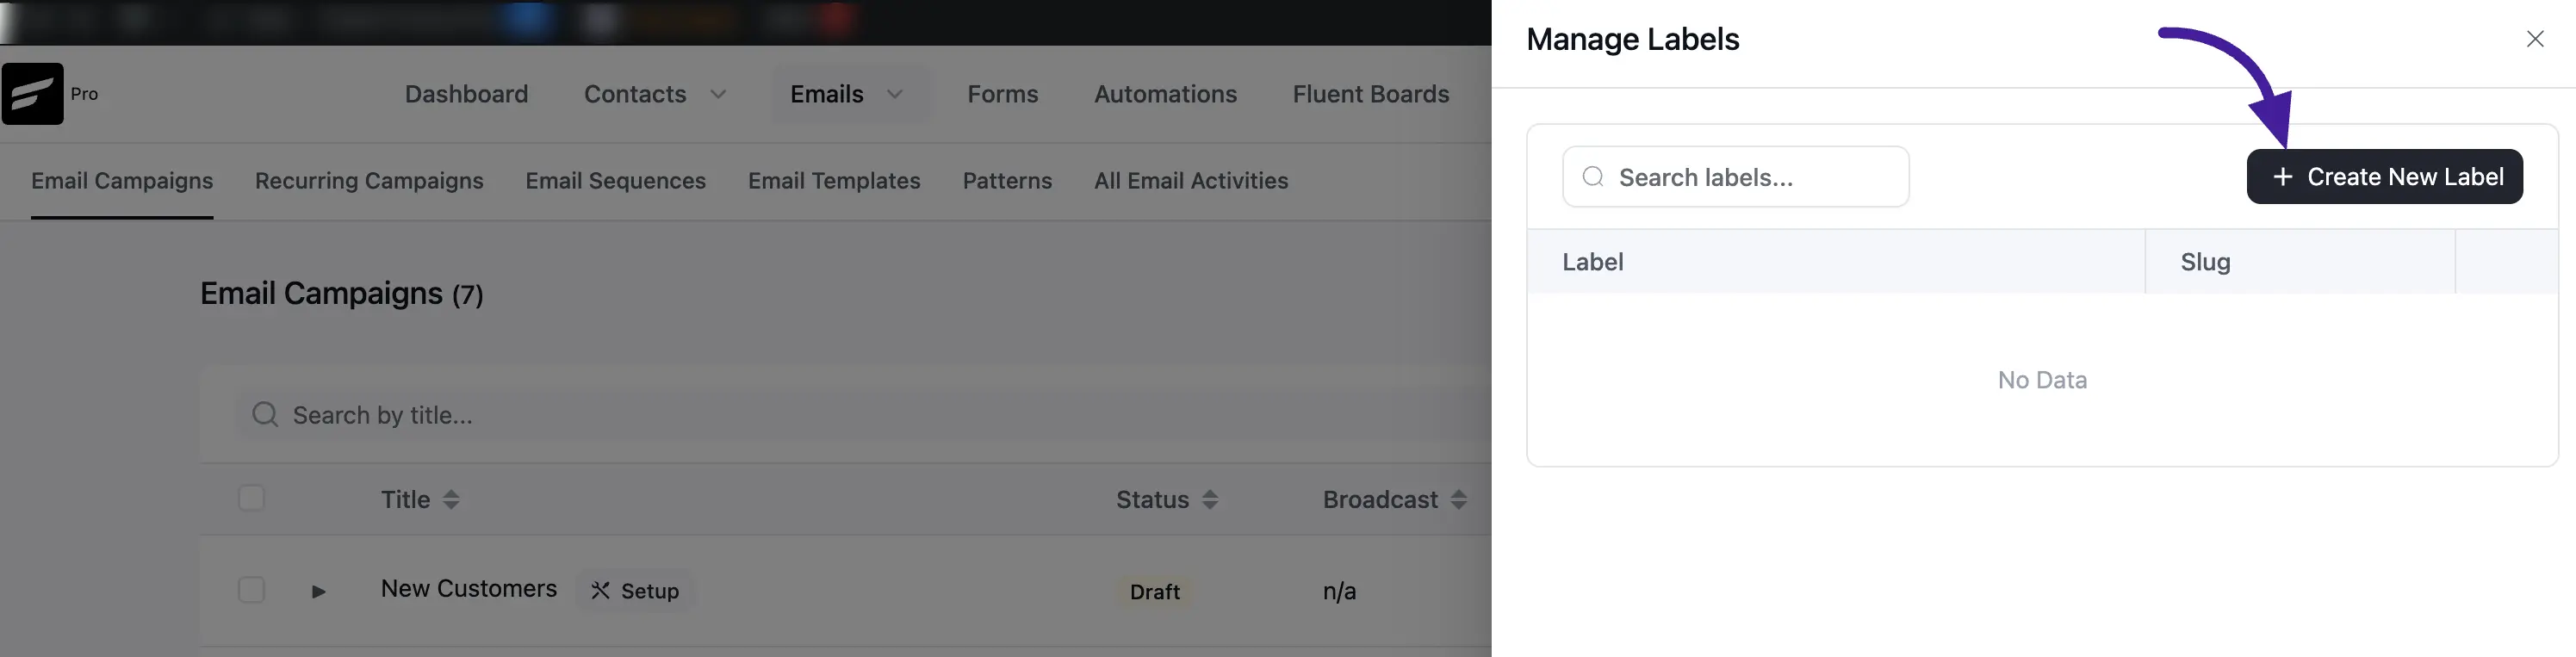
In the Manage Labels panel, click + Create New Label.
A small form appears where you can set:
- Label Title — the display name that appears on campaigns and in filters.
- Label Color — pick from a palette of colours to make the label visually distinct.
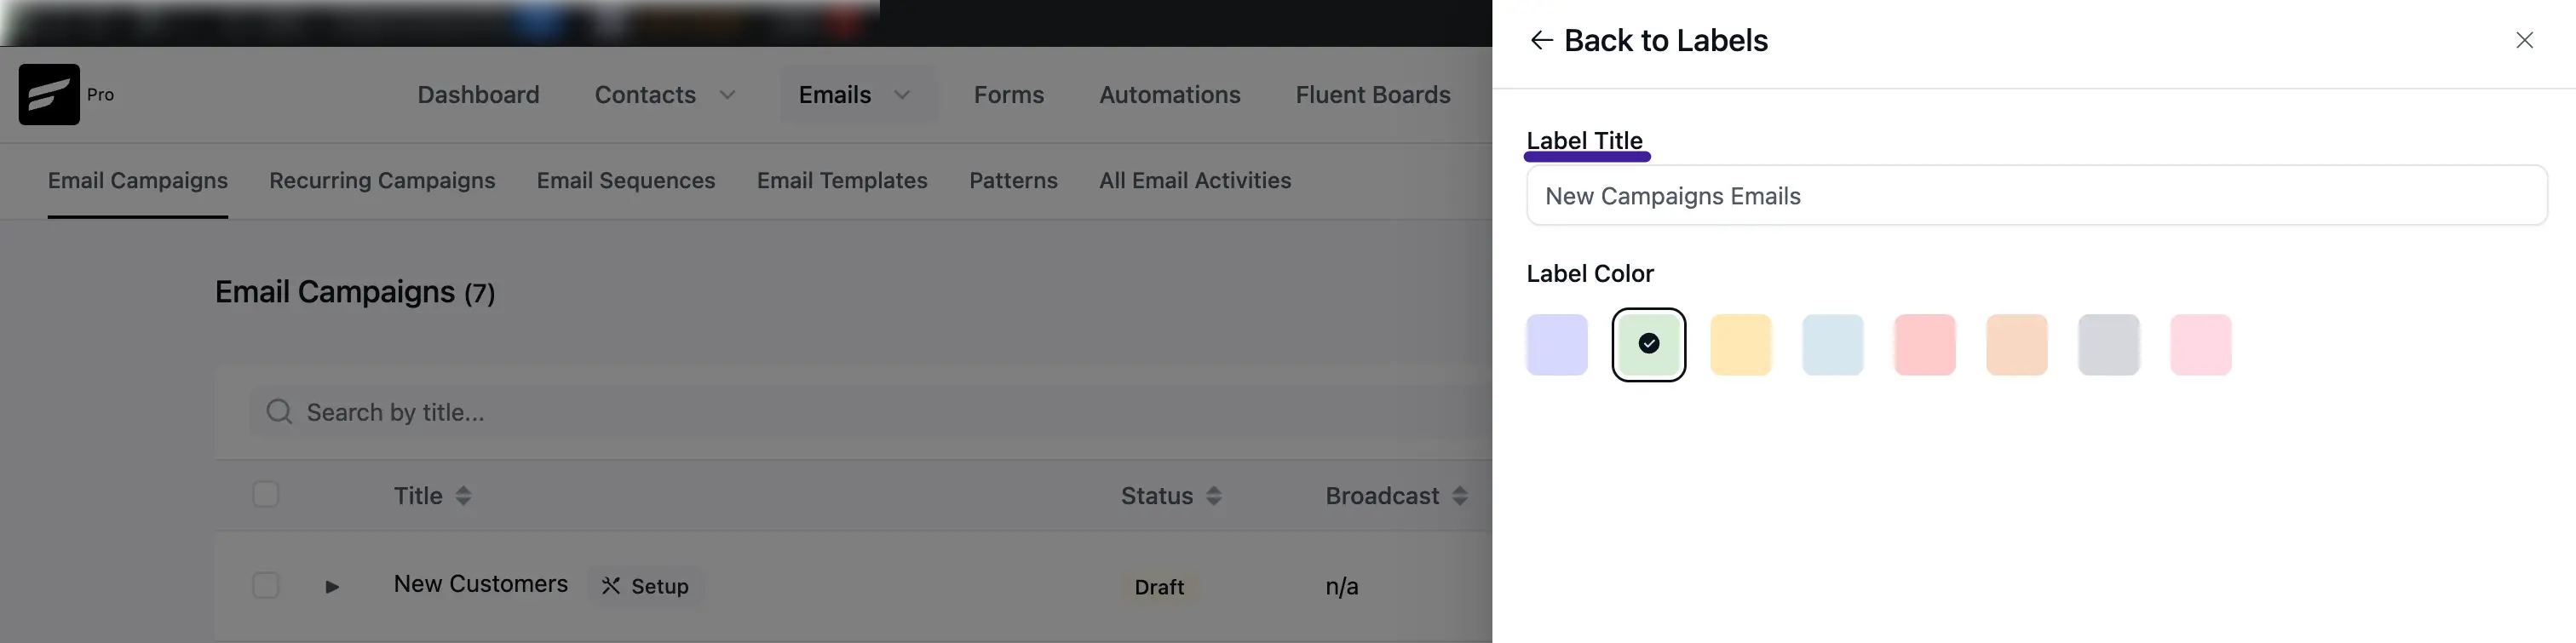
Once you are happy with the name and colour, click on the Create button to save the label. It will now appear in the Manage Labels table and be available to assign to campaigns.
Editing or deleting a label
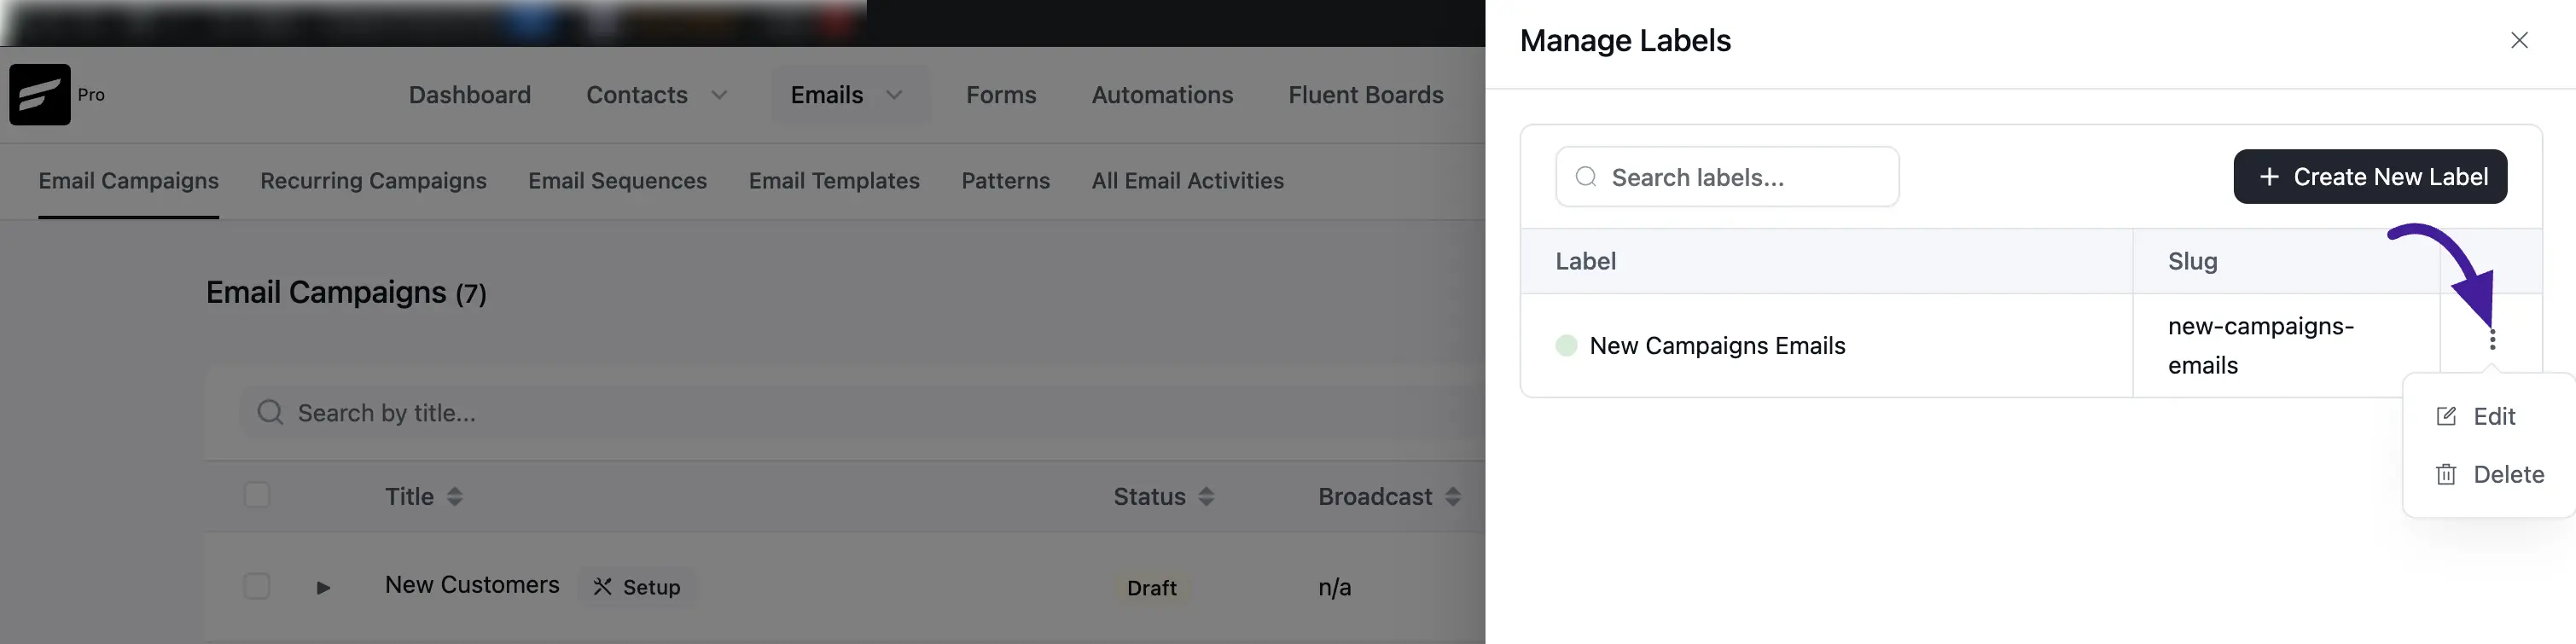
In the Manage Labels table, click the three-dot action menu on any label row to reveal the Edit and Delete options.
- Edit — opens the same form so you can rename the label or change its colour.
- Delete — permanently removes the label. Campaigns that had this label assigned will no longer show it.
Applying labels to campaigns
You can assign one or more labels to campaigns in bulk straight from the campaign list.
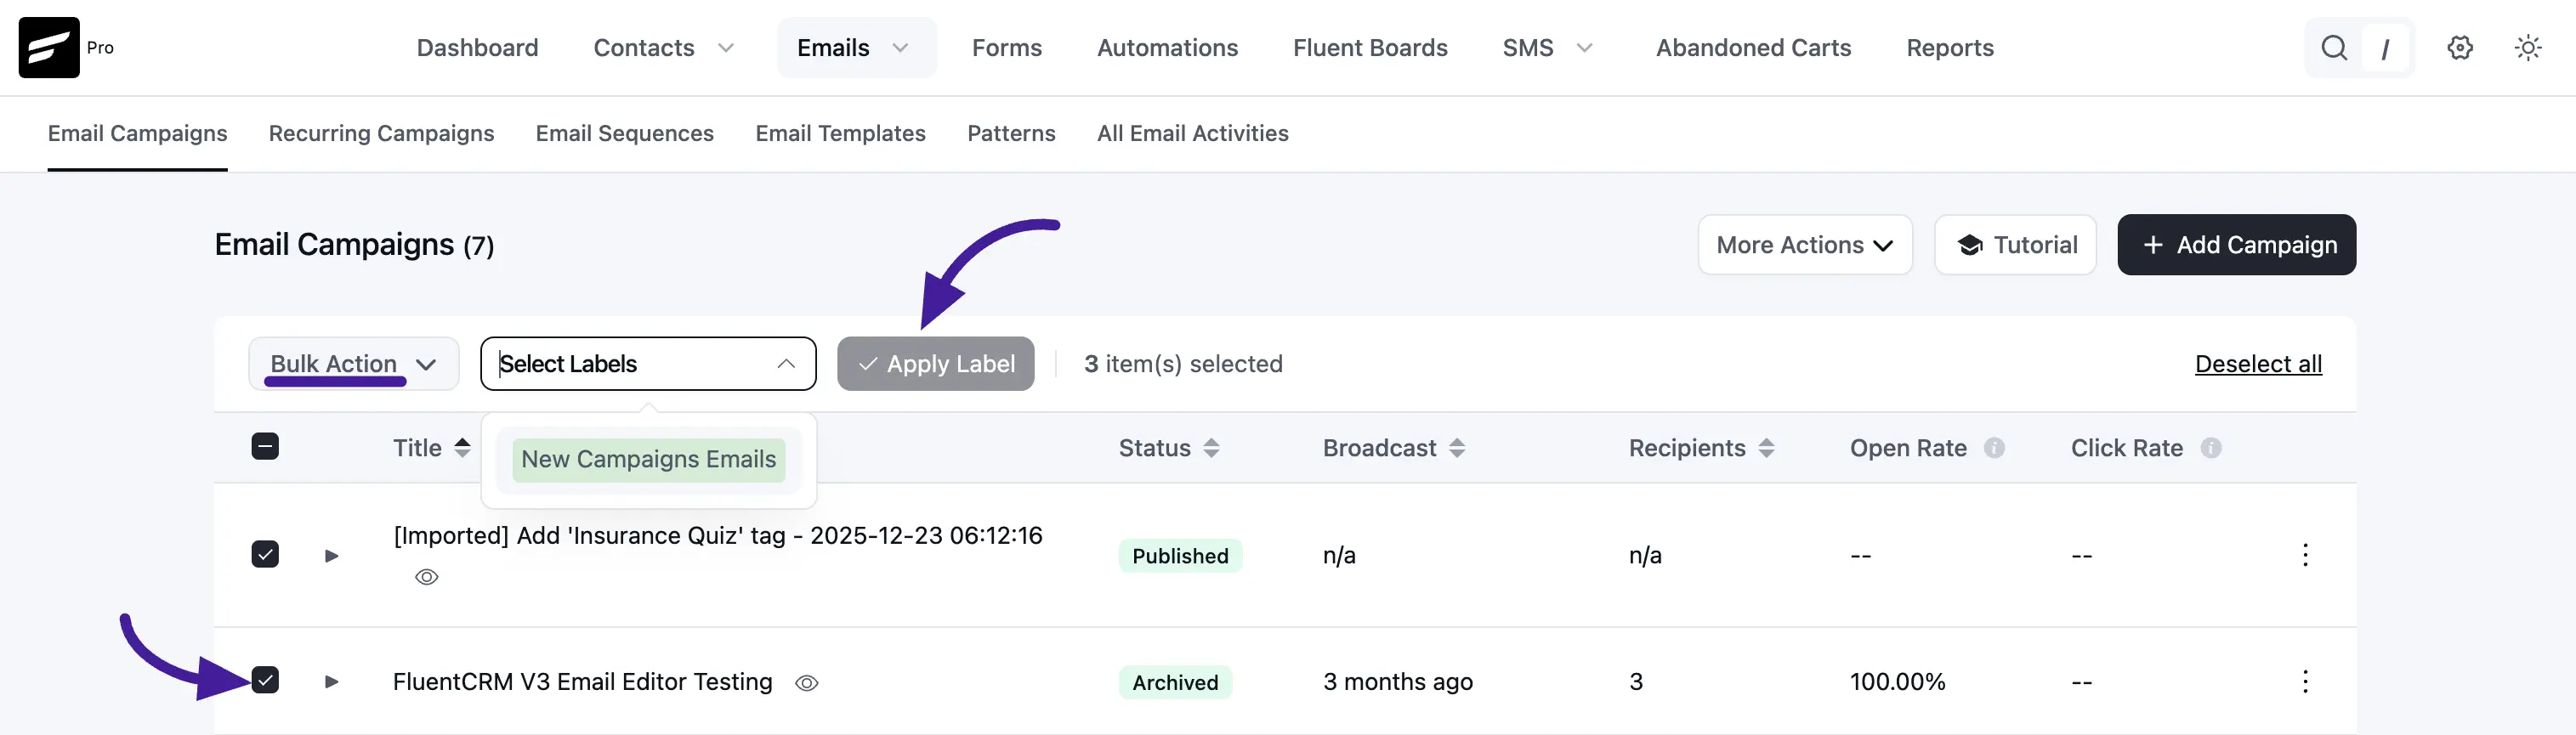
- On the Email Campaigns list, tick the checkbox next to each campaign you want to label. You can select as many as you need.
- Once campaigns are selected, a Bulk Action bar will appears above the list click on it and select Apply Labels. The Select Labels from the dropdown and choose the label(s) you want to apply.
- Click Apply Label.
The selected label will now appear next to those campaigns in the list.
Tip: You can apply multiple labels to the same campaign by repeating the steps above with a different label selected.