Appearance
Overview of Emails from FluentCRM
FluentCRM is an Email Marketing and Automation Tool that integrates with the WordPress email delivery system which can be extended by additional SMTP plugins like FluentSMTP and processes the automation emails, email campaigns, email sequences, and test emails.
Once you are done with configuring the settings of the FluentCRM, importing contacts into FluentCRM, and segmenting your contact, you are ready to send an Email Campaign, Email Sequence, and Automation Emails. You can run email campaigns to send your marketing messages to the subscribers who opted for your marketing messages.
In FluentCRM, an email campaign is a bulk email marketing campaign that is sent to many contacts at once instantly or in a scheduled time defined by you. This is as easy as adding a template, adding the content, designing the template, selecting your audience group, and then sending it off to your subscribers.
Emails Creation Hub
FluentCRM offers several ways to compose and send emails depending on your marketing goals. To access these, navigate to the Emails menu in your dashboard.
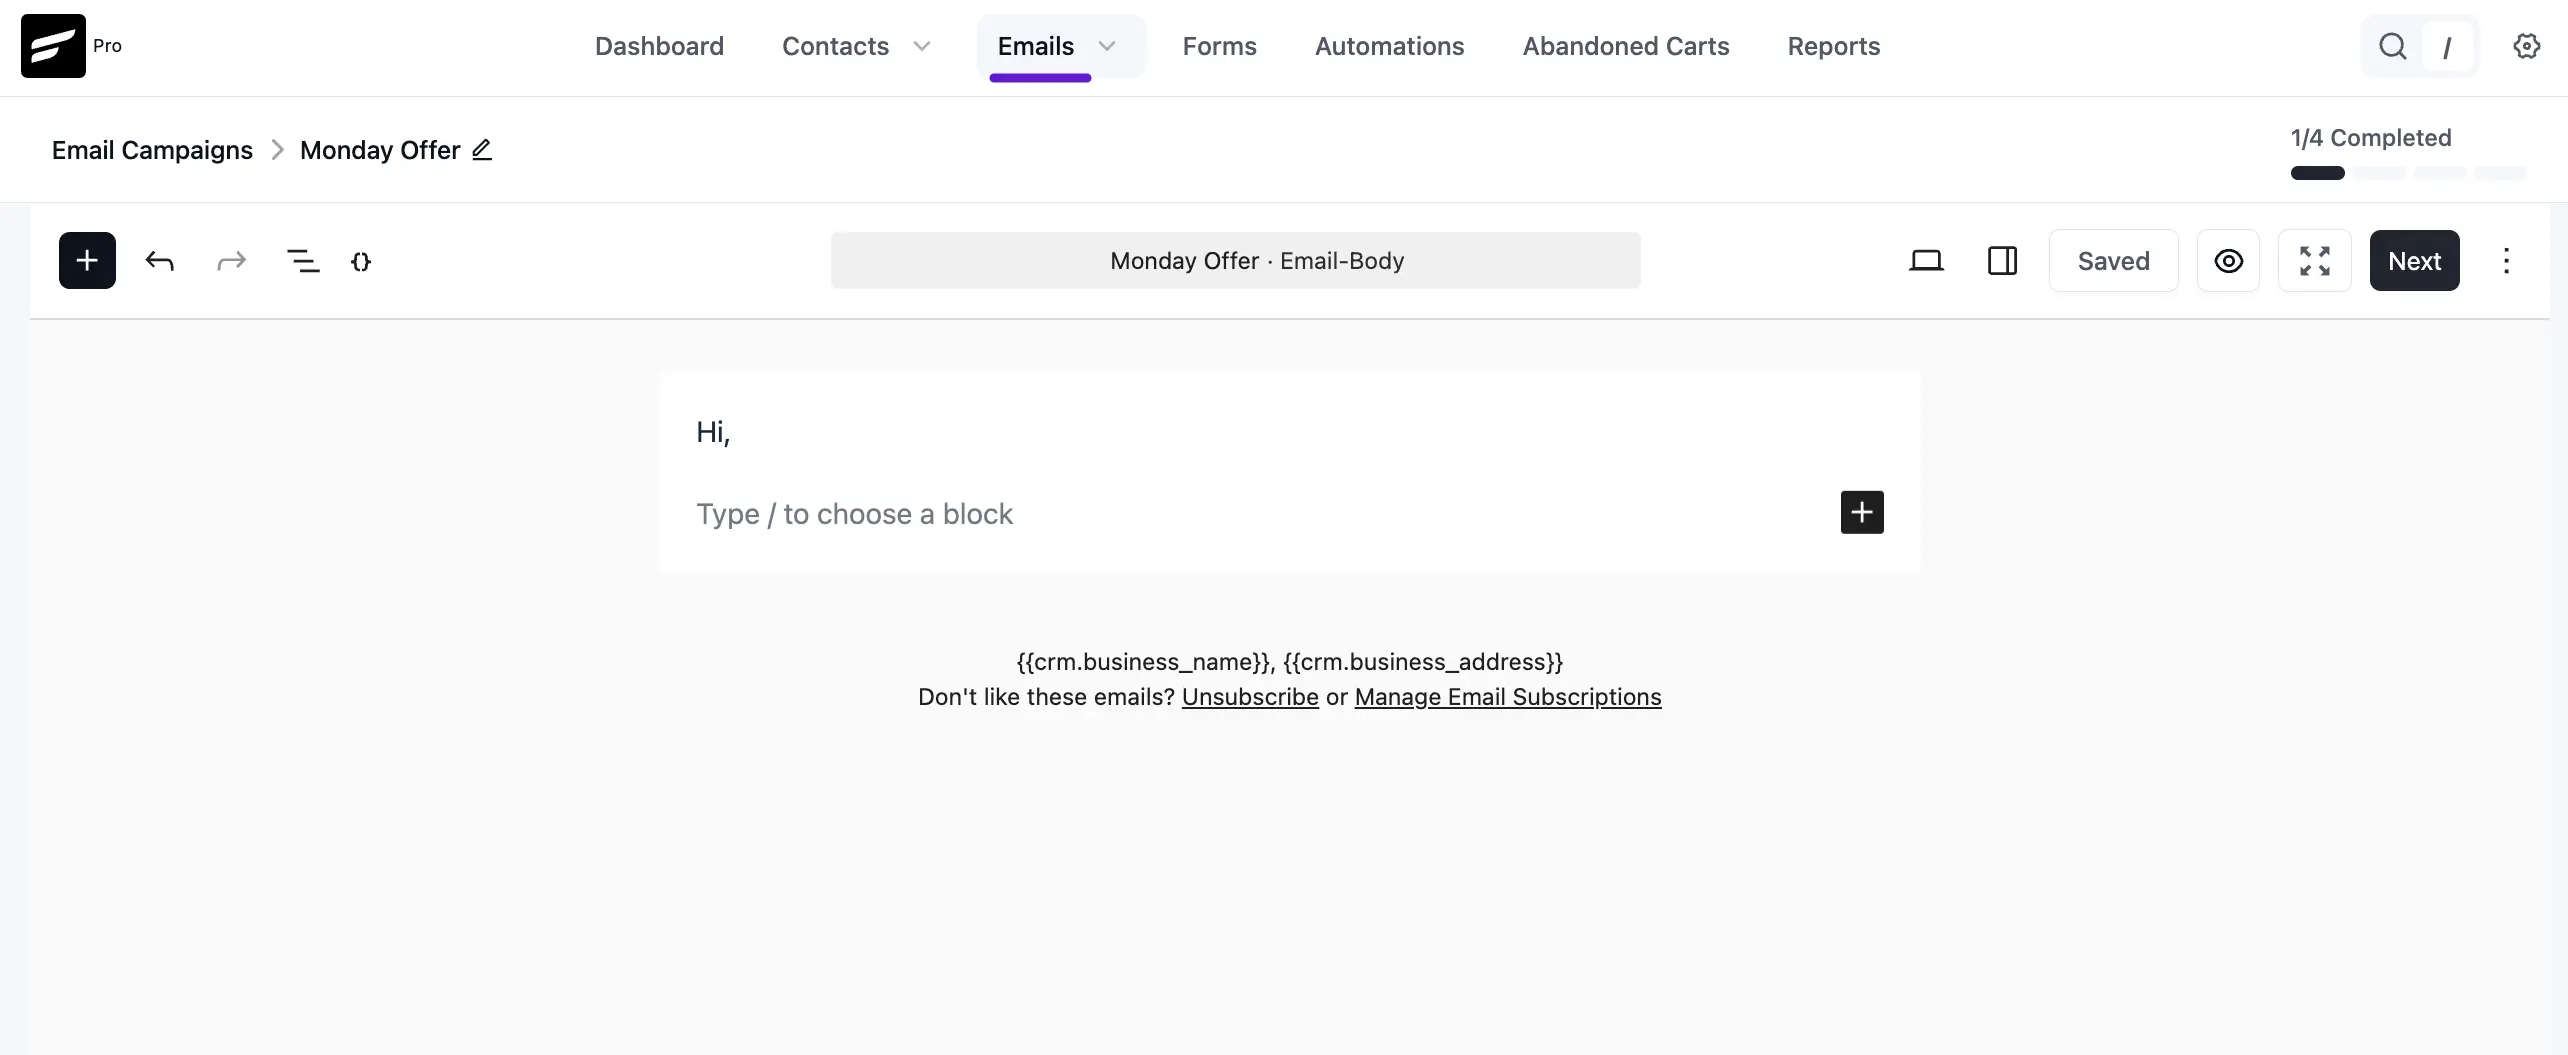
1. Email Campaigns
Campaigns are bulk marketing messages sent to a large group of contacts at once.
- Gutenberg-native editor: v3 uses the WordPress block editor as the default email composer, with Device Preview, the WordPress media library, reusable Email Patterns, and AI Writing built in.
- Switch Editor any time: Prefer drag-and-drop? The Visual Builder is one click away. Coding from scratch? Use Raw HTML. There's also the Classic Editor if that's how you prefer to work.
- Scheduling: Send campaigns immediately, schedule them for a specific date and time, or queue them for a sending time-window. More about campaigns is discussed in Email Campaigns.
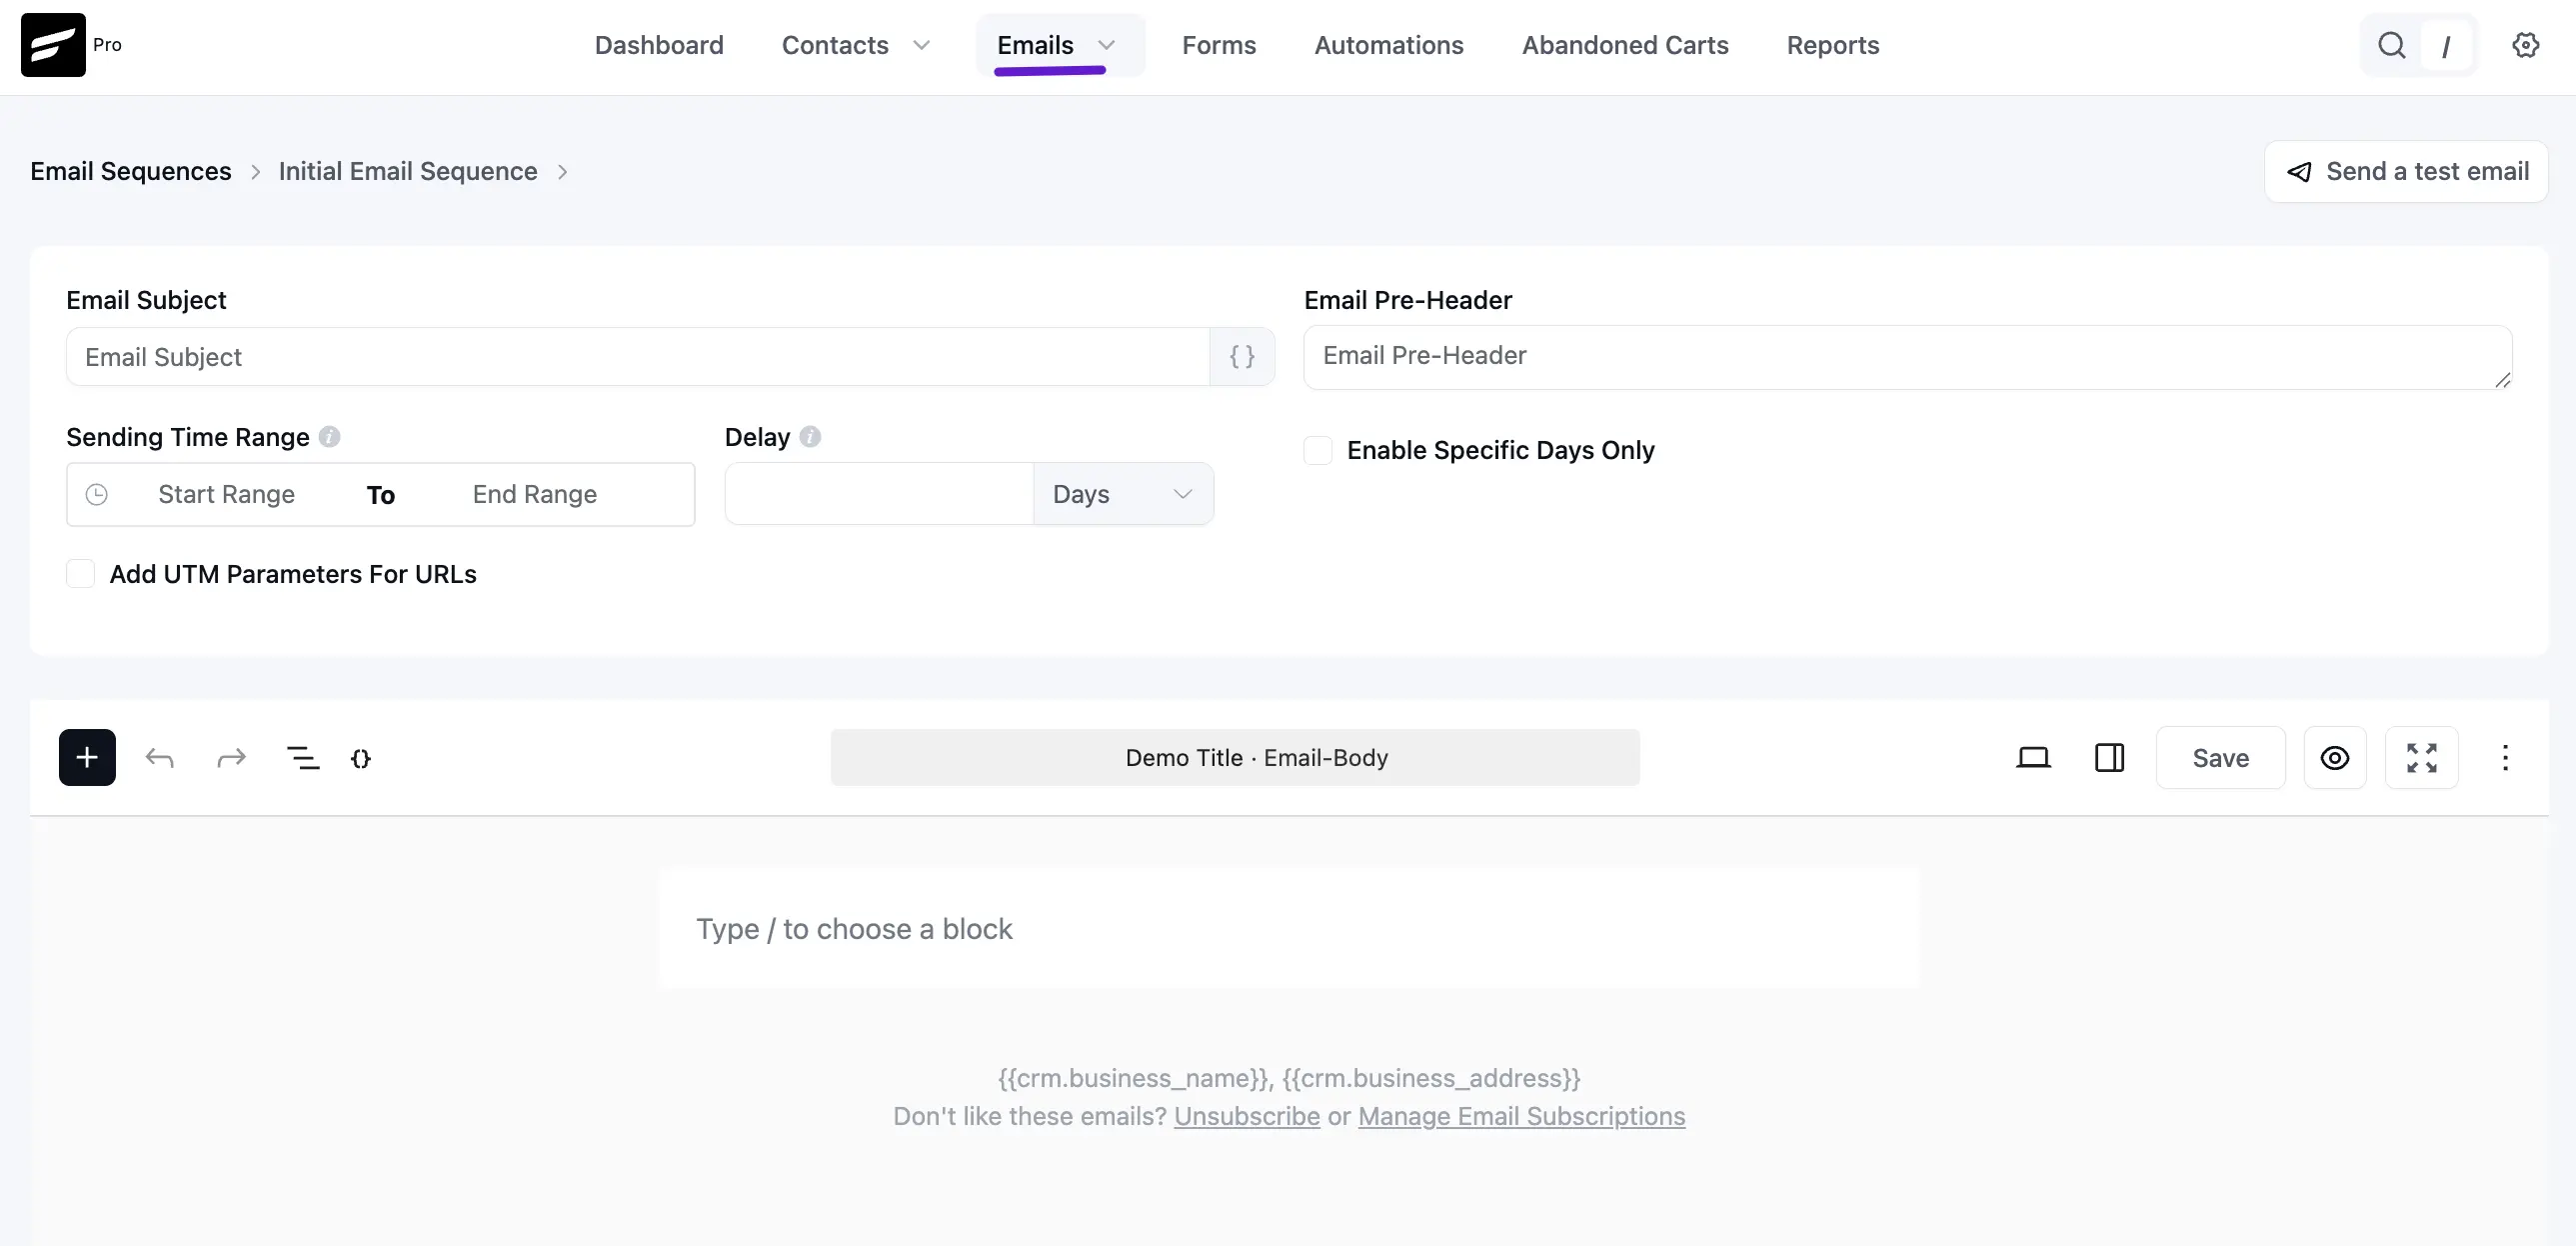
2. Email Sequences
Sequences are a series of "drip" emails sent automatically over a period of time (e.g., a 7-day welcome series).
- Smart Delays: You can set a specific Delay (in days or hours) between each email in the sequence.
- Time Windows: Use the Sending Time Range to ensure emails only arrive during business hours, or enable Specific Days Only to avoid sending on weekends. More about sequences are discussed in Email Sequence.
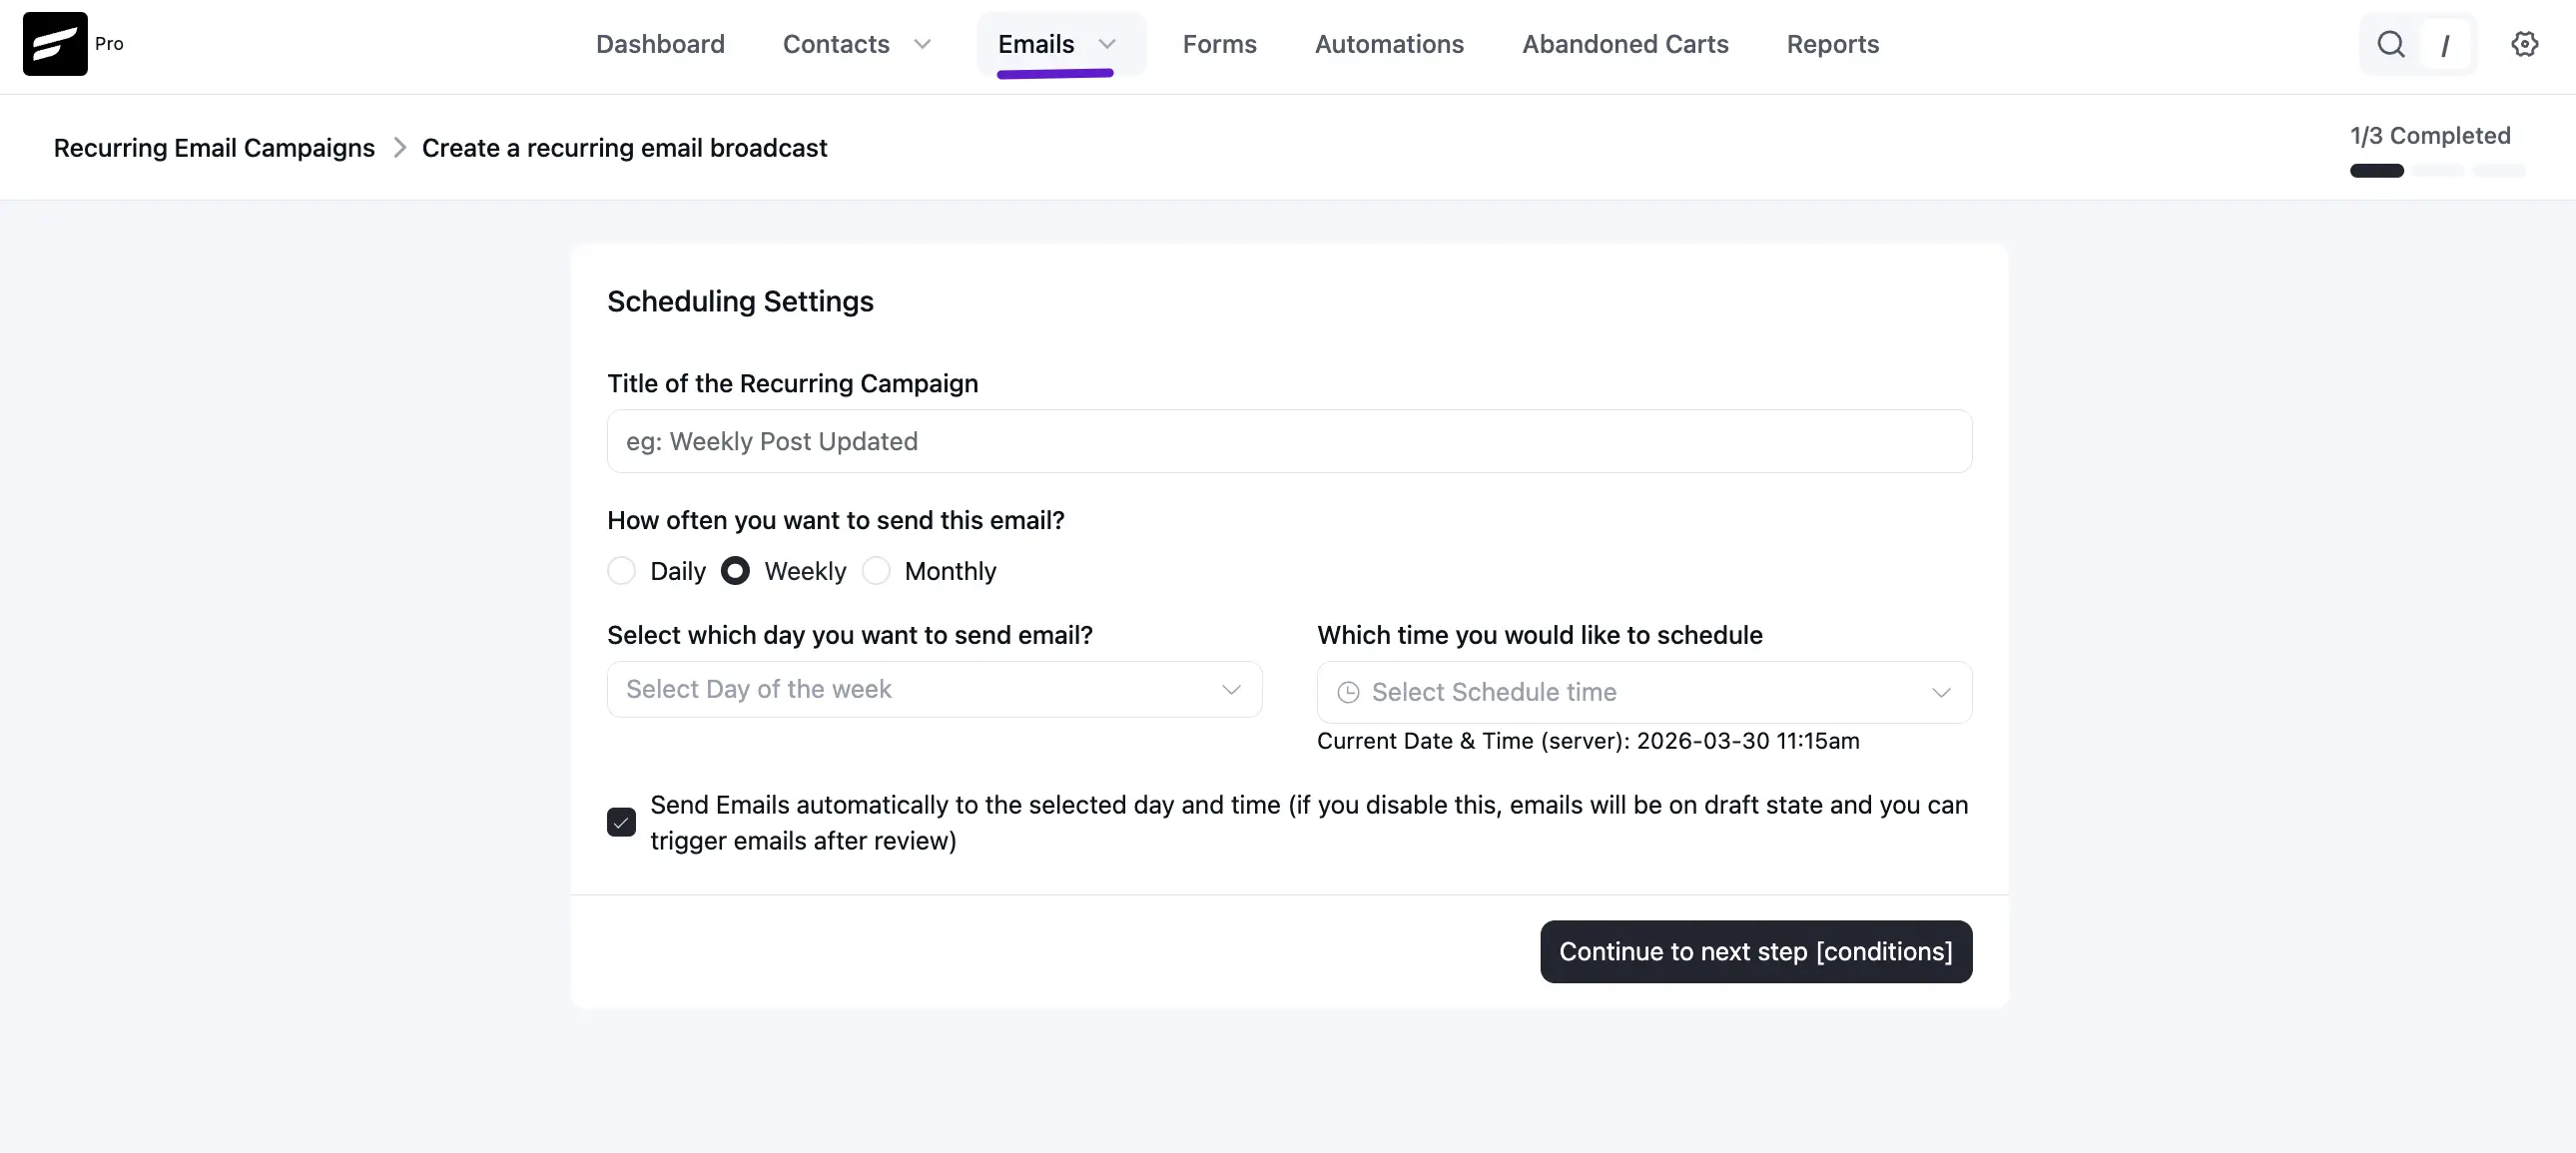
3. Recurring Campaigns
If you send regular updates, like a "Weekly Post Update," Recurring Campaigns automate this process.
- Dynamic Scheduling: Set your emails to go out Daily, Weekly, or Monthly.
- Automatic Dispatch: You can enable the system to send emails automatically at your scheduled time or keep them as drafts for a final manual review before they go out.
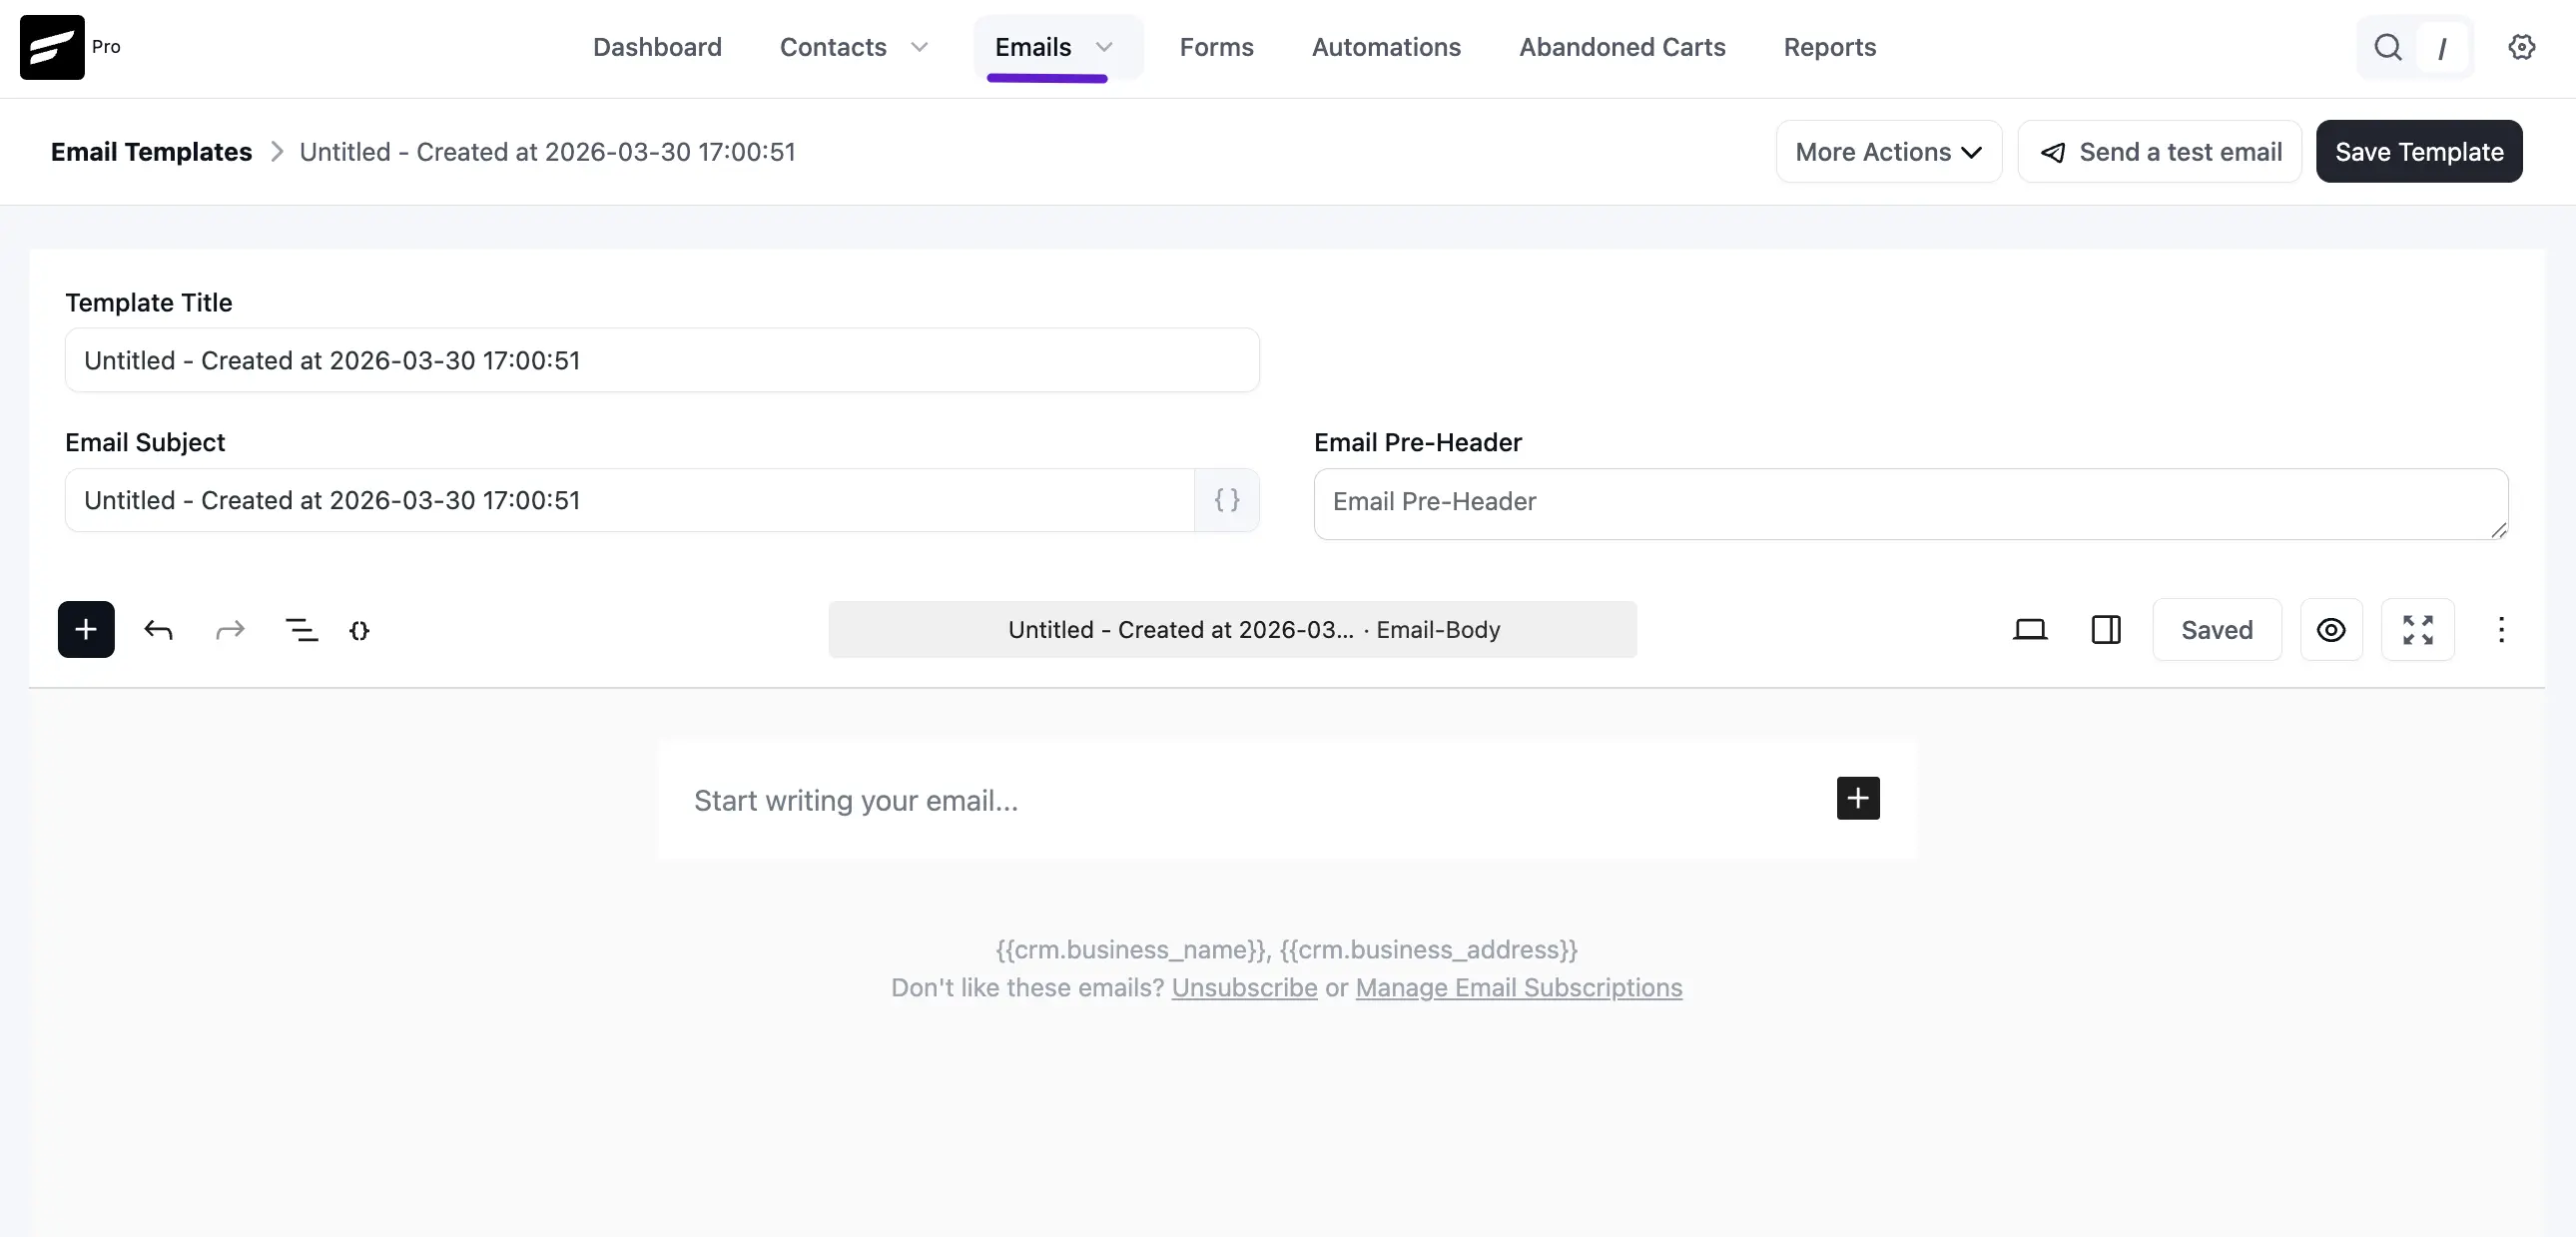
4. Email Templates
Found under Emails ➜ Email Templates, this feature allows you to create and save "master designs" that can be reused across different campaigns and automations.
Save time by building a layout with your brand's logo, colors, and footer, then simply select it whenever you start a new email. More about templates are discussed in Email Templates.
5. Email Patterns (new in v3)
Found under Emails ➜ Patterns, this is a library of reusable Gutenberg blocks – think hero headers, featured-product rows, footers, testimonial sections – that you can drop into any campaign or automation email.
Build a section once, save it as a Pattern, and insert it anywhere with one click. The full walkthrough lives on the Email Patterns page.
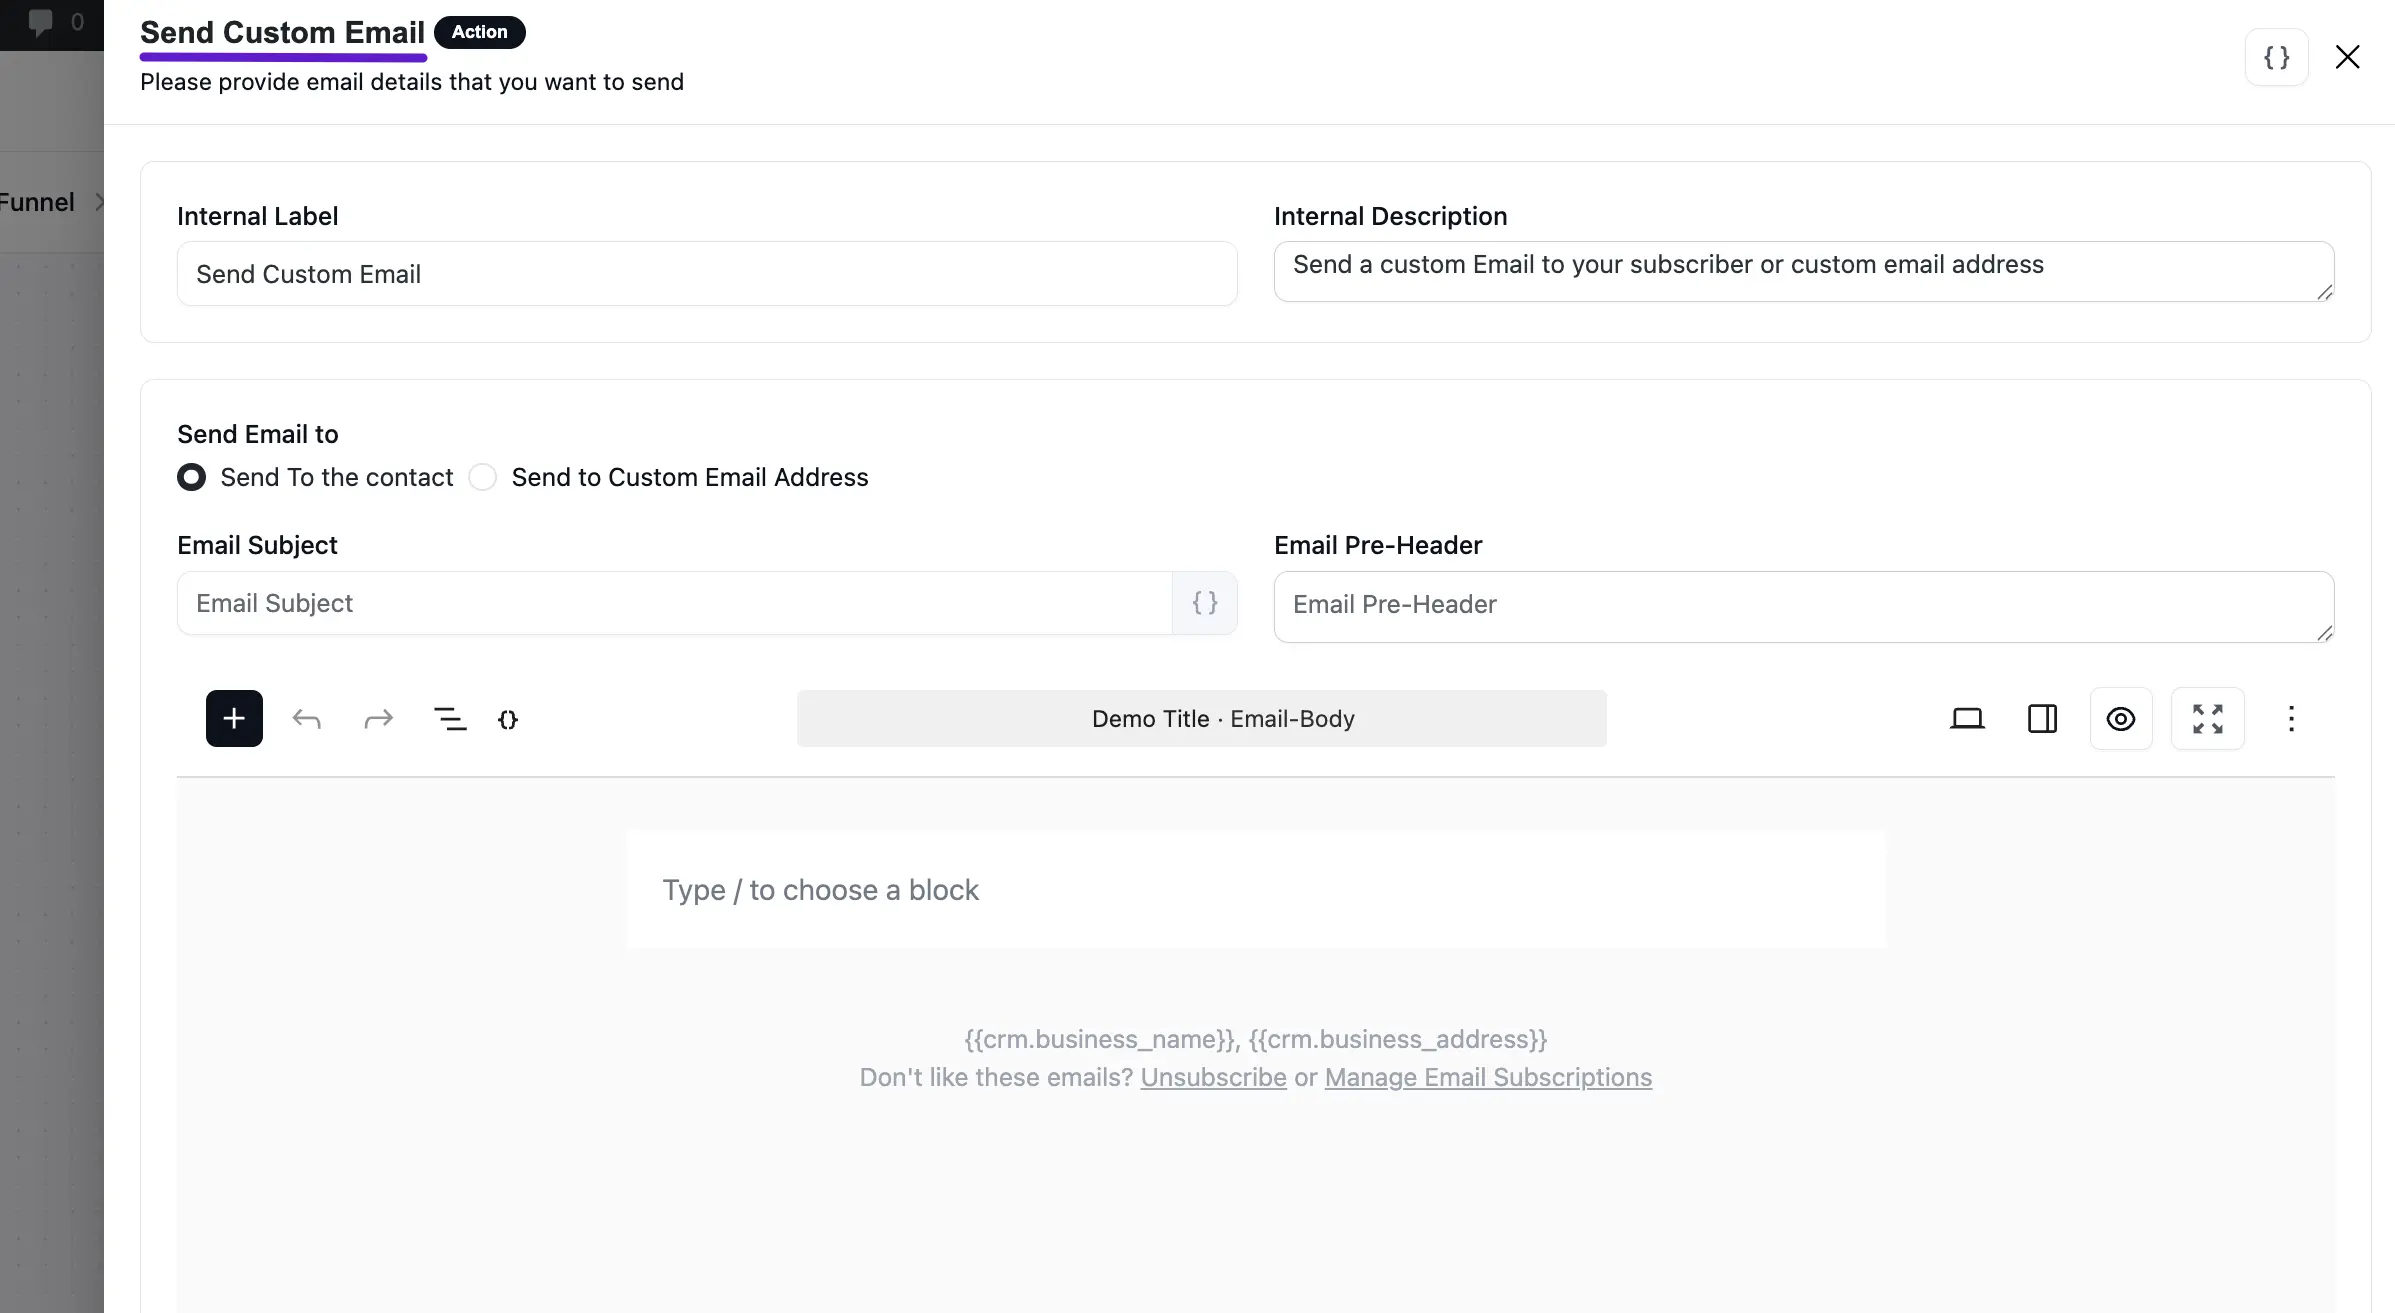
6. Send Custom Email (Automation Action)
Within any Automation Funnel, you can add a Send Custom Email action. This is perfect for sending specific, automated messages triggered by a user's behavior (like a "Thank You" email after a purchase).
When configuring this action, you will see the following options:
- Internal Label & Description: These are for your own organization. They help you identify the specific purpose of this email within your automation workflow.
- Send Email to: You can choose to send the email directly to the Contact who triggered the automation, or specify a Custom Email Address (useful for internal notifications to your team).
- Email Subject & Pre-Header: Just like a regular campaign, you can set a catchy subject line and a preview "hook" text. Use the SmartCodes icon {} to personalize the subject line with the contact's details.
- Content Editor: Use the block-based editor to write your message. You can add images, buttons, and text blocks to make the email engaging.
Once you have finished your design, click the Save Settings button to add this automated email to your funnel.