Appearance
Introduction to FluentCRM Automation
Imagine having a marketing assistant who works 24/7—welcoming new subscribers, recovering abandoned carts, and sending the right emails at exactly the right time. That is exactly what FluentCRM Automations do for your WordPress site.
An Automation Funnel is a smart, background workflow. When a user takes a specific action (like buying a product or joining a list), FluentCRM automatically triggers a sequence of tasks (like sending emails or updating user profiles) without any manual work from you.
This guide will give you a complete tour of the Automation Dashboard and explain the core building blocks you need to get started.
The Building Blocks of Automation
Before you build your first funnel, it helps to understand the four basic elements that make up every automation in FluentCRM:
- Triggers ("When this happens..."): The starting line. An automation remains completely paused until a Trigger fires. Examples: A user submits a form, a tag is applied, or an order is completed.
- Actions ("...Do this"): The tasks FluentCRM performs after the trigger fires. Examples: Send a Welcome Email, Wait 3 Days, or Add to a VIP List.
- Goals / Benchmarks ("Jump ahead if..."): These are smart shortcuts. If a user achieves a Goal (like buying the product you are promoting) while they are in the middle of an email sequence, FluentCRM will instantly pull them out of that sequence and move them to the next step so they don't get irrelevant emails.
- Conditionals ("Check if..."): These are the crossroads of your funnel. They split your audience down different paths based on their data. Example: If the user is from Canada, send Email A. If they are from the US, send Email B.
A Tour of the Automations Dashboard
FluentCRM features a clean, modern command center for all your workflows. To access it, simply click on Automations in the top navigation bar of your FluentCRM dashboard.
At the top of the screen, you will see three main tabs: Funnels, Activities, and Manage Labels.
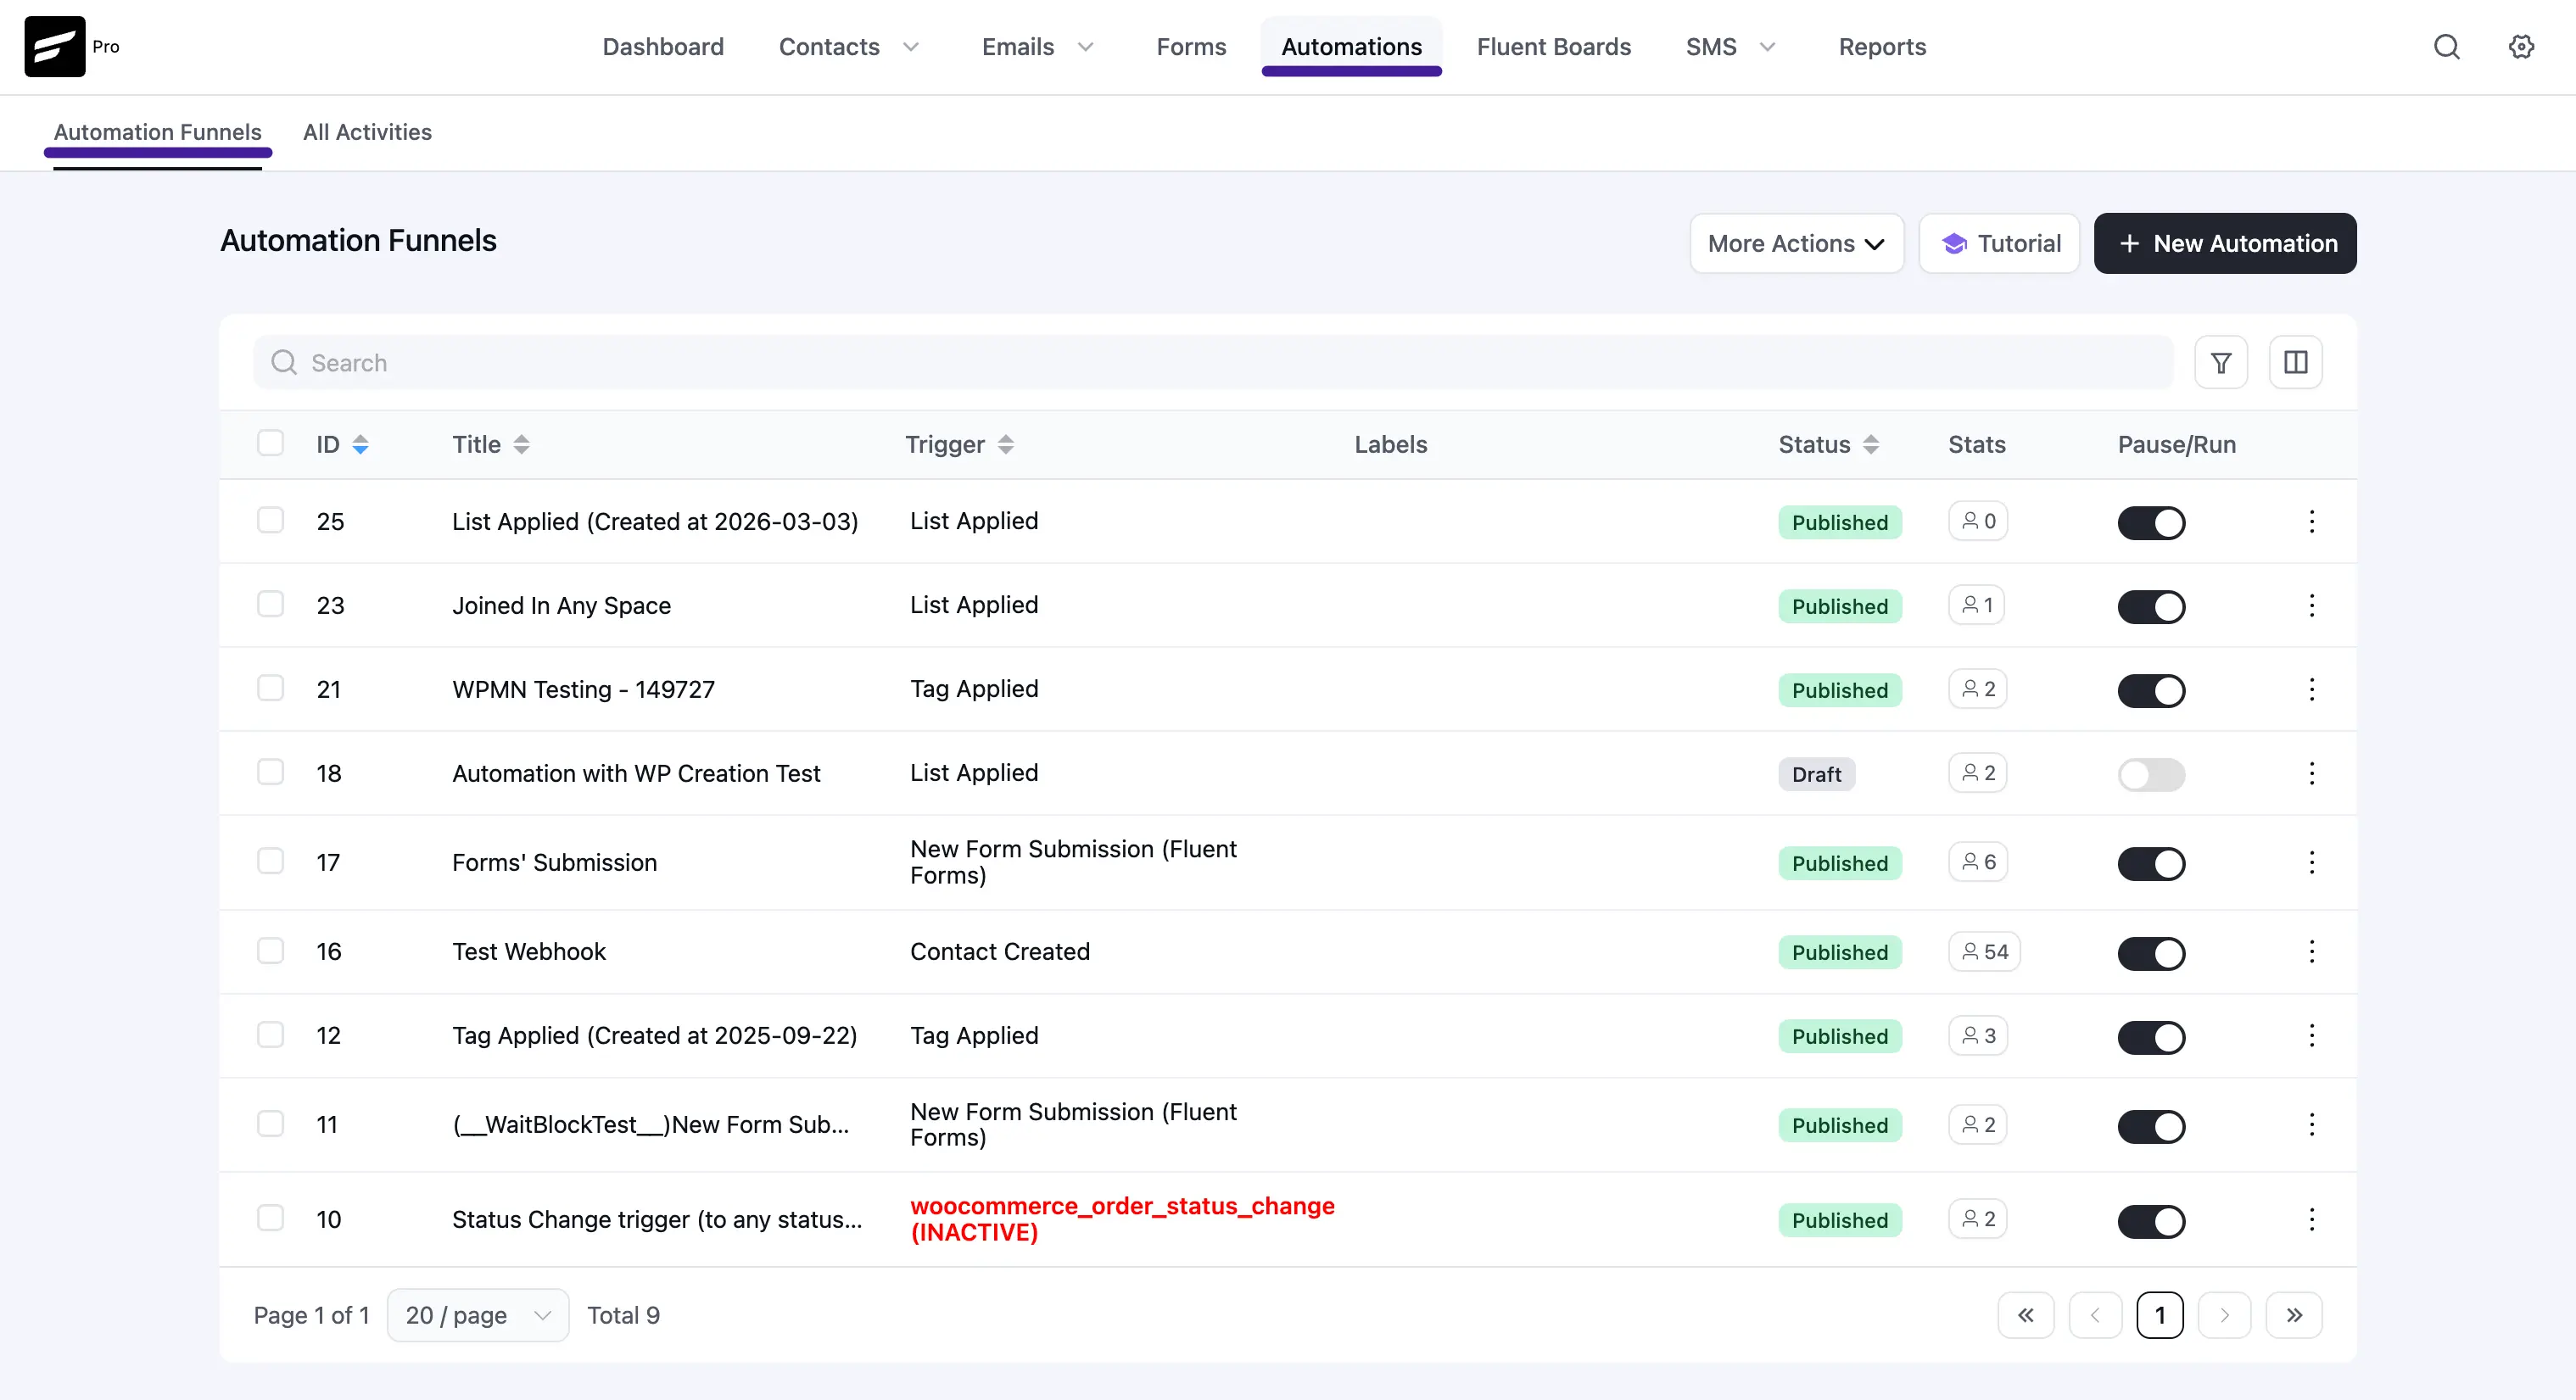
1. The "Funnels" Tab (Your Main Workspace)
This is your default view. It lists every automation funnel you have created.
- Search & Filter: Use the Search bar to quickly find a funnel by its name, or use the Filter By Labels dropdown to view specific categories (like all your "WooCommerce" funnels).
- Funnel Stats: At a glance, you can see how many contacts have Entered a funnel versus how many have successfully Completed it.
- Quick Controls: Under the "Actions" column, you can:
- Click the Toggle Switch to instantly turn a funnel ON (Published) or OFF (Draft).
- Click the Graph Icon to view deep, step-by-step reporting for that specific funnel.
- Click the Three Dots (⋮) to Edit, Duplicate, Export, or Delete the funnel.
2. The "Activities" Tab (Live Tracking)
Ever wonder what FluentCRM is doing behind the scenes right now? The Activities tab is your live control room.
- It provides a running, real-time log of every single automated action happening on your site.
- You can see exactly which Contact is being processed, what Action is running (e.g., waiting for a delay, sending an email), and its current Status (Running, Completed, or Cancelled).
- Troubleshooting: Use the filters at the top to search for a specific user's email address to see exactly where they are inside a funnel!
3. The "Manage Labels" Tab (Stay Organized)
As your business grows, you might end up with dozens of automations. Labels keep your dashboard clutter-free.
- Click + Add New Label to create a category (e.g., "Lead Generation" or "LMS Courses") and assign it a vibrant color.
- Once created, you can attach these labels to your funnels on the main dashboard to keep everything perfectly organized.
How to Create a New Automation
Ready to build? Starting a new automated workflow is incredibly easy.
- Click the blue + Create Automation button in the top right corner of the dashboard.
- A window will appear offering you two paths:
- Use a Template: Browse through the categories on the left (CRM, WooCommerce, WordPress, etc.) to find pre-built, ready-to-use funnel templates. Just click one to load it!
- Start From Scratch: Prefer to build your own custom workflow? Simply click the Start From Scratch button at the top right of the window.
Pro Tip: Even if you use a pre-built template, you can always add, delete, or modify the steps inside the visual Automation Editor to perfectly match your business needs.
Video Walkthroughs
If you prefer to learn by watching, these videos cover the key parts of building automations in FluentCRM: